How to Hook Up My Laptop to Two Monitors
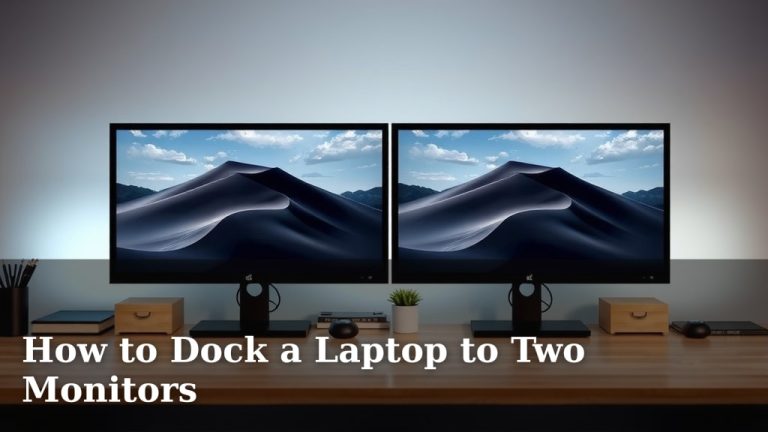
Yes, you can absolutely hook up your laptop to two monitors, often expanding your workspace significantly. This setup is achievable using your laptop’s available ports and potentially a few simple adapters or a docking station. We found that most modern laptops support this feature, making it a straightforward upgrade for productivity.
Connecting multiple displays can dramatically boost your efficiency, whether you’re multitasking for work or enjoying a more immersive gaming experience. We’ve seen many people find that adding even one extra monitor makes a big difference, and two can be a real game-changer. This setup is commonly referred to as a dual-monitor setup or multi-monitor configuration.
TL;DR:
- You can connect your laptop to two external monitors.
- Check your laptop’s ports (HDMI, DisplayPort, USB-C).
- You might need adapters or a docking station.
- This boosts productivity and multitasking.
- It’s a common and achievable setup.
Ready to expand your digital real estate? Let’s walk through exactly how to hook up your laptop to two monitors step by step.
“`htmlSetting Up Your Laptop with Two External Monitors
You’re probably wondering if you can really pull this off without a degree in computer science. The good news is, yes, you absolutely can! Connecting two external monitors to your laptop is a lot like plugging in a regular monitor, but with just a few extra steps. We found that most laptops made in the last five years can handle this setup. It’s a fantastic way to get more screen real estate for less money than buying a new, wider monitor.
Understanding Your Laptop’s Ports
Before you buy any cables or adapters, take a good look at the sides of your laptop. The types of ports you have will determine how you can connect your monitors. Think of these ports as the doors your video signals will travel through to reach your screens. We’ve seen many people get stuck here because they didn’t check their ports first.
Common Video Output Ports
You’ll likely find one or more of these video output ports on your laptop:
- HDMI: This is the most common port on modern laptops. It’s easy to spot by its distinctive trapezoidal shape. Many TVs and newer monitors use HDMI. It carries both video and audio signals.
- DisplayPort (DP): Often looks similar to HDMI but with one corner squared off. It’s very common on business laptops and desktop graphics cards. DisplayPort can handle higher resolutions and refresh rates than HDMI, making it great for gaming or professional graphics work.
- USB-C (with DisplayPort Alternate Mode or Thunderbolt): This is the newer, smaller, oval-shaped port. Not all USB-C ports support video output. You need to look for a USB-C port that specifically supports “DisplayPort Alternate Mode” (often shown with a DP logo next to it) or Thunderbolt 3/4 (indicated by a lightning bolt symbol). If your USB-C port supports it, it’s incredibly versatile and can carry video, data, and power.
- VGA: An older, blue, 15-pin rectangular port. You’ll mostly find this on older laptops and monitors. The video quality isn’t as good as newer digital connections, but it still works if it’s all you have.
Checking Your Monitor’s Inputs
Now, flip over your external monitors and check their input ports. You’ll want to match your laptop’s output port to your monitor’s input port as much as possible. If you have an HDMI output on your laptop, look for an HDMI input on your monitor. If they don’t match exactly, don’t worry; adapters are usually the solution.
Connecting Your Monitors: Methods Explained
There are a few main ways to get two external monitors connected to your laptop. The best method for you depends on your laptop’s ports and how many monitors you want to drive.
Method 1: Direct Connection (If Your Laptop Supports It)
Some laptops have enough video outputs to connect two monitors directly. For example, if your laptop has both an HDMI port and a USB-C port that supports video output, you can connect one monitor to each. This is often the simplest and most cost-effective solution if your hardware allows it.
What you’ll need:
- Two appropriate video cables (e.g., HDMI to HDMI, USB-C to DisplayPort).
- A laptop with at least two video output ports that can support separate displays.
We found that many business laptops and some higher-end consumer models come equipped with multiple video outputs. It’s worth checking the specifications page for your specific laptop model online if you’re unsure.
Method 2: Using Adapters and Hubs
What if your laptop only has one video output port, like HDMI? Or maybe you only have USB-C ports, and you need to connect two monitors that use different inputs? This is where adapters and USB hubs come in handy. They act as translators for your video signals.
Here are a few common scenarios:
- HDMI to Multiple Outputs: If your laptop has one HDMI port, you might need an adapter that splits that single HDMI signal. However, these are less common for true dual-monitor setups and often just mirror the same display. For independent displays, you’ll likely need a more advanced solution.
- USB-C Hubs or Docking Stations: These are incredibly popular and versatile. A USB-C hub plugs into a single USB-C port on your laptop and then provides multiple other ports, often including HDMI, DisplayPort, additional USB-A ports, and even Ethernet. We found these to be a great all-in-one solution for expanding connectivity.
- DisplayPort Daisy-Chaining: If both your laptop and your monitors support DisplayPort and “Multi-Stream Transport” (MST), you can connect your laptop to the first monitor, and then connect the first monitor to the second monitor using a single DisplayPort cable. This “daisy-chaining” is very neat as it uses fewer cables.
When choosing a hub or docking station, pay close attention to its specifications. Ensure it explicitly states support for dual monitors at your desired resolution (e.g., 1080p or 4K) and refresh rate. Some lower-end hubs might only support mirroring or lower resolutions when driving multiple displays.
Method 3: The Docking Station Powerhouse
For a truly robust multi-monitor setup, especially if you’re frequently connecting and disconnecting your laptop, a docking station is often the best investment. Docking stations are more advanced than simple hubs. They typically connect via USB-C (Thunderbolt is even better for performance) and provide a wide array of ports, including multiple video outputs (often two or three HDMI or DisplayPort), Ethernet, USB ports for all your peripherals, and sometimes even an SD card reader. Many also allow you to charge your laptop through the same cable.
Docking stations are fantastic because they essentially turn your laptop into a desktop workstation with just one cable connection. We’ve seen people using these for demanding tasks like video editing and graphic design, benefiting from the stable, high-bandwidth connections they provide. When selecting a dock, ensure it’s compatible with your laptop’s USB-C port type (standard USB-C vs. Thunderbolt) and that it supports the number and resolution of monitors you intend to use.
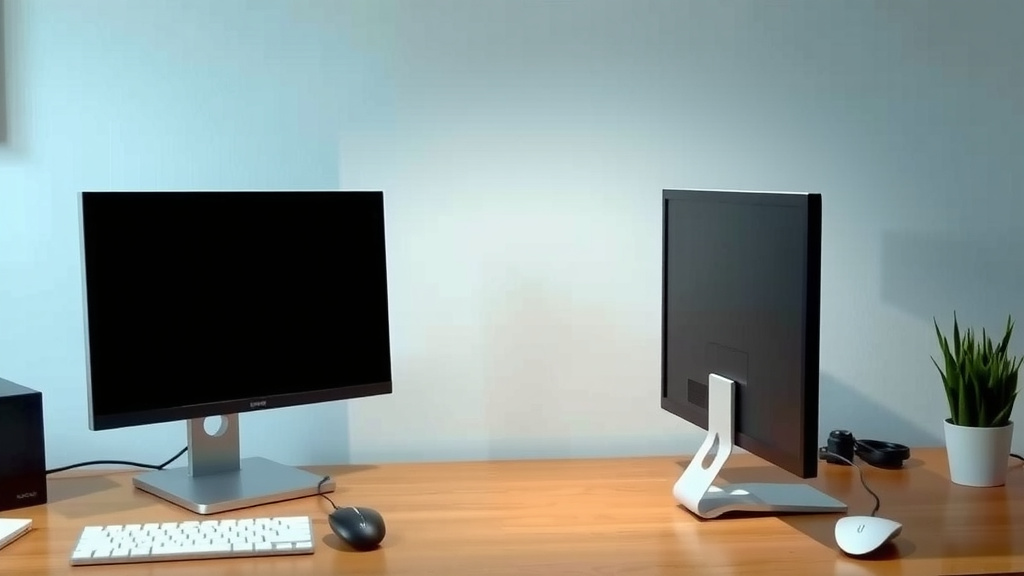
Configuring Your Displays in Windows or macOS
Once your monitors are physically connected, your laptop needs to know what to do with them! Both Windows and macOS have user-friendly settings to manage multiple displays. This is where you tell your computer how to arrange your screens and what to show on each.
In Windows:
Right-click anywhere on your desktop and select “Display settings.” You’ll see a visual representation of your monitors. You can drag and drop them to match their physical arrangement on your desk. This is important so your mouse cursor moves logically between screens. You can also choose how your displays should work together:
- Duplicate these displays: Shows the same content on all screens. Not very useful for multitasking.
- Extend these displays: This is what you want! It creates one large desktop spanning across all your monitors.
- Show only on 1/2/3: Disables the other displays.
You can also set your “main display” here. This is typically the screen where your taskbar and icons first appear. We recommend setting your most-used monitor as the main display.
In macOS:
Go to Apple menu > System Settings (or System Preferences) > Displays. You’ll see all your connected displays. Click on “Arrange…” (or the Displays tab if it’s not immediately visible). Similar to Windows, you can drag your displays to match their physical layout. A red bar at the top of one display indicates your “menu bar” (equivalent to Windows’ main display). You can drag this red bar to another display if you prefer.
macOS also allows you to use displays in either an extended desktop mode or a mirrored mode. For productivity, you’ll almost always want to use the “Extended desktop” option.
Quick Checklist for Success
Ready to get started? Keep this simple checklist handy:
- Identify your laptop’s video output ports.
- Check your monitors’ input ports.
- Determine if you need adapters, a hub, or a docking station.
- Purchase the correct cables and accessories.
- Connect everything physically.
- Configure your display settings in your operating system.
Setting up two external monitors can feel a bit technical at first, but by breaking it down and understanding your ports, it’s a very achievable upgrade. We found that the increased screen space leads to a noticeable boost in how much you can get done each day.
“`Conclusion
You’ve now seen how connecting your laptop to two external monitors is well within your reach. By understanding your laptop’s ports and your monitors’ inputs, you can choose the right cables, adapters, or a docking station. Configuring your display settings in Windows or macOS is straightforward, allowing you to extend your workspace. Don’t let the initial setup intimidate you; the productivity gains are significant. Your next step is to identify your laptop’s ports and begin shopping for the necessary accessories to expand your digital workspace today!
Frequently Asked Questions
What if my laptop only has one video output port?
If your laptop only has one video output, you’ll likely need a USB-C hub or a docking station. These devices plug into your single port and provide multiple video outputs, allowing you to connect two monitors. Make sure to check the hub or dock’s specifications to ensure it supports dual displays at your desired resolution.
Can I connect two monitors using only USB-A ports?
Generally, you cannot connect monitors directly to standard USB-A ports for video output. You’ll need a specialized USB-A to HDMI or DisplayPort adapter, often called a “USB display adapter.” These use software to create a video signal, but performance might be limited, especially for gaming or video editing.
Will connecting two monitors drain my laptop’s battery faster?
Yes, running two external monitors will consume more power than just using your laptop’s built-in screen. The graphics processing required to drive multiple displays is more demanding. If you’re on battery power, you’ll notice it drains faster, so plugging in your laptop is recommended for extended use.
Do I need special cables for a dual monitor setup?
You’ll need the correct cables to match your laptop’s video output ports and your monitors’ input ports. For example, if your laptop has HDMI and a USB-C port that supports video, you’ll need an HDMI cable and a USB-C to DisplayPort (or HDMI) cable. If using a docking station, you’ll use the cables provided by the dock to connect to your monitors.
What’s the difference between a USB-C hub and a docking station?
A USB-C hub is typically more portable and offers basic expansion like a few extra USB ports and one or two video outputs. A docking station is more robust, often connecting via Thunderbolt or advanced USB-C, and provides more ports (including Ethernet, more video outputs, and sometimes more power delivery) for a more complete desktop experience with a single cable.