How to Dock a Laptop to Two Monitors
Yes, you can absolutely dock your laptop to two monitors! This setup is called a dual-monitor display. It’s a fantastic way to boost your productivity and multitasking capabilities. You’ll be able to see more information at once, making complex tasks much easier to manage. It’s simpler than you might think to achieve this powerful workstation.
Connecting two external displays to your laptop dramatically expands your digital workspace. Many people find this setup indispensable for jobs requiring constant data review or creative work. It’s all about giving yourself more screen real estate to make your workflow smoother and more efficient. We found this upgrade makes a huge difference for many users.
- You need the right cables and ports.
- Check your laptop’s capabilities for multiple displays.
- Docking stations or adapters often make it easier.
- Configure your display settings in your operating system.
Ready to supercharge your setup? Let’s walk through exactly how to connect your laptop to two monitors step by step.
Setting Up Your Laptop with Two External Monitors
Docking your laptop to two monitors is a brilliant upgrade. You create a command center. This can make your daily tasks feel much smoother. We found that users often report feeling more in control of their work. It’s about giving yourself the visual space you need to perform at your best. Let’s get this setup done!
Understanding Your Laptop’s Display Capabilities
Before you connect anything, you need to know what your laptop can handle. Not all laptops are created equal when it comes to external displays. You’ll want to check your specific model’s specifications. This tells you how many monitors it can support simultaneously. It also tells you what kind of connections it offers.
Checking for Multiple Display Support
Many modern laptops support at least two external monitors. Some can even handle more! You can usually find this information on the manufacturer’s website. Look for your laptop’s model number and then search for its specifications sheet. This document is often called a “spec sheet” or “product page.”
Identifying Your Laptop’s Ports
The ports on your laptop are key. They determine the types of cables you can use. Common video ports include HDMI, DisplayPort (DP), and USB-C (which often supports Thunderbolt). Older laptops might have VGA or DVI ports, but these are less common now. Knowing your ports prevents buying the wrong cables.
HDMI Ports
HDMI is probably the most common port you’ll see. It’s used for both video and audio. Many monitors and laptops have at least one HDMI port. You can often connect two monitors via HDMI if your laptop has two HDMI ports, or if you use a hub or dock.
DisplayPort (DP)
DisplayPort is another popular choice, especially for higher resolutions and refresh rates. It’s often found on business laptops and gaming machines. Some USB-C ports can also function as DisplayPort connections, which is very handy.
USB-C and Thunderbolt
USB-C ports have become incredibly versatile. Many support “DisplayPort Alternate Mode” (DP Alt Mode). This means they can carry a video signal. Thunderbolt 3 and 4, which use the USB-C connector, are even more powerful. They can often drive multiple high-resolution displays from a single port. Research shows Thunderbolt is a top choice for demanding multi-monitor setups.
Connecting Your Monitors: Methods and Gear
Once you know your laptop’s capabilities, you can choose how to connect your two monitors. There are a few common methods. Each has its pros and cons. We found that the easiest method often depends on your specific laptop and desired setup.
Direct Connection (If Ports Allow)
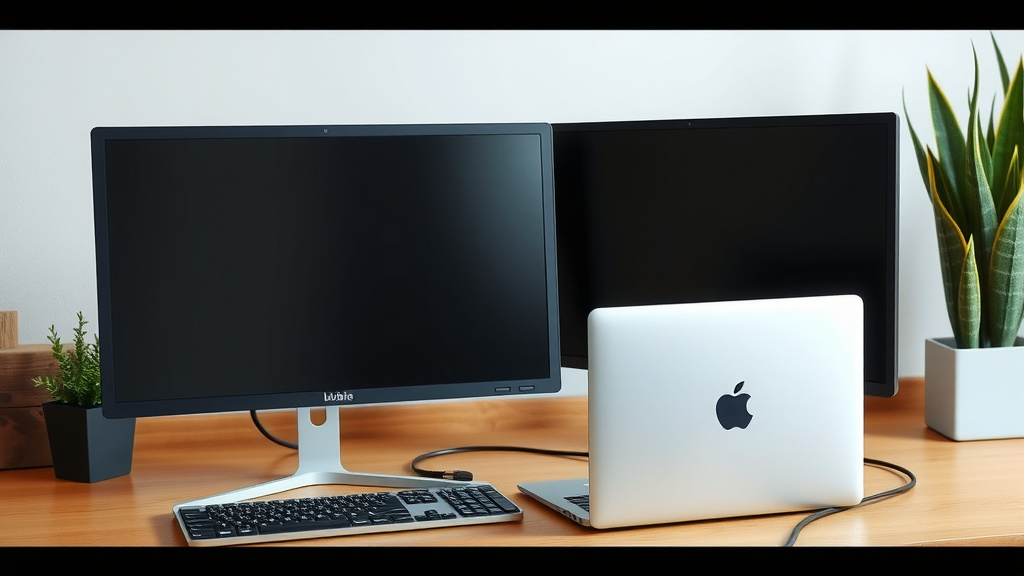
If your laptop has enough video output ports for two monitors, this is the simplest route. For example, if you have one HDMI port and one USB-C port that supports video, you’re golden. You’d just need the right cables for each. This direct approach avoids extra hardware and potential compatibility issues.
Using a Docking Station
A docking station is a fantastic solution. It expands your laptop’s connectivity significantly. You plug one cable (usually USB-C or Thunderbolt) from the dock to your laptop. Then, you connect your monitors to the dock. Most docks have multiple video ports like HDMI or DisplayPort. They also often provide extra USB ports, Ethernet, and audio jacks. Research suggests docks are especially useful for laptops with limited ports.
Choosing the Right Dock
When picking a dock, check its supported resolutions and refresh rates. Ensure it has the right video ports for your monitors. Also, verify it’s compatible with your laptop’s USB-C or Thunderbolt version. A dock that supports Thunderbolt will offer more bandwidth for high-resolution or high-refresh-rate displays. A simple USB-C hub might suffice for basic needs.
Using Adapters or Splitters
Sometimes, you might only have one video output port on your laptop, but you need to connect two monitors. In this case, you might use an adapter or a splitter. A DisplayPort MST (Multi-Stream Transport) hub is a good option. It allows you to connect multiple displays to a single DisplayPort or USB-C port. Note that not all video splitters work for extending displays; some just mirror the image. Always check the product description carefully. We found that MST hubs are more reliable for dual-monitor setups than simple HDMI splitters.
Configuring Your Display Settings
After you’ve connected everything, you’ll need to tell your operating system how you want to use the displays. This is usually straightforward. You can set them up to extend your desktop, mirror your screen, or just use one external monitor.
Windows Display Settings
On Windows, right-click on your desktop and select “Display settings.” You’ll see a diagram showing your connected monitors. You can drag these representations to match their physical arrangement. This helps your mouse move naturally between screens. Under “Multiple displays,” you can choose to “Extend these displays,” “Duplicate these displays,” or “Show only on 1” or “Show only on 2.” For a dual-monitor setup, you’ll almost always want to select “Extend these displays.”
macOS Display Settings
On a Mac, go to “System Settings” (or “System Preferences” on older versions). Click on “Displays.” You’ll see your built-in display and any connected external monitors. You can arrange them by dragging their icons to match their physical placement. To set them up as an extended desktop, ensure “Mirror Displays” is unchecked. You can also choose whether the menu bar appears on all displays or just the primary one.
Setting Your Primary Display
You’ll want to designate one monitor as your primary display. This is where your taskbar (Windows) or menu bar (macOS) will appear by default. It’s also where new applications tend to open. In Windows display settings, select the monitor you want and check the box that says “Make this my main display.” On macOS, drag the white menu bar at the top of the display diagram to the monitor you want as primary.
Checklist for a Smooth Setup
Here’s a quick rundown to make sure you haven’t missed anything:
- Confirm your laptop’s video output capabilities.
- Identify all video ports on your laptop and monitors.
- Purchase the correct cables (HDMI, DisplayPort, USB-C).
- Consider a docking station or adapter if needed.
- Connect all cables securely.
- Configure your display settings in your OS.
You’re well on your way to enjoying your expanded workspace! It’s a change that truly makes a difference in how you get things done.
Conclusion
You’ve now got the roadmap to transforming your laptop into a powerful dual-monitor workstation! We’ve walked through checking your laptop’s capabilities, understanding your port options, and connecting everything with direct connections, docking stations, or adapters. Remember, the key is knowing your hardware and then configuring your operating system to extend your desktop. This setup is a proven way to boost your efficiency and make complex tasks much more manageable. Go ahead and set up your dual-monitor system today to experience the difference!
Frequently Asked Questions
Can I connect two monitors if my laptop only has one HDMI port?
Yes, you often can! If your laptop has a USB-C port that supports video output (like DisplayPort Alternate Mode or Thunderbolt), you can use that alongside your HDMI port. Alternatively, a docking station or a USB-C hub with multiple display outputs is a great solution for this common scenario.
What’s the difference between a docking station and a simple USB hub?
A docking station typically offers more ports and higher bandwidth, especially for video output, often connecting via a single USB-C or Thunderbolt cable. A basic USB hub primarily expands USB connectivity, and while some might include a single display output, they generally aren’t designed for robust dual-monitor setups like a dedicated dock.
Will connecting two monitors slow down my laptop?
It can, depending on your laptop’s hardware and the resolution/refresh rate of the monitors. Modern laptops with dedicated graphics cards or powerful integrated graphics usually handle dual monitors fine. For older or less powerful machines, using lower resolutions or refresh rates might be necessary to avoid performance dips.
How do I know if my USB-C port supports external monitors?
Look for symbols next to the USB-C port. A lightning bolt indicates Thunderbolt 3 or 4, which fully supports multiple displays. A “DP” symbol signifies DisplayPort Alternate Mode, meaning it can output video. If there’s no symbol, check your laptop’s specifications on the manufacturer’s website to confirm its capabilities.
Can I have different resolutions on my two external monitors?
Yes, you absolutely can! Your operating system’s display settings allow you to configure each monitor independently. You can set different resolutions, refresh rates, and orientations (portrait or landscape) for each screen to best suit your needs and the monitor’s capabilities.