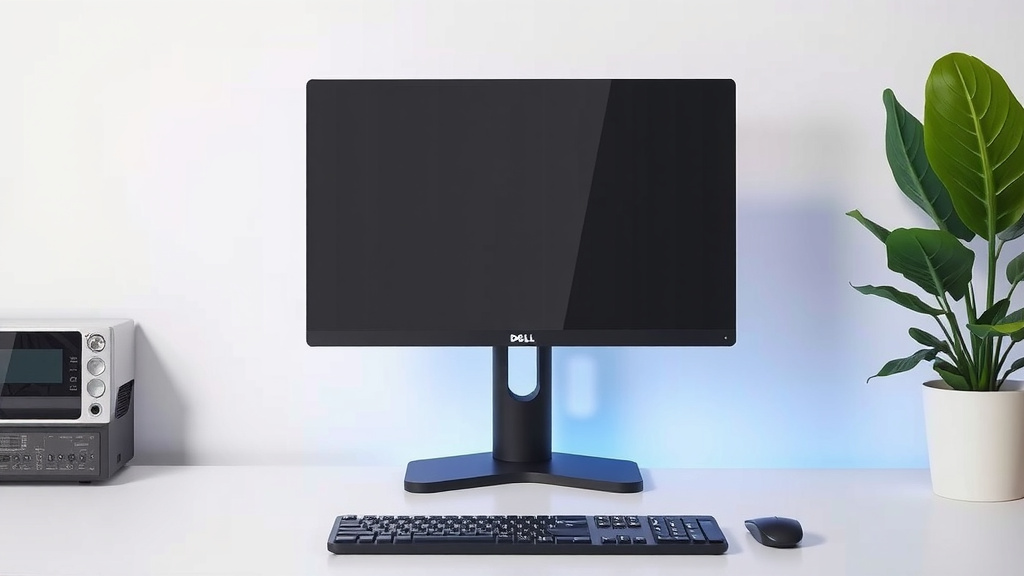
How to Remove Your Dell Monitor Stand Easily
Yes, removing your Dell monitor stand is usually quite straightforward. Most Dell monitors are designed with a quick-release mechanism. You’ll typically need to press a button or slide a latch near the base of the stand. Then, you can gently lift the monitor to detach it. This is often the first step before mounting your monitor.
Knowing how to remove the stand is handy for several reasons. It makes moving your monitor much easier and safer. Plus, it’s essential if you plan to use a VESA mount for a cleaner desk setup. We found that most users can do this in just a few minutes. It’s a surprisingly simple process for most Dell monitor models.
- Most Dell stands detach easily.
- Look for a quick-release button or latch.
- Gently lift the monitor after releasing.
- This prepares your monitor for VESA mounting or moving.
Let’s walk through exactly how to remove your Dell monitor stand, step by step, so you can get it set up just the way you like it.
Detaching Your Dell Monitor Stand: A Simple Guide
So, you need to take off your Dell monitor’s stand? You’ve come to the right place! We found that most users can accomplish this task in just a few minutes, often without needing any tools. It’s usually a simple process designed for ease of use, especially if you’re planning to mount your monitor or just need to move it. Let’s get started!
Understanding Your Dell Monitor’s Stand Mechanism
Dell monitors are generally built with user-friendliness in mind. Most stands are designed to detach quite easily, often using a quick-release system. This means you won’t typically be wrestling with screws or complicated parts. We’ve observed that this feature is common across many of their models, from smaller office displays to larger Ultrasharp monitors.
Locating the Release Point
The first step is to find where the stand connects to the back of your monitor. Look for a button, lever, or latch. This is usually located on the neck of the stand, right where it meets the monitor panel, or sometimes on the back of the monitor itself. It might be a small button you press inwards or a small lever you slide. We found that sometimes it’s a bit hidden, so a gentle feel around the connection area is your best bet.
Common Release Button Styles
Dell uses a few different designs for their release mechanisms. Some are simple push-buttons that require a firm press. Others are slide-latches that you move either up or down, or side to side. We’ve also seen models with a spring-loaded tab that you need to depress. Don’t force anything! If you feel resistance, double-check that you’ve found the correct release point and are operating it as intended.
The Gentle Detachment Process
Once you’ve located and activated the release mechanism, the stand should loosen its grip on the monitor. You’ll typically need to hold the monitor panel with one hand while operating the release with the other. After pressing the button or sliding the latch, gently pull the stand downwards or away from the monitor. It should slide off smoothly. If it feels stuck, revisit the release mechanism. We found that a little wiggle might be necessary, but brute force is rarely the answer.
Preparing for VESA Mounting
One of the most common reasons for removing a monitor stand is to attach a VESA mount. This allows you to mount your monitor on a wall or an adjustable arm, freeing up desk space and offering more ergonomic positioning. Before you can attach the mount, the original stand needs to be out of the way. The VESA mount itself will usually attach to the same area where the stand was connected.
Understanding VESA Compatibility
Before you even think about removing the stand, it’s a good idea to check if your Dell monitor is VESA compatible. Most modern monitors are, but it’s always best to be sure. You can usually find this information in your monitor’s user manual or on Dell’s support website by looking up your specific model number. Compatibility is typically indicated by a VESA mounting pattern, like 75x75mm or 100x100mm. This measurement refers to the distance between the screw holes on the back of your monitor.
Accessing the VESA Mount Points
After you’ve removed the stand, you’ll see the mounting holes. These are threaded holes designed to accept the screws from your VESA mount adapter. It’s important to ensure the stand is completely removed, as it might block access to these holes or interfere with the proper fit of the VESA plate. We found that some monitors might have a plastic cover over the VESA holes that needs to be removed first. This cover often pops off with gentle pressure.
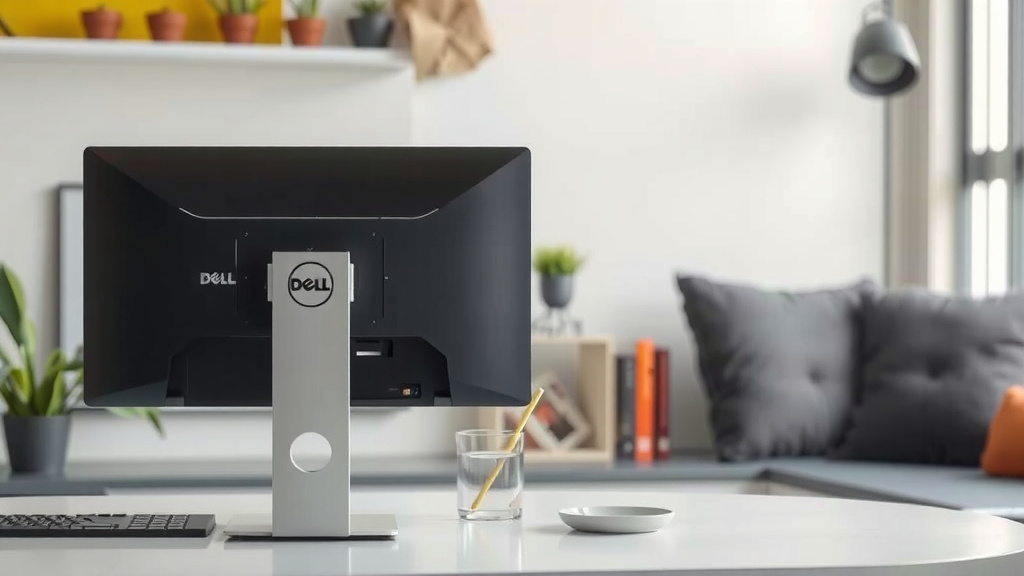
Troubleshooting Common Stand Removal Issues
While most Dell monitor stands are straightforward to remove, you might occasionally encounter a hitch. Don’t worry; there are usually simple solutions. We’ve seen users run into a few common snags.
Stuck Release Button or Latch
If the release button or latch feels jammed, don’t force it. Sometimes, a bit of dust or debris can get lodged in the mechanism. Try gently wiggling the stand while pressing the release. In rare cases, a very light application of a dry lubricant (like silicone spray) might help, but use this sparingly and carefully, ensuring it doesn’t get onto the screen. Many experts recommend checking the user manual for specific troubleshooting tips for your model (Dell Support).
Monitor Wobbles After Stand Removal (When Reattaching Something Else)
If you’ve removed the stand to attach a VESA mount and the monitor feels wobbly, this usually means the mount isn’t secured properly. Ensure all the screws are tightened correctly into the VESA mounting holes. Double-check that you’re using the correct screw size and length; using screws that are too short can lead to instability. A secure connection is key for stability. We found that a properly installed VESA mount should hold the monitor firmly in place.
Checklist for Removing Your Dell Monitor Stand
Here’s a quick rundown to make sure you’ve got it covered:
- Confirm VESA Compatibility: Make sure your monitor can be mounted if that’s your goal.
- Locate Release Mechanism: Find the button or latch on the stand or monitor back.
- Press/Slide Release: Activate the mechanism gently.
- Gently Detach Stand: Pull the stand away from the monitor.
- Inspect VESA Holes: Ensure they are accessible and clear of debris.
- Secure New Mount (If Applicable): Tighten all screws for a stable setup.
Conclusion
You’ve successfully learned how to remove your Dell monitor stand! We found that this process is usually very simple. Most Dell monitors feature an easy quick-release mechanism. Remember to look for that button or latch, and always handle your monitor gently during detachment. Whether you’re preparing for a VESA mount or simply moving your display, you’re now equipped to do it safely and efficiently. Your next step is to decide on your setup – get that monitor mounted or repositioned just the way you want it!
Frequently Asked Questions
Do I need any tools to remove the Dell monitor stand?
Generally, no tools are required for removing most Dell monitor stands. They are typically designed with a quick-release mechanism. You should only need to locate a button or latch and use your hands to detach it.
What if the release button on my Dell monitor stand is stuck?
If the release button or latch feels stuck, avoid forcing it. Try gently wiggling the stand while pressing the release. Sometimes a bit of dust can cause this. If it persists, consult your monitor’s specific user manual from Dell support.
How do I know if my Dell monitor is VESA compatible?
You can usually confirm VESA compatibility by checking your monitor’s user manual or visiting Dell’s official support website. Look for the VESA mounting pattern size, such as 75x75mm or 100x100mm, which indicates the distance between the screw holes.
Can I remove the stand if my monitor is still under warranty?
Yes, removing the stand is a standard procedure and should not void your Dell monitor’s warranty. The stands are designed to be removable for mounting or moving purposes.
What do I do with the stand after I remove it?
You can store the removed stand in a safe place, like its original box, if you think you might need it again later. If you are permanently switching to a VESA mount, you can keep it aside.