Connect Your Dell Monitor to Laptop: Simple Guide
Connecting your Dell monitor to your laptop is usually a straightforward process. You’ll typically just need to identify the correct ports on both devices and use the appropriate cable. This can instantly extend your workspace or mirror your laptop screen for presentations.
There are several types of cables you might use, depending on your laptop and Dell monitor models. Common options include HDMI, DisplayPort, and USB-C. Finding the right connection ensures a clear, crisp display. We’ve researched the most common methods to help you get set up quickly.
- Identify your laptop and monitor ports.
- Choose the right cable (HDMI, DisplayPort, USB-C).
- Plug both ends in securely.
- Adjust display settings on your laptop if needed.
Ready to get your Dell monitor hooked up? Below, we’ll walk you through the simple steps to connect your Dell monitor to your laptop and start enjoying a larger screen.
Connecting Your Dell Monitor to Your Laptop: A Simple Guide
Getting your Dell monitor up and running with your laptop is usually quite simple. You’ll likely just need to find the right ports and the correct cable. This setup can make your work much easier or help you share your screen during presentations. Let’s get you connected!
Identifying Your Ports: The First Step to Connection
Before you can plug anything in, you need to know what kind of connections your devices have. Think of ports like the doors on your devices. They need to match for a successful connection. Your laptop and your Dell monitor will have various ports on their sides or backs.
What Ports Are on Your Laptop?
Look at the sides of your laptop first. You’ll likely see ports like USB-A, HDMI, or perhaps USB-C. Some older laptops might also have DisplayPort or VGA. USB-C ports are becoming very common. They are small and oval-shaped. They can often carry video signals, data, and even power all through one cable. That’s pretty neat!
What Ports Are on Your Dell Monitor?
Now, check the back or the underside of your Dell monitor. You’ll find similar ports here. Dell monitors often have HDMI, DisplayPort, and sometimes VGA or DVI. Newer models are increasingly featuring USB-C ports as well. It’s important to match a port on your laptop to a compatible port on your monitor.
Choosing the Right Cable for Your Setup
Once you know your ports, you can pick the right cable. The cable is the bridge between your laptop and your monitor. Using the correct cable ensures you get the best picture quality. We’ve found that matching the port types usually leads to the smoothest experience.
HDMI: The Most Common Option
HDMI (High-Definition Multimedia Interface) is found on most modern laptops and monitors. It’s a very popular choice. It carries both video and audio signals. If both your laptop and Dell monitor have HDMI ports, this is often the easiest way to connect them. You’ll just need an HDMI cable.
We found that HDMI is a great all-around choice for most users. It’s easy to find and use. Just make sure to plug it in firmly. A loose connection can cause flickering or no picture at all.
DisplayPort: For High Performance
DisplayPort is another common connection, especially on business laptops and higher-end monitors. It’s known for supporting higher resolutions and refresh rates than HDMI. If you need the best possible visual performance, especially for gaming or professional graphics work, DisplayPort is excellent.
You’ll need a DisplayPort cable to connect your devices if both have this port. Many laptops and monitors also have Mini DisplayPort, which is a smaller version. It uses a similar cable, just a different connector shape.
USB-C: The Versatile Connector
USB-C is a real game-changer. This small, reversible connector can do a lot. Many newer laptops use USB-C for charging, data transfer, and video output. If your laptop and Dell monitor both have USB-C ports that support DisplayPort Alternate Mode (often called “DP Alt Mode”), you might be able to connect them with a single USB-C cable.
This is incredibly convenient! One cable can power your monitor, send video to it, and even transfer data. However, not all USB-C ports support video output. Check your laptop’s manual or look for a small DisplayPort logo next to the USB-C port. Many experts suggest confirming this capability before buying a USB-C cable.
Older Connections: VGA and DVI
If you have an older laptop or monitor, you might encounter VGA or DVI ports. VGA uses a blue, trapezoidal connector with pins. DVI is a larger, white connector that’s usually rectangular. These are older standards and generally offer lower video quality than HDMI or DisplayPort. If these are your only options, you’ll need the corresponding VGA or DVI cable.
Making the Physical Connection: Plugging It In
Once you have the right cable, the physical connection is simple. It’s like plugging in any other electronic device.
Step 1: Power Down (Optional but Recommended)
While many connections can be made “hot” (with devices on), it’s good practice to turn off both your laptop and your Dell monitor before plugging or unplugging cables. This helps prevent any unexpected electrical issues. Many IT professionals recommend this step to be safe.
Step 2: Connect the Cable
Take your chosen cable (HDMI, DisplayPort, USB-C, etc.). Plug one end securely into the correct port on your laptop. Then, plug the other end firmly into the matching port on your Dell monitor. You should feel a slight click or snug fit. Ensure the cable is fully seated in both ports.
Step 3: Power On
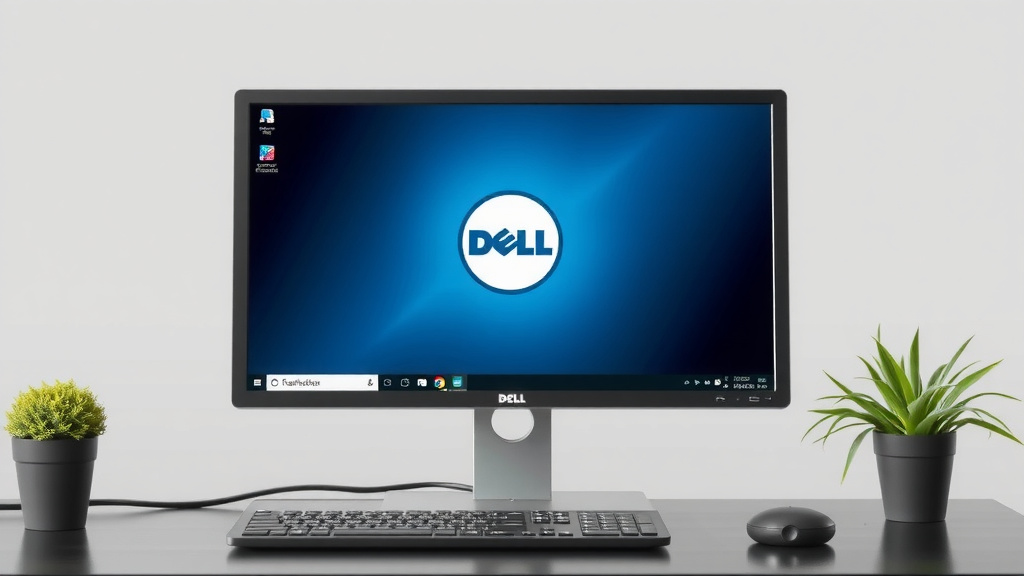
Turn on your Dell monitor first. Wait a moment for it to initialize. Then, turn on your laptop. Your laptop should detect the external monitor automatically. You might see your desktop appear on the Dell screen right away.
Configuring Your Display Settings
Sometimes, your laptop won’t automatically know how you want to use the external monitor. You might need to tell it. This is where your display settings come in. These settings let you choose how your laptop screen and Dell monitor work together.
Accessing Display Settings
On Windows, the easiest way is to right-click on an empty part of your desktop. Then, select “Display settings” from the menu that pops up. On macOS, go to the Apple menu, then “System Preferences,” and click “Displays.”
Understanding Display Modes
In the display settings, you’ll typically find options for how the monitors should behave. Here’s what they mean:
- Duplicate: This shows the exact same image on both your laptop screen and the Dell monitor. It’s great for presentations.
- Extend: This is like having one giant desktop that stretches across both screens. You can drag windows from one screen to the other. This is fantastic for multitasking.
- Show only on 1 / Show only on 2: This turns off one of the displays, so you only see content on the other.
We found that most people prefer the “Extend” mode for daily work. It offers the most flexibility. You can also adjust the resolution and arrangement of your monitors here. Make sure to drag the monitor icons to match their physical placement on your desk.
Troubleshooting Common Connection Issues
What if you follow all the steps and still don’t see a picture? Don’t worry, this happens! Here are a few quick checks.
- Check Your Input Source: Your Dell monitor likely has multiple input ports. Make sure the monitor is set to the correct input source (e.g., HDMI 1, DisplayPort). You can usually change this using buttons on the monitor itself.
- Try a Different Cable: Cables can sometimes fail. If possible, test with another known-good cable of the same type. We’ve seen cables go bad unexpectedly.
- Restart Your Devices: Sometimes, a simple restart of both your laptop and monitor can resolve detection issues.
- Update Graphics Drivers: Outdated graphics drivers on your laptop can cause display problems. Check your laptop manufacturer’s website or Windows Update for the latest drivers. Many sources suggest this is a key step for smooth performance (Microsoft Support).
A Quick Checklist for Success
Here’s a handy list to run through if you get stuck:
- Have you identified the correct ports on both devices?
- Are you using the right type of cable for those ports?
- Is the cable plugged in securely at both ends?
- Is the monitor set to the correct input source?
- Have you tried restarting your laptop and monitor?
Following these steps should help you get your Dell monitor connected and ready to go in no time. Enjoy your expanded workspace!
Conclusion
Connecting your Dell monitor to your laptop is a simple process that significantly boosts your productivity. You’ve learned to identify the right ports on both devices and choose the best cable type, whether it’s HDMI, DisplayPort, or USB-C. Properly plugging in your cable and configuring your display settings are the final steps to enjoying your expanded workspace. If you encounter any issues, remember to check your monitor’s input source or try a different cable. Now, go ahead and get that second screen set up!
Frequently Asked Questions
Can I use a USB-C cable to connect my Dell monitor if my laptop only has USB-A ports?
No, you generally cannot use a USB-A to USB-C cable for video output. USB-A ports on laptops typically do not support sending video signals. You will need a laptop with a USB-C port that supports DisplayPort Alternate Mode or a different video port like HDMI or DisplayPort.
My Dell monitor isn’t showing any picture. What’s the first thing I should check?
The most common reason for a blank screen is an incorrect input source selected on the monitor. Use the buttons on your Dell monitor to cycle through the available input options (like HDMI, DisplayPort, or USB-C) and make sure it matches the port your laptop is plugged into.
Will connecting an external Dell monitor affect my laptop’s performance?
Connecting an external monitor will use some of your laptop’s resources, particularly its graphics processing power. For everyday tasks like browsing or word processing, most modern laptops can handle an external display with ease. If you are running demanding applications or games, you might notice a slight impact.
What is the best cable to use for connecting my Dell monitor to my laptop?
The “best” cable depends on your devices. For most users, HDMI is a great all-around choice. If you need higher resolutions or refresh rates, DisplayPort is often preferred. USB-C is excellent if both your laptop and monitor support it, as it can carry video, data, and power over one cable.
How do I make my Dell monitor show the same content as my laptop screen?
To mirror your laptop screen on your Dell monitor, you need to set your display mode to “Duplicate.” You can find this option by right-clicking on your desktop and selecting “Display settings” on Windows, or by going to “System Preferences” > “Displays” on macOS.