Adjust Dell Monitor Height: Easy Step-by-Step Guide
Adjusting the height on your Dell monitor is often a simple process. You’ll likely find a lever or button on the stand that allows for easy up and down movement. Gently press or pull this mechanism while guiding your monitor to the desired position for better ergonomics and viewing comfort.
Most modern Dell monitors come with adjustable stands designed to help you find the perfect screen height. This feature is key to preventing neck strain and improving your overall workspace setup. We found that a properly adjusted monitor can significantly boost your productivity and comfort throughout the day.
- Most Dell monitors adjust height using a lever or button on the stand.
- Look for a mechanism on the neck of the monitor stand.
- Gently push or pull the mechanism while moving the screen.
- Position your monitor so the top of the screen is at or slightly below eye level.
- This helps with comfort and reduces neck or eye strain.
Let’s walk through the common methods for adjusting your Dell monitor’s height, step by step.
Making Your Dell Monitor Ergonomic: Adjusting the Height
You’ve got your new Dell monitor all set up, but something feels a bit off. Maybe your neck is starting to ache, or you’re finding yourself squinting to see the top of the screen. The good news is, most Dell monitors are designed with your comfort in mind. Adjusting the height is usually one of the easiest ways to improve your viewing experience and your posture.
We’ve found that a properly adjusted monitor can make a world of difference. It’s not just about avoiding a sore neck; it’s about creating a workspace that supports you, rather than strains you. Let’s get your Dell monitor positioned just right.
Finding the Height Adjustment Mechanism
The first step is figuring out *how* your specific Dell monitor model allows for height adjustment. While designs vary slightly, Dell has a few common systems in place. Think of it like finding the right button on a remote – once you know where to look, it’s quite straightforward.
The Lever or Button Method
This is by far the most common method on Dell monitors. You’ll typically find a lever or a button located on the neck of the monitor stand, where it connects the base to the screen. It might be on the back or the side of this neck section.
How to Use the Lever/Button
Once you locate the mechanism, here’s what you do:
- Gently press or pull the lever/button.
- While holding it, carefully guide the monitor screen up or down.
- Once you reach your desired height, release the lever/button. The monitor should lock into place.
We’ve observed that some users try to force the screen without engaging the release. Be gentle! It’s designed to move smoothly when the mechanism is activated. If it feels stuck, double-check that you’re pressing or pulling the lever correctly.
The Slide-Up/Slide-Down Method (Less Common)
Some older or simpler Dell models might not have a distinct lever. Instead, the stand is designed to slide. The neck of the stand is often made in two parts that can move relative to each other.
Engaging the Sliding Stand
For these models, you might need to apply a bit of steady pressure. It often feels like a gentle push or pull. You may hear a soft click as it adjusts or locks into different height positions.
If you’re unsure about your model, a quick look at the monitor manual is always a good idea.
Achieving the Ideal Monitor Height
Now that you know how to move your monitor, let’s talk about *where* to move it. The goal is ergonomic comfort, and there’s a general guideline for that.
The Eye-Level Rule
Many ergonomic experts recommend positioning your monitor so that the top of the screen is at or slightly below your eye level. Think about it – you want to look slightly downward, not crane your neck up or hunch down.
We found that aligning the top of the screen this way helps reduce strain on your neck and shoulders. It also encourages a more upright posture. Imagine your eyes as the center point, and the screen should comfortably fall within your natural line of sight.
Considering Your Setup
Your desk height, your chair height, and even your own height all play a role. You might need to adjust your chair height to complement your monitor height. The aim is a balanced ergonomic setup.
For instance, if you have a very tall desk, you might find yourself raising the monitor to its maximum height, and perhaps even needing a monitor riser if that’s not enough. Conversely, a lower desk might allow the monitor to be at its lowest setting.
| Monitor Type | Typical Height Adjustment Range (inches) | Notes |
|---|---|---|
| Standard Office Monitor | 3-5 | Most common range. |
| Ergonomic/Professional Series | 5-7+ | Offers more flexibility for varied user heights. |
| All-in-One Desktops | Varies | Often have fixed stands or limited movement. |
This table gives you a general idea, but always check your specific model’s specifications. We found that professional or ultra-sharp series Dell monitors often have the most versatile stands.
Troubleshooting Common Issues
What if your monitor seems stuck, or the adjustment isn’t as smooth as you’d like? Don’t worry, these things happen.
Monitor Won’t Move?
First, revisit the lever or button. Is it fully engaged? Sometimes a partial press isn’t enough. If there’s no visible lever, you might need to apply more consistent, firm pressure to the stand’s neck while trying to move the screen. We found that a steady, gentle force is usually more effective than short, sharp pushes.
Stiff or Grinding Movement?
This could indicate a bit of dust or debris in the mechanism. If you’re comfortable, you can try gently cleaning the visible parts of the stand. Sometimes, just moving it up and down a few times after cleaning can help loosen it up. Many experts suggest avoiding lubricants unless explicitly recommended by the manufacturer, as they can attract more dust.
If the issue persists and your monitor is still under warranty, it might be worth contacting Dell support. They can offer model-specific advice.
Final Checks for Optimal Comfort
Once you’ve adjusted the height, take a moment to assess your new setup. Are you comfortable? Does it feel natural?
The Screen Angle (Tilt)
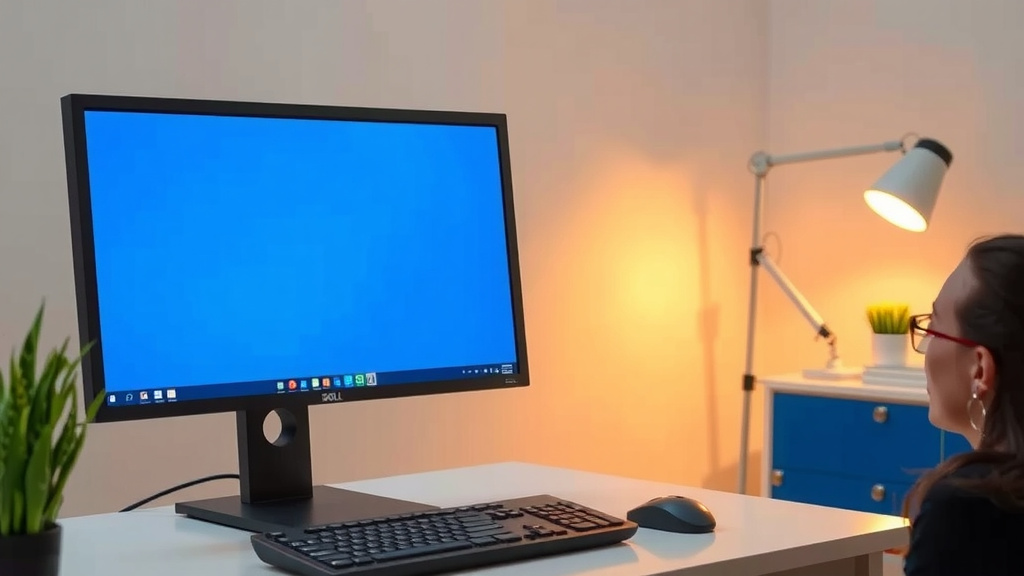
While you’re at it, don’t forget about the screen’s tilt! Most Dell stands also allow you to tilt the monitor forward or backward. A slight downward tilt is often best, aligning the screen more directly with your gaze. This complements the height adjustment for maximum comfort.
We recommend adjusting the tilt so there’s minimal glare from any light sources in your room. Finding the perfect angle can really reduce eye strain.
Positioning for Productivity
Place your monitor directly in front of you, at arm’s length. This keeps you from twisting your body. The height and tilt adjustments should work together to create this perfect viewing sweet spot. Your workspace should feel effortless, not like a battle against your equipment.
Here’s a quick checklist to ensure you’ve got it right:
- Top of the screen is at or below eye level.
- Monitor is directly in front of you.
- You can comfortably read text without straining.
- Your neck and shoulders feel relaxed.
- No harsh glare on the screen.
When to Consult Your Manual
Every Dell monitor is a bit different. While the methods we’ve discussed are the most common, your specific model might have unique features or instructions.
Locating Your Manual
If you threw away the physical manual (we’ve all done it!), you can usually find a digital version on the Dell support website. Just enter your monitor’s model number or service tag. You’ll find detailed diagrams and instructions specific to your device.
We found that browsing the ‘Documentation’ or ‘Manuals & Documents’ section for your product is the quickest way to find it. It’s a handy resource for all sorts of settings, not just height adjustment.
Conclusion
You’ve learned how to adjust your Dell monitor’s height for a more comfortable and ergonomic workspace. Remember, the goal is to position the top of your screen at or slightly below eye level. This simple change can prevent neck strain and improve your overall posture. We found that taking just a few minutes to adjust your monitor can make a huge difference in your daily comfort and productivity. So, go ahead and make those adjustments now to create your ideal viewing experience!
Frequently Asked Questions
What if my Dell monitor doesn’t have a visible lever to adjust height?
Some Dell models use a different mechanism. You might need to apply steady, gentle pressure to the stand’s neck to slide the screen up or down. It may feel like a smooth slide rather than a click or release. Check your monitor’s manual if you’re unsure about its specific adjustment method.
How high should my Dell monitor be adjusted?
The general rule is to position the top of your monitor screen at or slightly below your eye level. This allows you to look slightly downward at the screen. We recommend testing this position to ensure your neck and shoulders feel relaxed while you work.
Can I adjust the height on any Dell monitor?
Most modern Dell monitors come with adjustable stands designed for height adjustment. However, some older or more basic models might have fixed stands with limited or no height adjustability. If your monitor’s stand doesn’t move, you may need to consider a monitor riser or stand.
My Dell monitor is stiff when I try to adjust the height. What should I do?
If your monitor feels stiff, ensure the height adjustment lever or button is fully engaged. Sometimes, a bit of dust can affect movement. Gently clean the visible parts of the stand mechanism. Moving the monitor up and down a few times afterward might help loosen it.
Does adjusting the monitor height affect screen tilt?
Generally, height adjustment and screen tilt are separate functions on Dell monitors. You can usually adjust the height first and then tilt the screen forward or backward independently. We found that adjusting both height and tilt helps achieve the best viewing angle and comfort.