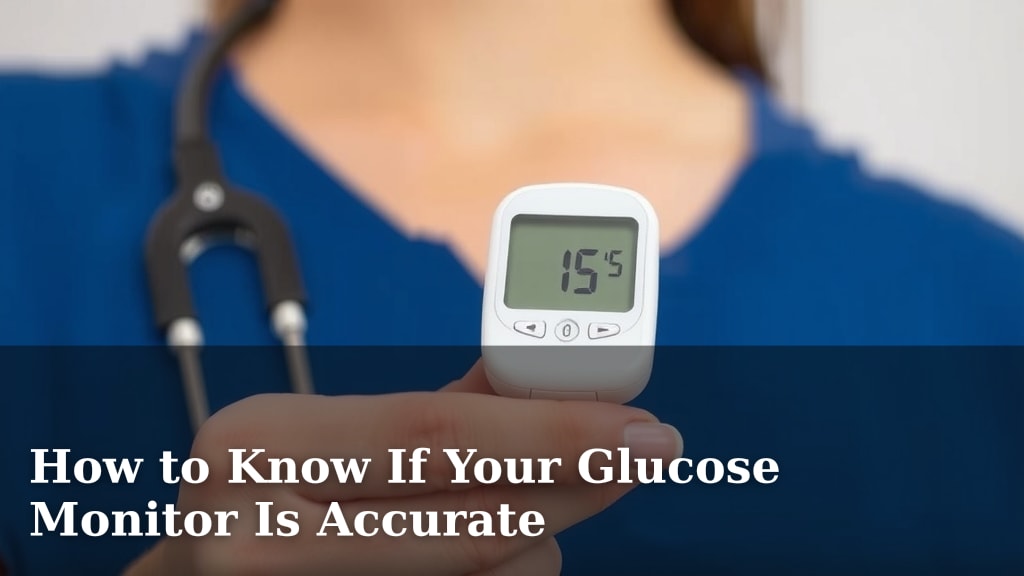
How to Know If Your Glucose Monitor Is Accurate
You can often tell if your glucose monitor is accurate by comparing its readings to lab results or using control solution. Consistent high or low readings compared to your doctor’s numbers or a known solution may signal a problem. This is important because an inaccurate monitor can lead to wrong treatment decisions. Don’t worry, most issues are fixable!
Keeping your glucose monitor accurate is vital for managing your diabetes effectively. We understand how frustrating it can be when numbers seem off. When your meter isn’t reading correctly, it can affect your medication, diet, and exercise plans. Let’s make sure your device is giving you the right information.
- Compare readings with lab tests.
- Use control solution regularly.
- Check your meter’s expiration dates.
- Ensure proper meter and strip handling.
Let’s walk through some easy ways you can check your glucose monitor’s accuracy right at home and what to do if it seems off.
Ensuring Your Glucose Monitor Gives You Accurate Readings
Keeping your blood glucose monitor accurate is essential for your diabetes management. When your meter is reliable, you can trust the numbers. This helps you make smart decisions about food, exercise, and medication. We’ll guide you through ways to check your meter’s accuracy. Think of it like checking the tire pressure on your car. You need correct readings to drive safely.
Understanding Glucose Meter Accuracy
Glucose meters use a small blood sample to measure your blood sugar level. They use a test strip and a meter to display the result. Accuracy means the meter’s reading is close to the actual blood glucose level. The Centers for Disease Control and Prevention (CDC) suggests most meters should be within 20% of lab results. This range helps ensure your treatment decisions are safe and effective. If your meter consistently shows numbers far from this range, it’s time to investigate.
Why Meter Accuracy Matters
An inaccurate glucose monitor can lead to some serious issues. If your meter reads too low, you might take too much insulin or medication. This can cause dangerously low blood sugar, known as hypoglycemia. On the other hand, if it reads too high, you might not take enough medication. This could lead to very high blood sugar, or hyperglycemia. Both conditions can have immediate and long-term health consequences. For example, frequent highs and lows can damage your eyes, kidneys, and nerves over time. Getting accurate readings is your first line of defense.
Checking Your Glucose Meter’s Accuracy at Home
Fortunately, you don’t always need a lab to check your meter’s accuracy. There are simple tests you can do yourself. These tests help you feel more confident in the numbers you see on your meter’s screen.
Using Control Solution
Control solution is a liquid with a known glucose level. It’s used to test the accuracy of your meter and strips. Think of it as a “calibration check” for your device. Most meter kits come with a bottle of control solution, or you can buy it separately. It’s a great way to troubleshoot readings that seem unusual.
When to Use Control Solution
- When you open a new vial of test strips.
- If you suspect your meter is not working correctly.
- When your blood glucose readings seem unusual.
- If your meter has been exposed to extreme temperatures.
- After dropping your meter or test strips.
How to Perform a Control Solution Test
- Make sure your meter and strips are within their expiration dates.
- Wash and dry your hands thoroughly.
- Insert a test strip into your meter.
- Apply a drop of control solution to the test strip.
- The meter will show a result. Compare this result to the range printed on your test strip vial or meter manual.
If your control solution test result falls within the acceptable range, your meter and strips are likely working fine. If it falls outside the range, you may need to troubleshoot further. We’ll cover that next.
Comparing Meter Readings with Lab Results
The most definitive way to check accuracy is by comparing your meter’s reading to a lab test. This requires a bit of coordination but provides a clear picture. Many experts recommend this for a thorough check. Plan this test when you visit your doctor or a lab for blood work.
Tips for a Successful Comparison Test
- Schedule your lab test for the same time you plan to check your meter.
- Tell your healthcare provider you are doing a meter comparison.
- When you get the finger prick for the lab, immediately do a finger prick for your meter.
- Wash your hands before the finger prick to avoid contamination.
- Use a fresh test strip and meter.
- Record both the lab result and your meter reading.
Don’t worry if the numbers aren’t exactly the same. Remember the 20% margin of error. For instance, if the lab result is 100 mg/dL, your meter reading should ideally be between 80 mg/dL and 120 mg/dL. If your meter readings are consistently outside this range compared to lab tests, your meter might need attention.
Troubleshooting Common Accuracy Issues
Sometimes, your glucose monitor might seem inaccurate because of simple, fixable problems. It’s good to rule these out before assuming the meter itself is faulty.
Check Expiration Dates
This might sound obvious, but it’s a common oversight. Test strips have expiration dates, just like food. Once expired, their chemical compounds can degrade, leading to inaccurate readings. Always check the expiration date on your test strip vial before using them. Don’t try to use strips past their date; it’s not worth the risk.
Proper Handling of Meter and Strips
Your glucose meter and test strips are sensitive. They need to be handled with care. Exposure to heat, humidity, or light can damage them. Always store them in their original containers in a cool, dry place. Avoid keeping them in your car or bathroom, where temperatures can fluctuate.
Hand Hygiene is Key
Always wash and dry your hands thoroughly before testing your blood glucose. Even a tiny bit of sugar, lotion, or food residue on your fingers can affect the reading. For example, if you just ate a sugary snack, trace amounts on your finger can falsely elevate your glucose reading. Clean hands give you the most reliable results.
Understanding Environmental Factors
Believe it or not, things like altitude and temperature can sometimes impact meter accuracy. If you live at a high altitude, or if you’ve recently traveled to one, your readings might be affected. Similarly, extreme temperatures can interfere with the meter’s performance. Check your meter’s manual to see if it has any specific warnings about these conditions.
When to Contact the Manufacturer or Your Doctor
If you’ve tried these troubleshooting steps and still suspect your meter is inaccurate, it’s time to reach out for help. Contact the customer support for your glucose meter’s manufacturer. They can often guide you through more advanced troubleshooting or arrange for a replacement meter. Your doctor or diabetes educator is also a great resource. They can help interpret your readings and confirm if your meter needs to be replaced.
Quick Accuracy Checklist
- Test strips are not expired.
- Meter and strips are stored properly.
- Hands are washed and dried before testing.
- Control solution test results are in range.
- Meter readings are compared with lab results periodically.
- Meter manual consulted for specific issues.
Conclusion
You’ve learned important ways to ensure your glucose monitor is giving you accurate readings. Remember, using control solution and comparing results with lab tests are your best bets. Simple checks like verifying expiration dates and proper handling can also make a big difference. Trusting your monitor means making better decisions about your diabetes management. If you have ongoing concerns, don’t hesitate to reach out to your meter’s manufacturer or your healthcare provider. Taking these steps helps you stay confident and in control of your health journey.
Frequently Asked Questions
How often should I test my glucose meter with control solution?
It’s a good practice to use control solution whenever you open a new vial of test strips. You should also perform this test if your meter readings seem unusual or if your meter has been exposed to extreme temperatures or was dropped. This regular check ensures your system is calibrated.
What’s the acceptable range for a control solution test?
The acceptable range for your control solution test results will be printed on your test strip vial or in your meter’s manual. You should compare your meter’s reading against this specific range. If your result falls outside this window, your meter or strips might be the issue.
Can my medication affect my glucose meter’s accuracy?
Certain medications can interfere with glucose meter readings, leading to inaccurate results. Factors like high vitamin C intake or specific treatments can sometimes cause issues. Always discuss any medications you are taking with your doctor or pharmacist, especially if you notice surprising glucose numbers.
What should I do if my glucose meter readings are consistently different from lab results?
If your meter consistently reads outside the 20% margin of error compared to lab results, it’s time to take action. First, double-check all the troubleshooting steps like expiration dates and proper handling. If problems persist, contact your meter’s manufacturer for support or ask your doctor about getting a new meter.
Is it okay to use expired test strips if my glucose monitor seems okay otherwise?
No, it’s never recommended to use expired test strips. The chemicals on the strips can degrade over time, leading to inaccurate glucose readings. Using expired strips can give you a false sense of security or lead to incorrect treatment decisions. Always use strips within their expiration date for reliable results.