How to Install a Low Voltage Monitoring System
Installing a low voltage monitoring system can be done by most homeowners with basic tools. You’ll connect sensors, run wires, and set up the main control unit. This guide will show you how to get your system up and running safely. It’s a great way to add security and peace of mind to your home.
These systems are designed for DIY installation, saving you money on professional setup. Understanding the basic components makes the process much easier. We’ve researched the common steps involved, so you know what to expect. Proper installation ensures your system works reliably when you need it most.
- Understand your system’s components before starting.
- Plan your sensor and wire placement carefully.
- Connect wires securely to the control panel.
- Test your system thoroughly after installation.
- Consult your manual for specific model instructions.
Ready to secure your home? Let’s walk through exactly how to install your low voltage monitoring system step by step.
Getting Started: Installing Your Low Voltage Monitoring System
Installing a low voltage monitoring system is a project many homeowners can tackle. It’s about connecting simple components securely. You’ll connect sensors, run wires, and set up the main control unit. This guide will walk you through the process. Proper installation ensures your system works when you need it.
Understanding Your System’s Components
Before you begin, get to know the parts of your system. This makes installation much smoother. Each component has a specific job. Knowing them helps you connect everything correctly.
The Control Panel (The Brain)
This is the heart of your system. It receives signals from sensors. It then sounds an alarm or sends notifications. Look for a secure, central location for this. It should be near a power outlet. Also, consider where you’ll access it for programming.
Sensors (The Eyes and Ears)
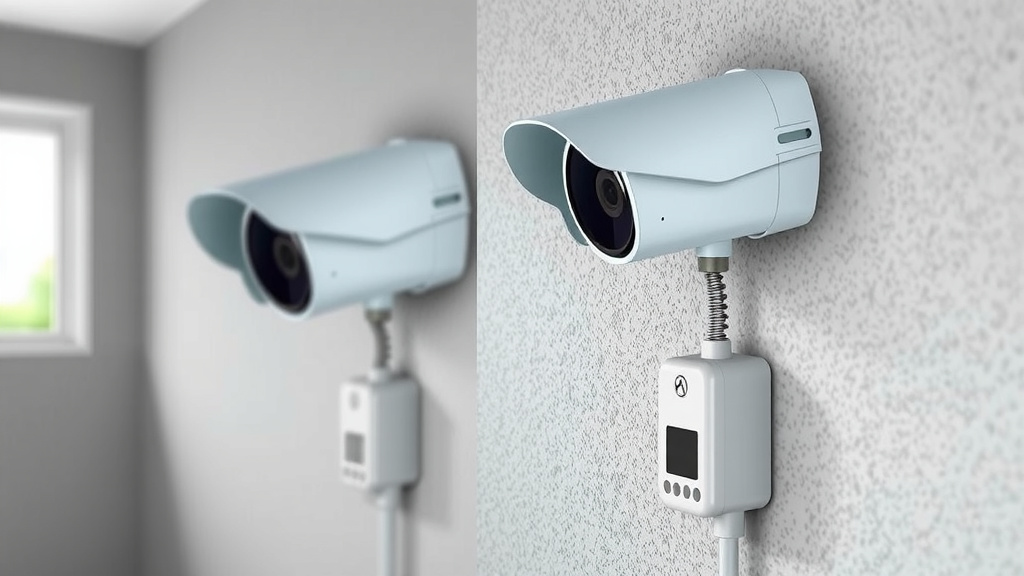
You’ll have various sensors. These detect things like motion, door/window openings, or water leaks. Each sensor has wires that connect back to the control panel. Think about where you need protection most. That’s where you’ll place your sensors.
Wiring (The Nervous System)
Low voltage wire connects all your sensors to the control panel. It’s usually thin and flexible. You’ll need to run this wire through walls or along baseboards. Proper wire management is key to a clean look. It also prevents damage.
Power Supply (The Heartbeat)
Your control panel needs power. It usually plugs into a standard wall outlet. Many systems also have a backup battery. This keeps the system running during power outages. Test this backup to be sure.
Planning Your Installation: Location, Location, Location
A little planning goes a long way. Think about where each piece will go. This saves you headaches later. Where you place things affects their effectiveness.
Choosing the Control Panel Location
Pick a spot that’s easily accessible. You’ll need to program and manage it. However, it shouldn’t be too obvious to intruders. Basements or closets can work well. Just ensure it’s close to a power source. Avoid areas with extreme temperatures.
Strategic Sensor Placement
Where do you need protection? Place door and window sensors on all entry points. Motion detectors should cover main living areas or hallways. Consider placement that avoids false alarms. Pets might trigger motion sensors. Facing them away from windows helps. Many experts suggest testing motion detector range beforehand (DIY Security Guide).
Routing Your Wires
This is often the most time-consuming part. You can run wires through attics or crawl spaces. You can also run them along baseboards or under carpets. For a cleaner look, consider fishing wires through walls. This requires some drywall work. Always follow local building codes. Researching safe wire-running practices is wise. You don’t want to drill into pipes or existing electrical wires.
Step-by-Step Installation Process
Now, let’s get your system installed. Take your time and follow these steps carefully. Safety first, always!
Mounting the Control Panel
Securely mount the control panel to a wall. Use the provided screws or mounting brackets. Ensure it’s level and firmly attached. This prevents it from falling.
Connecting the Sensors
Each sensor will have terminals for wire connections. Refer to your system’s manual for specific details. Typically, you’ll connect two wires to each sensor. Make sure these connections are tight. Loose wires are a common cause of system failure. Many installation guides recommend color-coding your wires if possible.
Running Wires to the Control Panel
Carefully run the wires from each sensor back to the control panel location. Use wire staples or clips to secure them neatly. Avoid sharp bends or kinks. Label each wire at both ends. This will save you confusion during the connection phase. It’s like labeling your luggage for a trip.
Connecting Wires to the Control Panel
Inside the control panel, you’ll find labeled terminals. Connect the wires from your sensors to the correct terminals. Match the labels on your wires to the panel’s zones. Again, ensure all connections are secure. A firm tug should confirm they won’t slip out. Many professionals recommend double-checking these connections.
Connecting the Power and Backup Battery
Plug in the control panel’s power adapter. If your system has a backup battery, install it now. Follow the manufacturer’s instructions for battery installation. This ensures power continuity.
Testing Your System Thoroughly
Testing is a vital step. You need to be sure everything works as it should. Don’t skip this part!
Initial System Power-Up
Turn on the system. Listen for any beeps or indicator lights. Your manual will explain what these mean. Check the display for any error messages. If you see errors, re-check your wiring connections.
Testing Each Sensor
Activate each sensor one by one. For a door sensor, open the door. For a motion detector, walk in front of it. The control panel should register the event. It might beep or show the zone that was triggered. This confirms your wiring and sensor function. Many systems have a “test mode” for this purpose.
Testing Communication (if applicable)
If your system contacts a monitoring service or sends smartphone alerts, test this. Arm the system and trigger an event. You should receive a notification or a call. Confirm the correct information is being sent. This ensures your system can alert you or others when needed.
Here’s a quick checklist to make sure you’ve covered the bases:
- Read your system’s manual thoroughly.
- Plan sensor and control panel locations.
- Run and label all sensor wires.
- Connect wires securely to the control panel.
- Test every sensor for proper function.
- Verify the system communicates alerts correctly.
Conclusion
You’ve successfully navigated the steps to install your low voltage monitoring system! By understanding your components, planning your layout, and carefully connecting everything, you’ve taken a big step toward home security. Remember, testing is your best friend – ensure every sensor and communication path works before you consider the job done. Now that your system is in place, take a moment to program your desired settings and familiarize yourself with its daily operation. You’ve got this!
Frequently Asked Questions
How do I know which wires connect to which terminals on the control panel?
Your system’s manual is your best guide here. It will have a diagram showing exactly which sensor wire goes to which zone terminal on the control panel. Double-check that you’ve labeled your wires at both ends to avoid confusion.
Can I run the low voltage wires outdoors?
Generally, it’s best to run low voltage wires indoors or in protected areas like attics and crawl spaces. If you must run wires outside, use weather-resistant, outdoor-rated cable to prevent damage from the elements.
What happens if I accidentally drill into a water pipe or electrical wire?
This is a serious risk. Always use a stud finder with a wire and pipe detection function before drilling into walls. If you suspect you’ve hit something, immediately stop drilling and consult a professional to assess the damage safely.
How often should I test my low voltage monitoring system?
We recommend testing your system at least once a month. This ensures all sensors are communicating properly and the control panel is functioning. It’s a quick process that gives you peace of mind.
What’s the difference between a low voltage system and a wireless system?
Low voltage systems require physical wires connecting sensors to the control panel, drawing minimal power. Wireless systems communicate via radio frequencies, meaning no wires are needed for sensors, though the main panel still needs power.