How to Get Your Second Monitor to Work Independently
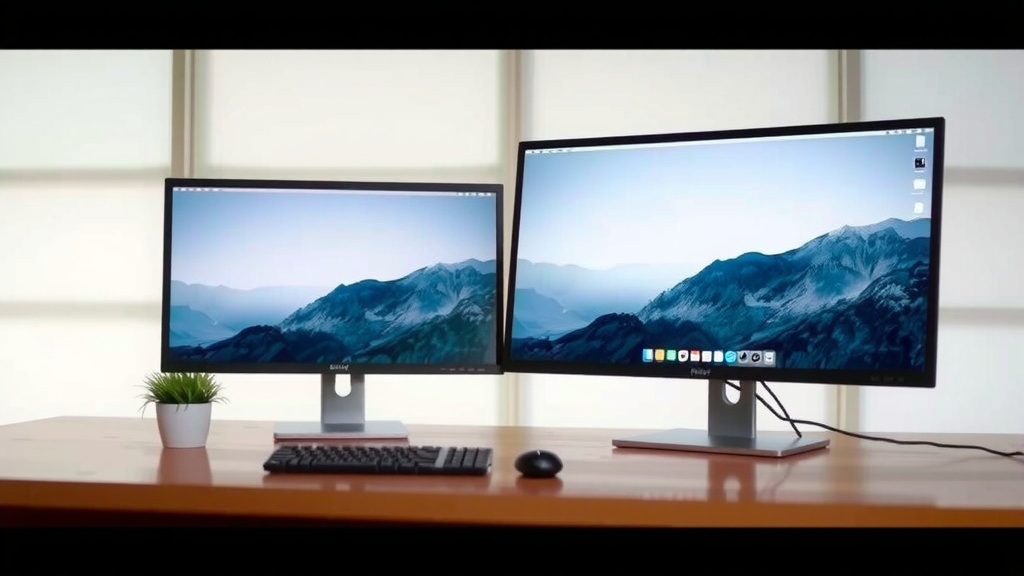
Yes, you can absolutely get your second monitor to work independently from your main display. This means you can extend your desktop across two screens, showing different content on each. It’s a fantastic way to boost your productivity and enjoy a more flexible workspace by easily setting up your dual monitor independent display.
Many users wonder if their computer can handle running two separate displays. The good news is that most modern graphics cards and operating systems, like Windows and macOS, are designed to handle this. Getting your second monitor to work independently is often just a matter of adjusting a few settings in your display preferences to achieve an extended desktop setup.
- Check your computer and monitor connections.
- Configure display settings in your operating system.
- Choose “Extend these displays” for independent use.
- Adjust resolution and orientation as needed.
- Troubleshoot common connection issues if necessary.
Let’s walk through exactly how to get your second monitor working independently, step by step. We’ll cover the simple settings adjustments you need to make.
Setting Up Your Second Monitor for Independent Use
Getting your second monitor to show something different from your main screen is totally doable. It’s often called an “extended desktop.” Think of it like getting a much bigger desk. You can spread your work out. One monitor can show your important documents. The other can hold your emails or a research tab. This makes your computer feel much more powerful. You’ll find yourself switching tabs less often. Productivity gets a nice boost this way.
Most modern computers and graphics cards are built for this. You just need to tell your computer what you want it to do. It’s not as complicated as it sounds. We’ll guide you through the simple steps to get your dual monitors working independently. Let’s make your workspace work smarter for you.
Checking Your Connections and Hardware
Before we dive into settings, let’s make sure everything is physically connected correctly. This might seem obvious, but it’s the most common hiccup for many people. A loose cable can cause all sorts of strange issues.
What Cables Do You Need?
Your computer likely has ports for video output. These are usually on the back of a desktop tower or on the sides of a laptop. Common connectors include HDMI, DisplayPort, and sometimes DVI or VGA. Your second monitor will have corresponding input ports. You’ll need a cable that matches the ports on both your computer and your monitor. For instance, if your computer has an HDMI port and your monitor has an HDMI input, you’ll need an HDMI cable.
Ensuring a Secure Connection
Plug one end of the cable into your computer’s video output port. Connect the other end to your second monitor’s video input port. Make sure both ends are firmly seated. Sometimes, cables can look plugged in but aren’t quite making solid contact. Give them a gentle push to ensure they’re secure. If you’re using a docking station or adapter, ensure those connections are also solid.
Powering On
Once your cables are connected, power on your second monitor. Then, turn on your computer. Your computer should detect the new display automatically. If it doesn’t show anything, don’t worry yet. We’ll address that in the software settings.
Configuring Display Settings in Windows
Windows makes it pretty straightforward to manage multiple displays. You’ll be using the Display settings, which are easily accessible. This is where you tell Windows how you want your screens to work together.
Accessing Display Settings
The quickest way to get there is to right-click on an empty area of your desktop. From the menu that pops up, select “Display settings.” This will open a window showing a diagram of your monitors. You’ll usually see boxes labeled ‘1’ and ‘2’ representing your displays.
Understanding Display Modes
In the Display settings window, you’ll see an option that says “Multiple displays.” This is the key setting for independent use. You’ll have a dropdown menu with several choices. Let’s look at what each one does:
- Duplicate these displays: This mode shows the exact same image on both monitors. It’s useful for presentations, but not for independent work.
- Extend these displays: This is the setting you want! It treats your two monitors as one large desktop. You can drag windows from one screen to the other. This allows for independent content on each screen.
- Show only on 1 or Show only on 2: This mode will disable one of your monitors. It’s like using only a single display.
Setting Up for Extended Desktop
Select “Extend these displays” from the dropdown menu. Once you select this, click “Keep changes” if prompted. You should now see your desktop extend across both screens. You can move your mouse cursor from one screen to the other. If the monitors aren’t arranged logically in the settings (e.g., monitor 2 is shown to the left of monitor 1, but it’s physically on the right), you can drag the boxes labeled ‘1’ and ‘2’ to match their real-world placement. This ensures your mouse moves naturally between them.
Adjusting Resolution and Orientation
Sometimes, the default resolution or orientation might not be perfect. You can adjust these for each monitor individually. Scroll down in the Display settings. You’ll see options for “Display resolution” and “Display orientation.” Click on the monitor you want to adjust (you can click “Identify” to see which number corresponds to which screen). Then, choose the desired resolution from the dropdown. For orientation, you can choose “Landscape” (normal) or “Portrait” (rotated 90 degrees). This is helpful if you’ve physically rotated one of your monitors.
Configuring Display Settings in macOS
Mac users will find that setting up a second monitor is also quite intuitive. Apple’s macOS has a user-friendly interface for managing displays.
Accessing Display Settings
On your Mac, click the Apple menu in the top-left corner of your screen. Then, select “System Settings” (or “System Preferences” on older macOS versions). In the System Settings window, look for “Displays” in the sidebar and click it.
Arranging Your Displays
You’ll see icons representing your connected displays. By default, macOS usually sets up a second monitor in “extended desktop” mode. You can see how your displays are arranged. If you want to change their relative positions, simply click and drag the display icons to match how they are physically set up on your desk. This ensures your mouse moves correctly between them. You can also specify which display is your “primary” display (where the menu bar appears) by dragging the white menu bar from one display icon to another.
Display Mode Options (Mirroring vs. Extended)
Within the Displays settings, you’ll find options for how your displays interact. You can choose to “Mirror Displays” or have them act as an “Extended Desktop.” For independent use, you’ll want to ensure “Mirror Displays” is turned off. When mirroring is off, macOS treats each display as its own space, allowing you to extend your desktop across them.
Adjusting Resolution and Refresh Rate
For each display, you can adjust its resolution and refresh rate. Click on the icon for the display you want to configure. You’ll see options for “Resolution.” You can choose “Default for display” or select “Scaled” to pick a specific resolution. For refresh rate, there’s often an option to choose the fastest possible rate your monitor supports, which can lead to smoother visuals. Making these adjustments ensures each screen looks its best and performs well.
Troubleshooting Common Issues
Even with the right settings, sometimes things don’t work perfectly the first time. Don’t get discouraged! Most problems are easily fixed.
My Second Monitor Isn’t Detected
If your computer doesn’t see the second monitor at all:
- Check cables again. Seriously, double-check that they are plugged in securely at both ends.
- Try a different port. If your computer has multiple video output ports, try using a different one.
- Restart your computer. A simple reboot can often resolve detection issues.
- Update graphics drivers. Outdated drivers can cause problems. Search online for your graphics card model and download the latest drivers from the manufacturer’s website (e.g., NVIDIA, AMD, Intel).
Display is Blurry or Wrong Resolution
If the image on your second monitor looks fuzzy or the resolution is incorrect, you’ll want to go back to the display settings mentioned earlier. Ensure you have selected the native resolution for that specific monitor. The native resolution is usually the highest resolution listed and provides the sharpest image.
Mouse Cursor Movement is Odd
If your mouse cursor jumps strangely between screens or doesn’t move where you expect, you likely need to rearrange the display icons in your operating system’s display settings. Make sure the virtual layout of the monitors in the settings matches their physical placement on your desk. This is a common fix for disorienting mouse behavior.
Setting up a second monitor to work independently is a fantastic way to enhance your computing experience. By following these steps, you should have your extended desktop up and running in no time, ready to boost your productivity!
Quick Checklist for Independent Displays
- Verify all cable connections are secure.
- Ensure your second monitor is powered on.
- Select “Extend these displays” (Windows) or ensure mirroring is off (macOS).
- Arrange display icons to match physical setup.
- Set optimal resolution and orientation for each screen.
- Restart your computer if detection issues persist.
Conclusion
You’ve successfully learned how to get your second monitor working independently! This “extended desktop” setup is a powerful way to organize your digital workspace. We’ve covered everything from checking physical connections to navigating display settings in both Windows and macOS. You now have the knowledge to set up your dual monitors to show different content, making your computer more productive. Don’t hesitate to revisit these steps if you ever need to reconfigure your displays. Your next step is to try dragging a window to your new screen and experience the improved workflow!
Frequently Asked Questions
Can I use a really old monitor with my new computer?
You likely can, but you’ll need the right adapter. Older monitors might use VGA or DVI connections, while newer computers typically use HDMI or DisplayPort. Ensure you get a reliable adapter that converts the signal correctly between the ports.
What happens if my second monitor is a different size or resolution than my main one?
That’s perfectly fine! Your computer will adjust. You can set different resolutions for each screen in your display settings. Just make sure to arrange the monitors in the settings to match their physical placement so your mouse moves smoothly between them.
My second monitor is showing in black and white, what’s wrong?
This often happens if the cable isn’t fully seated or if you’re using a very old, incompatible cable. Double-check that your cable is securely plugged in at both the computer and monitor ends. If possible, try a different, newer cable or adapter.
Do I need a fancy graphics card to run two monitors?
Not usually. Most modern integrated graphics (built into your CPU) and dedicated graphics cards can easily handle two displays. The key is ensuring your computer has enough video output ports, or you have a suitable splitter or docking station.
How do I make my second monitor the main one?
In your display settings (Windows: Right-click desktop > Display settings; macOS: Apple menu > System Settings > Displays), you can designate a primary display. Look for an option to set one monitor as the “main display” or drag the white menu bar icon to the desired monitor’s representation.