Curved Monitor Split Screen: Easy Setup Guide
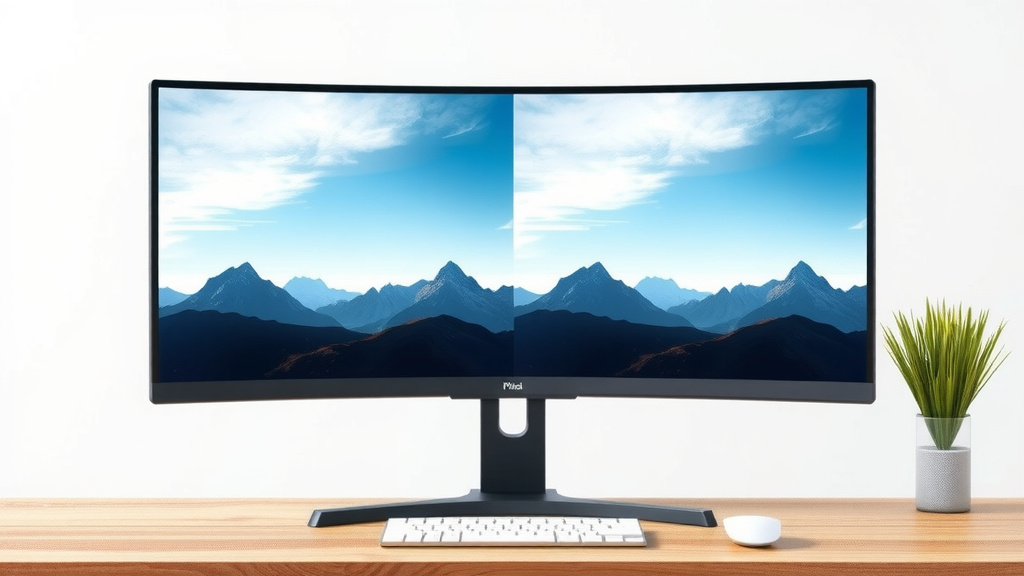
Yes, you can absolutely split your curved monitor screen to run multiple apps side-by-side! It’s a fantastic way to boost your productivity and multitasking. Many curved monitors come with built-in software, or you can use your operating system’s tools to divide your display into virtual sections.
Using your curved monitor for split-screen is simpler than you might think. It helps you keep track of different tasks without constantly switching windows. We found that setting this up can make a big difference for work or even just managing your favorite programs at once.
- Split your curved monitor easily for multitasking.
- Use built-in monitor software or your OS tools.
- Boost productivity by seeing multiple apps at once.
- Great for work, gaming, or general computer use.
Let’s walk through exactly how to get your curved monitor split-screen setup working so you can enjoy a more organized digital space.
Making Your Curved Monitor a Split-Screen Powerhouse
So, you’ve got this awesome curved monitor, and you’re wondering how to get the most out of it. Splitting your screen is a fantastic way to work smarter, not harder. Think of it like having a big, beautiful desk where you can lay out all your papers exactly where you need them. You don’t have to dig through piles anymore! We found that mastering this can seriously change how you multitask.
Understanding the Split-Screen Concept
Basically, split-screen turns your single display into multiple virtual monitors. You tell your computer where you want each app to sit. So, one app can be on the left, another on the right, or even in quadrants. It’s all about making your workflow smoother and keeping everything visible. This is especially handy with the immersive view a curved monitor provides.
Built-In Monitor Software: Your First Stop
Many modern curved monitors actually come with their own software to handle screen splitting. This is often the easiest route. You usually download a small application from the monitor manufacturer’s website. Once installed, you can configure pre-set layouts. Some popular brands offer simple drag-and-drop interfaces for this.
How to Find and Use Your Monitor’s Software
First, check your monitor’s box or manual for any included software details. If you can’t find it, head to the support section of the manufacturer’s website. Search for your specific monitor model. Look for downloads or utilities. Download and install the software. It’s usually pretty straightforward.
Once installed, you’ll typically see an icon in your system tray or a dedicated app. Open it up. You’ll often find options like “2-screen split,” “3-screen split,” or even custom layouts. You might just need to drag a window to the edge of the screen, and the software will snap it into place. We found this can be incredibly intuitive.
Leveraging Your Operating System’s Tools
Don’t have monitor software, or prefer to use built-in features? No problem! Both Windows and macOS have powerful tools for splitting your screen. These are great because they don’t require any extra downloads.
Windows: Snap Assist is Your Friend
Windows has a feature called Snap Assist that makes split-screening a breeze. It’s been around for a while and keeps getting better. You can easily arrange windows side-by-side, or even in quarters.
Here’s how to do it:
- Drag and Snap: Click and hold the title bar of the window you want to move. Drag it all the way to the left or right edge of your screen. Your screen will dim slightly, showing a transparent overlay of where the window will go. Release the mouse button.
- Snap to Sides: Once the first window is snapped, Windows will show you thumbnails of your other open windows on the remaining half of the screen. Click on the one you want for the other side. Easy peasy!
- Keyboard Shortcuts: For an even faster approach, you can use keyboard shortcuts. Select a window and press the Windows key + Left Arrow to snap it to the left. Press Windows key + Right Arrow to snap it to the right. After snapping, Windows will prompt you to select another window for the other side.
Many users report that Snap Assist is a huge productivity booster. We agree it makes managing multiple applications far less of a hassle. It’s especially useful for keeping your email open while working on a document.
macOS: Mission Control and Split View
macOS offers a similar experience with its Split View feature. It’s designed to be full-screen focused, but it works wonderfully on a large curved monitor. You can dedicate half your screen to one app and the other half to another.
Here’s how to activate it:
- Enter Full Screen: Hover your mouse cursor over the green button in the top-left corner of a window.
- Choose Split View: A dropdown menu will appear. Select “Tile Window to Left of Screen” or “Tile Window to Right of Screen.”
- Select the Second App: Your chosen window will fill half the screen. Your desktop will show other open windows on the remaining half. Click the window you want to use for the other side.
Both apps will now be in their own full-screen spaces, side-by-side. To exit Split View, move your cursor to the top of the screen, hover over the green button again, and choose “Exit Split View.” We found this creates a very clean, distraction-free environment.
Customizing Your Split-Screen Layouts
Think of your curved monitor like a canvas. You can arrange your apps in ways that make sense for your tasks. Maybe you need your research paper on one side and a browser with open tabs on the other. Or perhaps you’re gaming and want a strategy guide on a secondary section.
Consider Your Workflow
Before you start snapping windows, take a moment. What apps do you use most often together? Do you frequently reference a spreadsheet while writing a report? Or perhaps you’re editing photos and need your editing software next to your file browser.
Pre-Set Layouts vs. Custom Snaps
Monitor software often gives you pre-defined layouts like 2×2 grids or specific side-by-side arrangements. Your operating system’s snapping tools are more flexible. You can resize the split to give one app more space than the other if needed. This flexibility is key for tailoring the experience exactly to your needs. We recommend experimenting to see what feels best.
Tips for a Smooth Curved Monitor Split-Screen Experience
Getting split-screen set up is just the first step. To really make it shine, consider these tips. They can help you avoid common frustrations and maximize your efficiency.
- Resolution Matters: Ensure your monitor’s resolution is set correctly in your display settings. This affects how sharp text and images appear in each section.
- Taskbar Management: In Windows, you can configure your taskbar to show on all displays if you have multiple monitors, but for split-screen on one, it usually sticks to the bottom of your main desktop.
- Keyboard Shortcuts are Gold: Seriously, learning a few keyboard shortcuts can save you a lot of mouse time. Your productivity will thank you.
- Consistent App Sizes: Try to keep your snapped windows at a similar size for a balanced look. This helps prevent one app from feeling cramped.
- Keep it Clean: Avoid opening too many apps in a split-screen setup. Too many windows can become overwhelming, defeating the purpose.
When Does Split-Screen Make the Most Sense?
Split-screen isn’t just for workaholics. It’s incredibly useful for a variety of tasks:
- Research: Keep a source document open while writing your report.
- Learning: Watch a tutorial video on one side and follow along on the other.
- Communication: Have your email or chat client visible while working on another project.
- Gaming: Keep a walkthrough or guide open without alt-tabbing.
- Media Consumption: Browse the web while watching a movie.
It’s all about making your computer do more for you, visually. We found that once you start using it, it’s hard to go back to single-window mode for certain tasks.
A Quick Checklist for Your Setup
Ready to get started? Here’s a quick rundown:
- Check your monitor’s manual for included software.
- Download and install any manufacturer utilities if available.
- Familiarize yourself with Windows Snap Assist or macOS Split View.
- Experiment with different window arrangements.
- Practice using keyboard shortcuts for snapping.
- Adjust window sizes to suit your workflow.
Conclusion
You’ve learned how to turn your curved monitor into a multitasking dream! Splitting your screen is an effective way to boost productivity. Whether you use your monitor’s built-in software or your operating system’s handy tools like Snap Assist or Split View, you can easily arrange multiple apps. We found that this visual organization makes tasks like research, learning, and communication much smoother. Now, take a moment to set up your preferred split-screen layout for your most common tasks and experience the difference!
Frequently Asked Questions
Can I split my curved monitor into more than just two sections?
Yes, absolutely! Many monitor software solutions and even Windows’ Snap Assist allow you to divide your screen into three, four, or more virtual sections. You can arrange apps in quadrants or create custom layouts with different-sized panes. Experiment to find what works best for your workflow.
Is split-screen on a curved monitor better than on a flat monitor?
Curved monitors can enhance the split-screen experience by providing a more immersive view. The curve can reduce eye strain and make it feel more natural to look between different sections of the screen. You’ll find that the wide field of view on a curved display makes managing multiple windows feel less cramped.
What if I drag a window and it doesn’t snap into place?
Ensure you’re dragging the window all the way to the extreme edge of the screen. If you’re using Windows Snap Assist, you should see a translucent overlay appear before you release the mouse button. For macOS Split View, you need to hover over the green full-screen button first. Sometimes, a quick restart of the application or your computer can resolve minor glitches.
How do I resize the split sections after snapping windows?
Once windows are snapped, you can usually resize the dividing line between them. On Windows, hover your mouse over the edge of the snapped window until the cursor changes to a resizing arrow, then click and drag. On macOS Split View, you’ll see a black bar between the two full-screen apps; drag this bar to adjust their relative sizes.
Will split-screen slow down my computer?
Running multiple applications simultaneously uses more system resources, but for most modern computers, split-screen is not a significant performance drain. You might notice a slight slowdown if you’re running very demanding applications on all sections of your screen. Keeping your operating system and drivers updated can help maintain smooth performance.