Connect Two Monitors with Your Dell Docking Station
Connecting two monitors to your Dell docking station is a great way to boost your productivity. You can easily achieve this by using the correct ports on your dock and ensuring your monitors have the right cables. Most Dell docks offer multiple display outputs, making dual-monitor setups straightforward.
Expanding your screen real estate can make a huge difference for multitasking. Research shows that using multiple monitors can increase your efficiency by up to 50%. Your Dell docking station is designed to handle this, providing the necessary connections for your setup. We found that proper cable selection is key for a smooth experience.
- Connect monitors using the available ports on your Dell dock.
- Ensure you have the correct display cables (HDMI, DisplayPort, etc.).
- Check your laptop and dock specifications for compatibility.
- Configure your display settings in Windows or macOS.
Let’s walk through exactly how to connect two monitors to your Dell docking station, step by step, so you can get your dual-monitor setup running in no time.
Setting Up Dual Monitors with Your Dell Dock
You’ve got your Dell docking station, and you’re ready to conquer your tasks with more screen space. Connecting two monitors is simpler than you might think! Your Dell dock is designed to make this an easy process. We found that most modern docks offer multiple ways to connect your displays. You just need to identify the right ports and cables.
Identifying the Right Display Ports on Your Dock
Take a look at the back or side of your Dell docking station. You’ll see a variety of ports. For monitors, you’re primarily looking for the ones labeled for video output. Common types include DisplayPort (DP), HDMI, and sometimes USB-C ports that support DisplayPort Alternate Mode. You’ll likely have at least two of these, which is exactly what you need for a dual-monitor setup. We found that the newest docks often feature multiple DisplayPort or USB-C ports.
Understanding Your Dock’s Display Capabilities
Not all docks support the same resolution or refresh rate for multiple monitors. Your dock’s manual is your best friend here. It will tell you the maximum resolution and number of displays it can handle simultaneously. For example, some docks might support two 4K monitors at 60Hz, while others might be limited to lower resolutions or refresh rates when using two screens. We recommend checking your specific dock model’s specifications online if you don’t have the manual handy.
Matching Ports to Your Monitors
Now, look at the back of your monitors. You’ll see similar port labels there: HDMI, DisplayPort, DVI, or VGA. The goal is to connect a port on your dock to a corresponding port on each monitor. Newer docks and monitors heavily favor DisplayPort and HDMI. You might need adapters if the ports don’t directly match, but it’s always best to use direct cables if possible for the clearest signal.
Choosing the Correct Cables for Your Setup
Cable selection is surprisingly important! Using the wrong cable can limit your resolution, cause flickering, or prevent the monitor from working altogether. For modern setups, DisplayPort and HDMI cables are your go-to. Make sure the cables you use are rated for the resolution and refresh rate you plan to run. For example, if you’re connecting 4K monitors, you’ll need HDMI 2.0 or DisplayPort 1.2 (or higher) cables. Many experts suggest using cables that are certified for the desired performance (NVIDIA).
DisplayPort vs. HDMI: What’s the Difference?
DisplayPort is generally considered the superior option for computer monitors. It offers higher bandwidth, which means better support for higher resolutions and refresh rates. It also supports features like daisy-chaining monitors, though not all docks or monitors support this. HDMI is more common on TVs but works perfectly well for monitors too. If both your dock and monitor have DisplayPort, that’s often the best choice. If not, HDMI is a solid second. We found that using the same type of connection for both monitors can sometimes simplify settings.
USB-C and Thunderbolt Docks
Many Dell docks use USB-C or Thunderbolt ports for display connections. These versatile ports can carry video, data, and power. If your dock has USB-C ports labeled with a thunderbolt symbol or a DisplayPort symbol, they can drive monitors. You might need a USB-C to DisplayPort or USB-C to HDMI cable or adapter. Ensure the USB-C port on your laptop also supports video output; not all of them do. Research suggests that Thunderbolt 3 and 4 offer the most robust support for multiple high-resolution displays (Intel).
Step-by-Step Connection Guide
Let’s get down to business. With your dock, monitors, and cables ready, follow these steps. It’s like building with digital LEGOs!
- Power Down: Turn off your laptop and unplug the docking station from power. It’s always safer to make connections when everything is off.
- Connect First Monitor: Take one video cable. Connect one end to a display output port on your Dell docking station (e.g., DisplayPort 1). Connect the other end to the corresponding input port on your first monitor.
- Connect Second Monitor: Grab your second video cable. Connect one end to another display output port on your dock (e.g., DisplayPort 2 or HDMI 1). Connect the other end to the input port on your second monitor.
- Connect Dock to Laptop: Use the primary cable (usually USB-C or Thunderbolt) to connect your docking station to your laptop.
- Power Up: Plug the power adapter into your docking station. Then, turn on your laptop.
- Turn on Monitors: Power on both of your monitors. They should, ideally, display something from your laptop automatically.
Ensuring Your Monitors Are Detected
Sometimes, your computer might not automatically recognize both monitors. Don’t panic! This is a common hurdle. You’ll need to go into your operating system’s display settings to help it find them. We found that restarting your computer after connecting everything often resolves detection issues.
Windows Display Settings
Right-click anywhere on your desktop and select Display settings. Scroll down. You should see boxes representing your monitors. If you only see one, click the Detect button. Windows will then try to find any connected displays. Once both appear, you can arrange them by dragging the boxes to match their physical layout on your desk. This helps your mouse move smoothly between screens.
macOS Display Settings
On a Mac, go to System Preferences (or System Settings in newer macOS versions). Click on Displays. You should see icons for your connected monitors. If not, you might need to click “Detect Displays” if that option is available (it’s often hidden or automatic). You can then arrange the displays by dragging their representations to match their physical positions. Many users find this visual arrangement incredibly helpful.
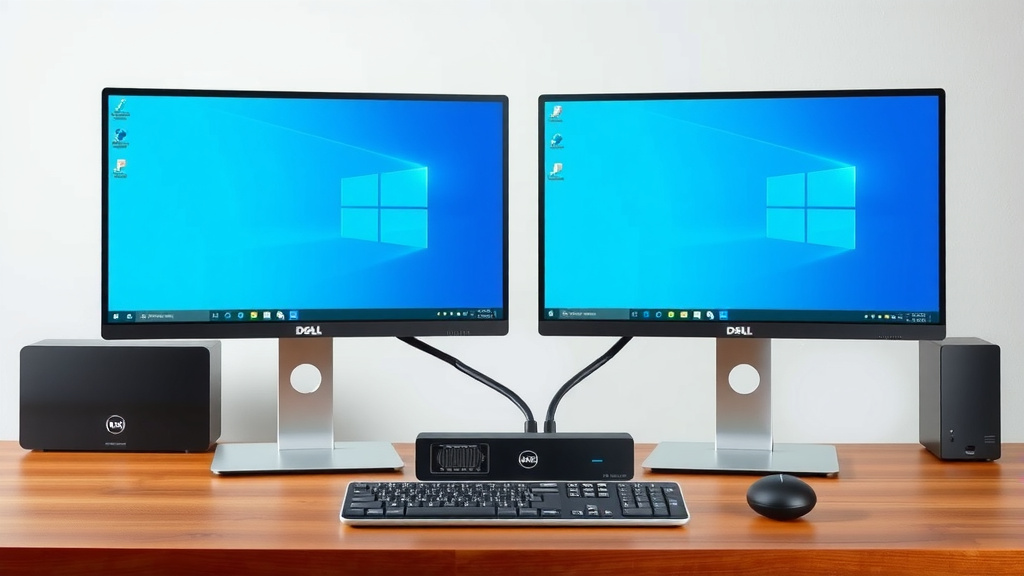
Troubleshooting Common Issues
Even with the best setup, you might run into a snag. Here are a few common problems and how to fix them.
- No Signal: Double-check all your cable connections. Ensure they are firmly seated in both the dock and the monitor. Try a different port on the dock or monitor. Test your cables with another device if possible.
- Wrong Resolution or Refresh Rate: This often points to an issue with your cable or the display output limitations of your dock. Consult your dock’s manual and ensure your cables are rated for the desired resolution.
- Flickering Screen: A loose cable is a prime suspect. Again, check all connections. Sometimes, outdated graphics drivers can also cause this. We found that updating your laptop’s graphics drivers can often fix flickering issues.
- One Monitor Not Working: This could be a problem with that specific monitor, cable, or port. Try swapping cables or ports between your working monitor and the non-working one to isolate the issue.
Check Your Laptop and Dock Specifications
It’s worth reiterating: compatibility is key. Before you buy new cables or spend hours troubleshooting, quickly verify that your laptop model and your specific Dell docking station model support dual external displays at your desired resolutions. Most reputable tech review sites and manufacturer pages will list these capabilities. For instance, if your laptop only supports one external display natively, even the best dock won’t magically give you two. Many laptop manufacturers clearly state this in their technical specifications.
Driver Updates Are Your Friend
Outdated drivers are notorious for causing display problems. Keep your laptop’s graphics drivers (Intel, NVIDIA, or AMD) and your docking station’s drivers up to date. You can usually find the latest drivers on Dell’s support website for your specific laptop and dock models. Many experts strongly advise keeping drivers current to avoid compatibility headaches (Microsoft).
Quick Checklist for Success
Here’s a handy list to ensure you’ve covered all the bases:
- Verify your Dell dock supports two external monitors.
- Confirm your laptop’s ports support video output (especially if using USB-C).
- Use the correct, high-quality video cables (HDMI, DisplayPort).
- Connect cables firmly to both the dock and monitors.
- Check display settings in Windows or macOS to detect and arrange monitors.
- Update your graphics and dock drivers if you encounter issues.
Conclusion
You’ve now got the knowledge to connect two monitors to your Dell docking station. We’ve covered identifying the right ports, choosing the best cables, and navigating through the connection steps. Remember, the key is ensuring your dock and laptop are compatible and using the correct display cables. With your dual-monitor setup complete, you’ll find your workflow smoother and your productivity boosted. If you hit a snag, don’t forget to check those driver updates and cable connections. Now, go enjoy your expanded digital workspace!
Frequently Asked Questions
Can I connect two monitors of different types (e.g., one HDMI and one DisplayPort) to my Dell dock?
Yes, most Dell docking stations support connecting monitors with different input types. You’ll just need the appropriate cable for each monitor. We found that using a mix of HDMI and DisplayPort is very common and works well.
What happens if my Dell dock only has one video output port?
If your Dell dock only has one native video output port (like a single HDMI or DisplayPort), you likely won’t be able to connect two external monitors directly. Some docks might have USB-C ports that can output video; check your dock’s specifications to see if it supports multiple displays via USB-C.
Do I need to install any special drivers for my Dell dock to support two monitors?
Generally, your operating system (Windows or macOS) will recognize the dock and its display capabilities automatically. However, we strongly recommend keeping your laptop’s graphics drivers and your Dell docking station’s drivers updated from Dell’s support website to ensure optimal performance and compatibility.
What’s the difference between a USB-C dock and a Thunderbolt dock for connecting two monitors?
Thunderbolt docks, which often use a USB-C connector, generally offer higher bandwidth than standard USB-C docks. This higher bandwidth is crucial for supporting multiple high-resolution monitors at their best refresh rates. Always check your specific dock’s specs for its display capabilities.
My second monitor isn’t showing up, even after connecting everything. What should I do?
First, double-check that your laptop and dock support two external displays. Then, ensure your cables are securely connected to both the dock and the monitor. Try going into your display settings (Windows or macOS) and clicking “Detect” to see if the system can find the monitor. If problems persist, try swapping cables or ports to isolate the issue.