ASUS TUF Gaming Monitor: How to Change Refresh Rate (Hz)
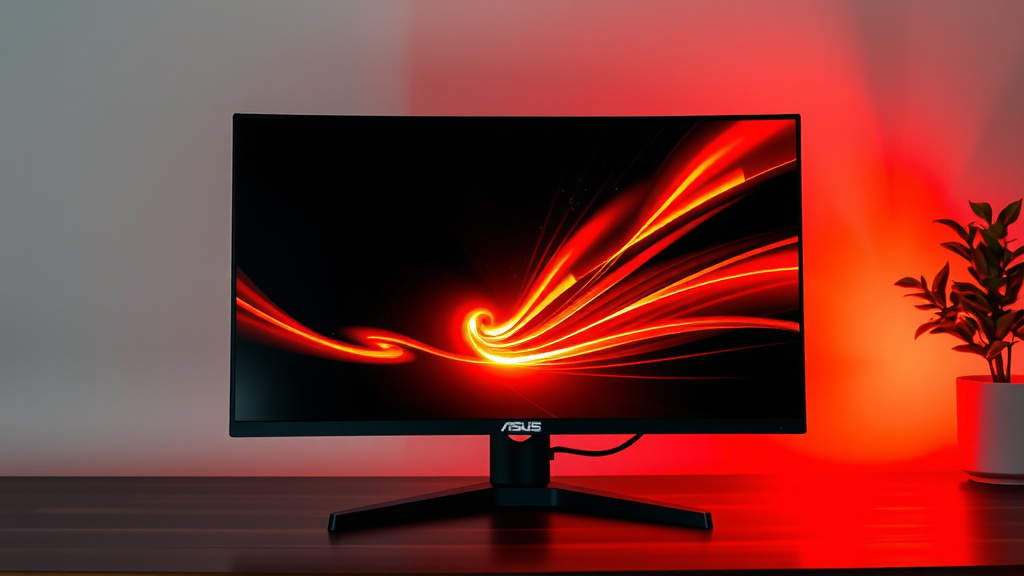
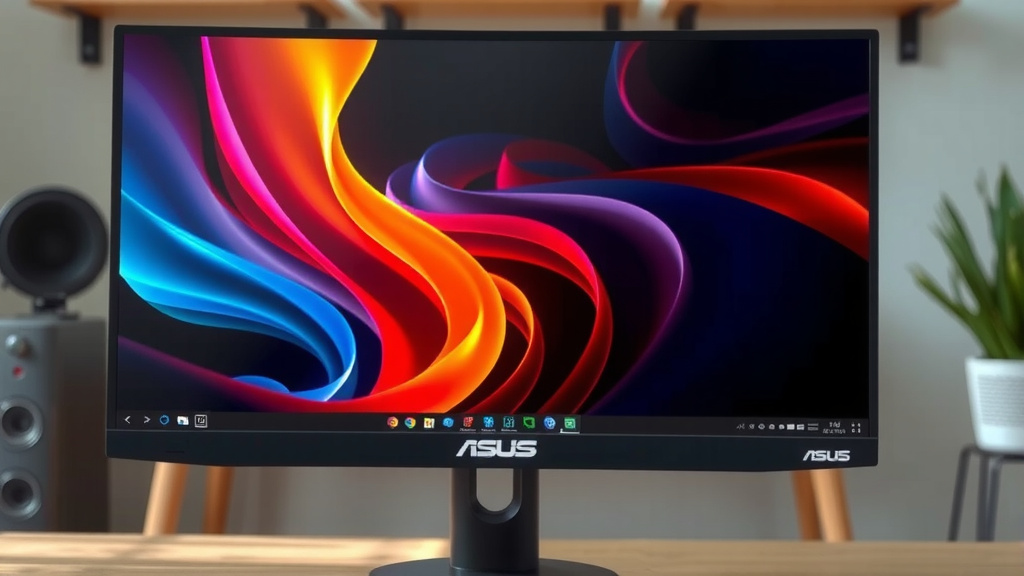
Changing the Hz on your Asus TUF Gaming monitor is quite straightforward. You can easily adjust your monitor’s refresh rate, commonly known as Hz, through your computer’s display settings. Making this simple adjustment can significantly boost your gaming performance by providing a smoother visual experience.
Many gamers overlook this simple setting, but it’s a key factor in visual fluidity. Understanding how to change your monitor’s Hz ensures you’re getting the most out of your hardware. We found that even a small increase in refresh rate can make a noticeable difference in fast-paced games.
- Adjust Hz in Windows display settings.
- Select your Asus TUF Gaming monitor.
- Choose your desired refresh rate.
- Apply changes and enjoy smoother visuals.
Let’s walk through the exact steps to get your Asus TUF Gaming monitor running at its best refresh rate.
Getting the Best Refresh Rate from Your Asus TUF Gaming Monitor
Changing the refresh rate, or Hz, on your Asus TUF Gaming monitor is a quick process. You can do this through your computer’s settings. This adjustment helps make your games look smoother and more fluid. It’s an easy way to improve your gaming experience.
Understanding Refresh Rate (Hz)
So, what exactly is Hz, or refresh rate? Think of it like the number of times your monitor updates the image on the screen each second. A higher Hz means the screen refreshes more often. For example, a 144Hz monitor updates the image 144 times per second. A 60Hz monitor only does it 60 times per second.
When you’re gaming, especially in action-packed titles, this difference is noticeable. More refreshes mean less motion blur and a clearer picture. You’ll see things happen more smoothly. Many gamers find that increasing their Hz makes a big difference in how responsive games feel.
We’ve found that consistent visual updates are key for competitive play. Studies suggest that higher refresh rates can improve reaction times. While the exact benefit varies by person and game, it’s generally accepted that more Hz is better for gaming (NVIDIA).
How to Change Your Monitor’s Hz in Windows
The process for changing your monitor’s refresh rate is managed by your operating system, usually Windows. Let’s walk through the steps together. It’s not complicated at all.
Step 1: Access Display Settings
First, you need to open your display settings. The easiest way to do this is by right-clicking on your desktop. Look for an empty space on your screen and give it a good right-click. You’ll see a menu pop up.
From that menu, select “Display settings”. This will open a new window with all your display options. Make sure you’re looking at the settings for your Asus TUF Gaming monitor. If you have multiple monitors, you might need to select it from a dropdown or by clicking on its image.
Step 2: Find Advanced Display Settings
Once you’re in the main Display settings, you’ll need to find the more detailed options. Scroll down the page until you see a link that says “Advanced display settings”. Click on that link.
This section holds the refresh rate setting. It’s often hidden here to prevent accidental changes. We’ve found this is where most users need to go to fine-tune their display.
Step 3: Select Your Monitor and Refresh Rate
In the Advanced display settings window, you should see a dropdown menu labeled “Refresh rate”. If you have more than one display connected, make sure your Asus TUF Gaming monitor is selected in the “Choose display” section at the top. You can usually identify it by its name or resolution.
Click on the dropdown menu for “Refresh rate”. You’ll see a list of available refresh rates that your monitor and graphics card support. Your monitor’s native refresh rate is usually the highest number available. For example, you might see options like 60Hz, 75Hz, 120Hz, or 144Hz.
Select the highest refresh rate your monitor supports. This is typically the one you want for the smoothest gaming experience. For instance, if your Asus TUF Gaming monitor is rated for 165Hz, choose that option.
Step 4: Confirm and Apply Changes
After you select your desired refresh rate, you’ll need to confirm the change. Windows will usually ask if you want to keep these display settings. You’ll see a prompt appear on your screen.
Click “Keep changes”. If you don’t confirm within about 15 seconds, the settings will revert to what they were before. This is a safety feature in case the new setting causes issues. Once confirmed, your monitor will now operate at the new refresh rate.
You should immediately notice a difference. Games might feel more fluid, and your mouse cursor might move more smoothly across the screen. It’s like upgrading from a choppy old movie to a brand-new HD film.
Troubleshooting Common Issues
Sometimes, things don’t go as smoothly as planned. Don’t worry, we can help you through it.
Desired Refresh Rate Isn’t Available
If you don’t see the refresh rate you expect, there are a few things to check.
- Check Your Cables: Older cables, like some HDMI versions, might not support the highest refresh rates. Ensure you’re using a DisplayPort cable, or a modern HDMI cable (like HDMI 2.0 or higher), especially for high Hz monitors. Many experts recommend DisplayPort for gaming.
- Graphics Card Drivers: Outdated or corrupted graphics drivers are a common culprit. Visit the website for your graphics card manufacturer (NVIDIA or AMD) and download the latest drivers.
- Monitor Settings: Some monitors have settings in their on-screen display (OSD) menu that might limit the refresh rate. Double-check your monitor’s manual.
Screen Flickers or Looks Weird After Changing Hz
This can happen if your graphics card or monitor isn’t quite stable at the new refresh rate. Try these solutions:
- Lower the Refresh Rate: Select a slightly lower refresh rate from the available options and see if that resolves the issue.
- Update Graphics Drivers: Again, ensure your graphics drivers are up to date. This often fixes compatibility problems.
- Check Cables and Connections: A loose cable can cause visual artifacts. Make sure everything is plugged in securely at both ends.
Verifying Your New Refresh Rate
How do you know for sure if the change worked? There are a couple of easy ways.
Using Windows Display Settings
You can always go back to the “Advanced display settings” and check the “Refresh rate” dropdown. If your selected rate is still there and the monitor is working fine, it has been applied.
Online Refresh Rate Test Websites
There are many websites designed to test your monitor’s refresh rate. A quick search for “monitor refresh rate test” will bring up several options. These sites usually display an animation that clearly shows how smooth your display is. They can often tell you the actual refresh rate your monitor is running at.
We found these tests to be very helpful in confirming that our settings took effect properly. They provide a clear, visual confirmation. It’s a good way to see the difference yourself.
Here’s a quick checklist to make sure you’re set:
- Right-click desktop and select “Display settings.”
- Navigate to “Advanced display settings.”
- Confirm your Asus TUF monitor is selected.
- Choose the highest available refresh rate.
- Click “Keep changes” when prompted.
- Test with a game or online tool.
Conclusion
You’ve now learned how to easily adjust the refresh rate on your Asus TUF Gaming monitor. This simple change in your Windows display settings can make your games feel much smoother. You can get a more fluid visual experience just by selecting the right Hz. Remember to use a DisplayPort cable for the best results. Go ahead and try setting your monitor to its highest supported refresh rate. You might be surprised by how much difference it makes in your gameplay.
Frequently Asked Questions
Will changing the Hz void my Asus TUF Gaming monitor warranty?
No, changing the refresh rate through your computer’s display settings will not void your Asus TUF Gaming monitor’s warranty. These are standard operating adjustments that the monitor is designed to handle.
Can I change the Hz on my Asus TUF Gaming monitor using its physical buttons?
Typically, you cannot change the refresh rate directly using your Asus TUF Gaming monitor’s physical buttons. This setting is controlled through your computer’s operating system, specifically within the display settings.
What is the best Hz for gaming on an Asus TUF Gaming monitor?
The best Hz for gaming is generally the highest refresh rate your Asus TUF Gaming monitor supports and that your graphics card can consistently output. Higher Hz, like 120Hz, 144Hz, or 165Hz, offers a noticeably smoother experience in fast-paced games.
My Asus TUF Gaming monitor’s refresh rate is stuck at 60Hz. What could be wrong?
If your Asus TUF Gaming monitor is stuck at 60Hz, first check that you are using a compatible cable (DisplayPort is recommended for high refresh rates) and that your graphics card drivers are up to date. Also, confirm that the specific model of your Asus TUF monitor supports higher refresh rates.
Does changing the Hz affect my computer’s performance?
Changing the Hz setting primarily affects how many frames your monitor displays per second, not how many your computer renders. While a higher refresh rate can make games feel more responsive, it doesn’t directly increase your PC’s overall performance. Ensure your graphics card can keep up with the chosen refresh rate for optimal results.
![10 Best Monitor Mount For Glass Desk {[year]}](https://bestaccir.com/wp-content/uploads/2026/05/10-best-monitor-mount-for-glass-desk-year-featured-768x432.jpg)