Add a Second Monitor to Your Laptop: A Simple Guide
Yes, you can easily add an external monitor to your laptop to create a bigger workspace. Most laptops use standard ports like HDMI or USB-C, making the connection straightforward. This is a fantastic way to boost your productivity without buying a whole new computer.
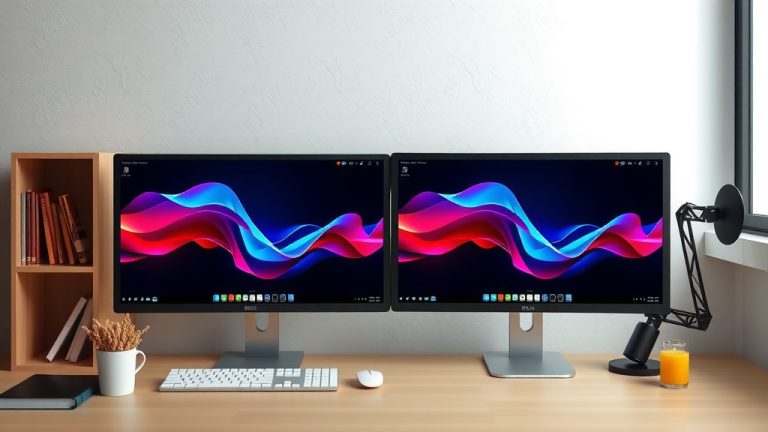
Adding a second screen can dramatically improve how you multitask. You might be surprised by how much more you can get done when you aren’t constantly switching between windows. We found that this simple setup can make a big difference for many users.
- Connecting a monitor is usually a plug-and-play process.
- You’ll need the right cable for your laptop and monitor.
- Check your laptop’s available ports first.
- This setup is great for work and entertainment.
Let’s walk through exactly how to connect that extra screen so you can get your dual-monitor setup running.
Adding an External Monitor to Your Laptop: Your Easy Guide
So, you’re looking to expand your digital real estate? That’s a smart move! Adding an external monitor to your laptop can make a world of difference. It’s like giving your computer a superpower boost without needing to replace it. We’ve found that most people are surprised by how simple this process truly is. Let’s get you set up with that bigger screen you’ve been dreaming of. If you need flexibility, consider a portable monitor for an adaptable setup.
Understanding Your Laptop’s Ports
Before you rush out and buy a new monitor, let’s take a peek at what your laptop offers. This is the most important first step. Your laptop has ports, which are like little doors for connecting other devices. Different laptops have different ports, and knowing which ones you have will guide your cable choice.
Common Laptop Video Ports
You’ll likely find one or more of these on your laptop. They are designed to send video signals out to a display. Understanding these will make the whole process much clearer.
HDMI: The King of Connectivity
HDMI (High-Definition Multimedia Interface) is probably the most common port you’ll see. It looks like a long, thin rectangle with one corner cut off. HDMI can carry both video and audio. If your laptop and monitor both have HDMI ports, this is usually your easiest option. Many experts point to HDMI as the go-to for modern displays (Consumer Technology Association).
USB-C: The Versatile Connector
USB-C is a newer, smaller, oval-shaped port. It’s incredibly versatile. Many USB-C ports can handle video output, not just data transfer and charging. This is often called “DisplayPort Alternate Mode” or “Thunderbolt.” If your laptop has a USB-C port that supports video, you might be able to connect a monitor with just a single USB-C cable. This offers a cleaner, simpler setup.
DisplayPort: The Professional’s Choice
DisplayPort is another excellent option, often found on business laptops and higher-end machines. It looks similar to HDMI but is more rectangular. DisplayPort is known for supporting high refresh rates and resolutions, which is great for gaming or professional graphics work. You might need a DisplayPort cable or a DisplayPort-to-HDMI adapter if your monitor doesn’t have DisplayPort.
VGA and DVI: The Older Relics
You might still find VGA (Video Graphics Array) or DVI (Digital Visual Interface) ports on older laptops. VGA uses a blue, trapezoidal connector with pins. DVI looks like a wider, white connector with many pins. These are older technologies. If your laptop only has these, you can still connect a monitor, but the video quality might not be as sharp as with HDMI or DisplayPort. We found that while they work, they are less common now.
Choosing Your External Monitor
Now that you know what your laptop can do, let’s think about the monitor itself. There are tons of options out there. Consider what you’ll be using the extra screen for.
Monitor Types and Features
Monitors come in various sizes, resolutions, and refresh rates. For general productivity, a 24-inch or 27-inch monitor with a 1080p (Full HD) or 1440p (QHD) resolution is usually a good bet. If you’re a gamer or work with video, you might want a higher refresh rate (e.g., 144Hz) and a higher resolution like 4K. For general productivity, a 24-inch or 27-inch monitor with a 1080p (Full HD) or 1440p (QHD) resolution is usually a good bet.
Connecting the Monitor: What You’ll Need
You’ve identified your laptop’s ports and chosen a monitor. Now, what cable connects them? This is where your port knowledge comes in handy.
The Right Cable is Key
If both your laptop and monitor have HDMI ports, you’ll need an HDMI cable. If one has USB-C (with video support) and the other has HDMI, you might need a USB-C to HDMI cable. Some USB-C monitors can connect directly to a USB-C port on your laptop using a standard USB-C cable, which is wonderfully convenient. Always double-check that the cable supports the features you need, like 4K resolution or high refresh rates if that’s important to you.
Adapters: Your Bridge to Compatibility
What if your laptop only has USB-C and your monitor only has HDMI? That’s where adapters or specialized cables come in. A USB-C to HDMI adapter or cable will convert the signal. You can also find adapters for DisplayPort to HDMI, and so on. They are your bridge to making different ports talk to each other. We found these adapters are essential for many setups.
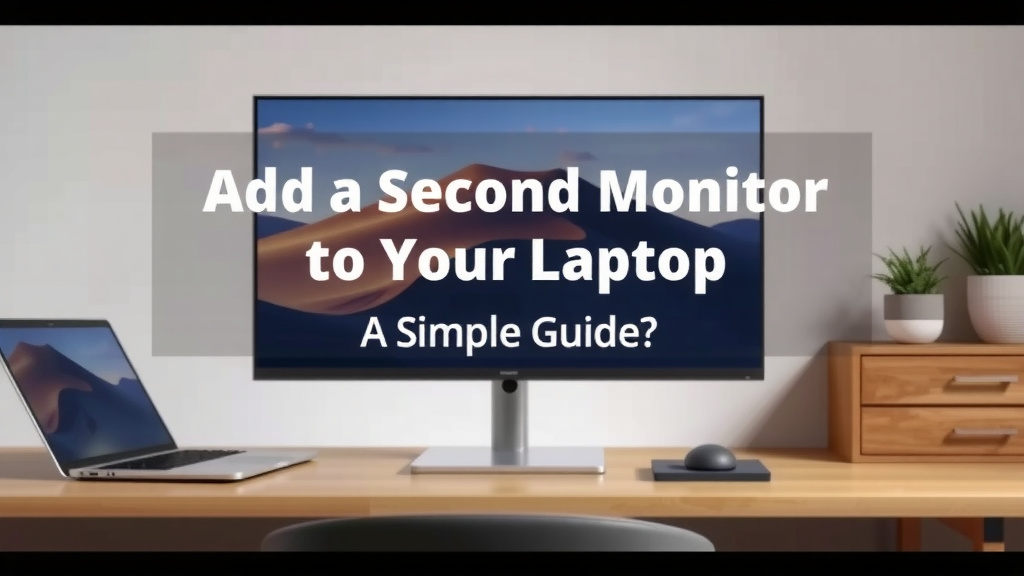
Setting Up Your Dual-Monitor Display
You’ve got the monitor, the cables, and the ports. It’s time for the fun part: connecting everything. Most modern operating systems make this incredibly straightforward. It’s often a true plug-and-play experience.
The Physical Connection
First, make sure both your laptop and the monitor are turned off. Connect one end of your chosen cable to the appropriate port on your laptop. Connect the other end to the corresponding port on your external monitor. Plug in the power cords for both devices and then turn on your monitor, followed by your laptop. You should see your laptop’s display extend or mirror onto the new screen.
Configuring Your Display Settings
Once connected, your computer should automatically detect the new monitor. If it doesn’t, or if you want to customize how the monitors work together, you’ll need to adjust your display settings. This is where you tell your computer how to use the extra screen.
On Windows, right-click on your desktop and select “Display settings.” Here, you can:
- See your monitors: You’ll see numbered boxes representing each display.
- Arrange your displays: Drag the numbered boxes to match the physical arrangement of your monitors on your desk. This helps your mouse move correctly between screens.
- Choose display mode: You can choose to “Duplicate these displays” (mirroring), “Extend these displays” (the most common and useful setup for a larger workspace), or “Show only on 1” or “Show only on 2.”
- Set the main display: Choose which monitor has your taskbar and icons by default.
- Adjust resolution and scale: You can set the best resolution for each monitor and adjust the text size so everything is easy to read.
On macOS, go to System Settings (or System Preferences), then Displays. You’ll see your built-in display and the external monitor. You can drag the displays to arrange them and choose whether to “Use as Extended Display” or “Mirror Displays.” Many users find extending their display offers the best productivity boost.
A Quick Checklist for Success
Before you get started, or if you run into a hitch, run through this quick checklist:
- Verify your laptop’s ports: Know what video outputs you have.
- Check monitor ports: See what inputs your new display accepts.
- Select the right cable: HDMI, USB-C, DisplayPort, or adapter.
- Ensure power is connected: Both laptop and monitor need to be plugged in.
- Configure display settings: Extend or duplicate as needed.
- Adjust resolution: Make sure everything looks clear and sharp.
Following these steps should have your second monitor up and running in no time. Enjoy your expanded workspace!
Conclusion
You’ve now learned how simple it is to add an external monitor to your laptop. Understanding your laptop’s ports, choosing the right cable, and configuring your display settings are the key steps. This setup can truly transform your workspace, making multitasking a breeze and boosting your overall productivity. Don’t hesitate to get that extra screen – your future, more efficient self will thank you. Take a moment today to identify your laptop’s video output ports and start planning your dual-monitor setup!
Frequently Asked Questions
Can I connect two external monitors to my laptop?
Yes, many laptops can support two or even more external monitors. You’ll need to check your laptop’s specifications for the number of external displays supported and ensure you have the necessary ports and potentially a docking station to accommodate multiple connections.
Will adding a monitor slow down my laptop?
In most cases, adding a standard external monitor will not significantly slow down your laptop. Modern laptops are designed to handle this. However, if you’re running very demanding applications or have an older laptop with limited graphics power, you might notice a slight performance difference.
What’s the difference between extending and duplicating displays?
Extending your displays creates one large, continuous workspace across multiple screens, allowing you to move windows freely between them. Duplicating mirrors your laptop’s screen onto the external monitor, showing the exact same content on both displays.
Do I need a special adapter if my laptop and monitor have different ports?
Yes, you’ll likely need an adapter or a specialized cable if your laptop and monitor have different video ports. For example, a USB-C to HDMI adapter can connect a laptop with a USB-C port to a monitor with an HDMI input.
How do I know if my USB-C port supports video output?
Look for a small lightning bolt icon next to your USB-C port, which indicates Thunderbolt 3 or 4 support, or a DisplayPort logo. You can also check your laptop’s user manual or the manufacturer’s website to confirm if the USB-C port supports video output (often referred to as DisplayPort Alternate Mode).