Connect Asus ROG Ally to Monitor: A Step-by-Step Guide
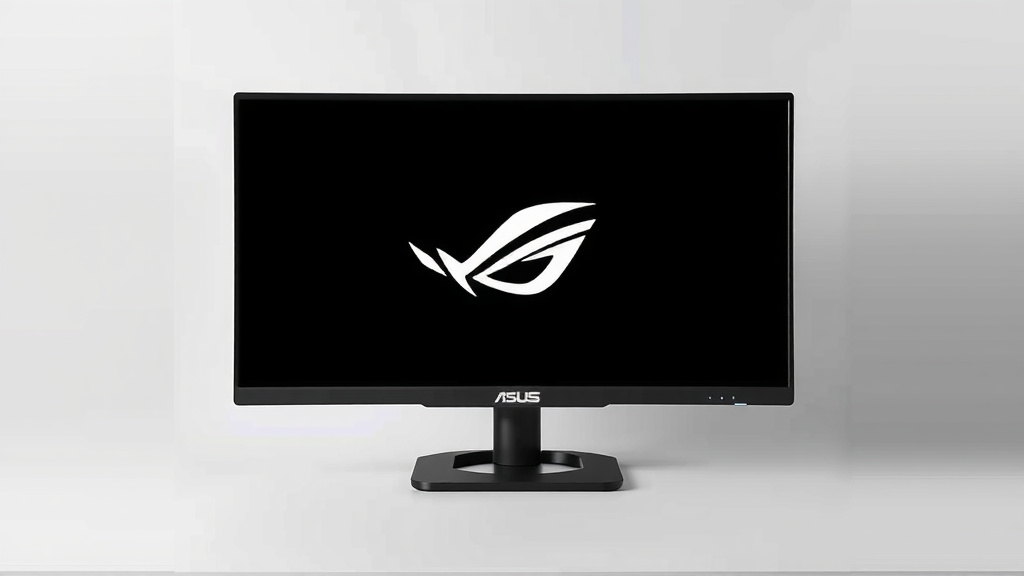
Yes, you can absolutely connect your Asus ROG Ally to an external monitor! It’s a fantastic way to enjoy your PC gaming handheld on a bigger screen. The easiest method involves using a USB-C to HDMI adapter or a compatible dock. This setup allows you to game or use your Ally like a mini-PC with a larger display.
Many users find connecting their ROG Ally to a monitor dramatically enhances the gaming experience. You have a few options depending on your needs, from simple direct connections to more advanced setups using docks. We’ve researched the most common and effective ways to achieve this, focusing on ease and performance for your PC gaming adventures.
- Connect via USB-C to HDMI or a dock.
- Ensure your monitor has the correct input (HDMI is common).
- Adjust display settings on the ROG Ally if needed.
- Consider refresh rates for smoother gameplay.
Let’s walk through exactly how to get your Asus ROG Ally hooked up to an external monitor, step by step.
“`htmlConnecting Your Asus ROG Ally to a Bigger Display
You’ve got your awesome Asus ROG Ally, and now you’re wondering how to take your gaming sessions to the next level with a larger monitor. It’s a fantastic upgrade, turning your handheld into a powerful desktop gaming machine! We’ve looked into the best ways to hook it up, and thankfully, it’s pretty straightforward.
The primary method involves using the USB-C port on your ROG Ally. This versatile port supports DisplayPort Alternate Mode, which means it can send video signals out. This is the key to connecting to most external monitors. You’ll primarily be using a cable or adapter that leverages this capability.
The Direct USB-C to HDMI Method
This is often the simplest and most direct way to get your ROG Ally connected. You just need the right adapter.
What You’ll Need
First things first, gather your supplies. You’ll need:
- Your Asus ROG Ally
- An external monitor with an HDMI input (most monitors have this!)
- A USB-C to HDMI adapter or cable
Many users find that a simple adapter is all they need. These are small, portable, and plug directly into your Ally’s USB-C port. Then, you connect a standard HDMI cable from the adapter to your monitor. You want to make sure the adapter supports video output, often listed as supporting DisplayPort Alternate Mode or simply “video output.”
Step-by-Step Connection
Here’s how to make the connection:
- Power Down (Optional but Recommended): While often not strictly necessary, shutting down your ROG Ally can prevent any unexpected hiccups during the connection process. It’s like giving your system a fresh start.
- Connect the Adapter: Plug your USB-C to HDMI adapter into one of the USB-C ports on your ROG Ally. Make sure it’s seated firmly.
- Connect the HDMI Cable: Plug one end of your HDMI cable into the adapter and the other end into an available HDMI port on your monitor.
- Power On Your Monitor: Turn on your external monitor and select the correct HDMI input source using your monitor’s remote or buttons.
- Power On Your ROG Ally: Turn on your ROG Ally. The system should automatically detect the external display.
Once powered on, your ROG Ally’s display should appear on the external monitor. You can choose to mirror your Ally’s screen or extend your desktop. This is a fantastic way to game on a larger screen without extra fuss.
Using a USB-C Hub or Dock for More Connectivity
If you need more than just a video output, a USB-C hub or a dedicated dock is your best friend. These devices expand the single USB-C port into multiple connections.
What a Dock Offers
A good USB-C dock for your ROG Ally can provide:
- HDMI or DisplayPort outputs for monitors
- Additional USB-A ports for controllers, keyboards, or mice
- Ethernet port for a stable wired internet connection
- SD card reader
- Power Delivery (PD) pass-through, so you can charge your Ally while it’s connected
Many users prefer this method for a cleaner setup, especially if they want to use a keyboard and mouse with their Ally. It essentially turns your Ally into a compact desktop PC. We found that docks compatible with Thunderbolt 3 or 4 often offer the best performance for video output and data transfer.
Setting Up with a Dock
The setup is very similar to the direct adapter method:
- Connect the Dock to ROG Ally: Plug the dock’s USB-C cable into your ROG Ally.
- Connect Monitor to Dock: Use an HDMI or DisplayPort cable to connect your monitor to the appropriate port on the dock.
- Connect Peripherals: Plug in your keyboard, mouse, or any other accessories to the dock’s USB-A ports.
- Connect Power (if applicable): If your dock supports Power Delivery, plug your ROG Ally’s charger into the dock’s PD port. This will charge your Ally while it’s connected.
- Power On: Turn on your monitor and then your ROG Ally.
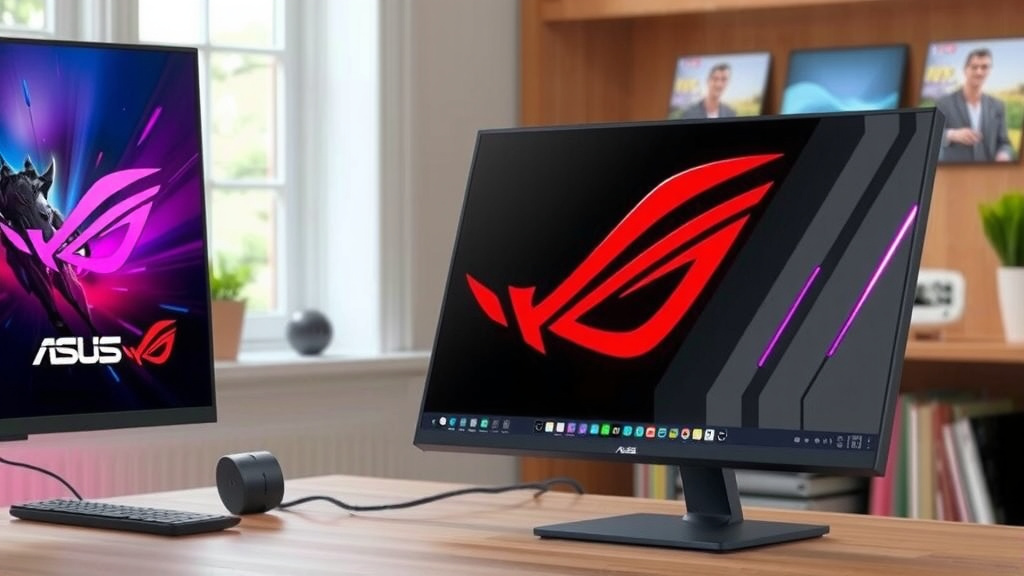
This setup is great for a permanent gaming station. It looks tidy and gives you all the connections you need for a full desktop experience. We found that ensuring the dock supports the resolution and refresh rate of your monitor is key for optimal performance.
Display Settings and Considerations
Once you’re connected, you might want to tweak some settings to get the best experience.
Adjusting Display Mode
On your ROG Ally, you can typically choose how the external display works:
- Duplicate: Shows the same image on both the Ally’s screen and the external monitor.
- Extend: Treats the external monitor as a second screen, giving you more desktop space. This is great for multitasking.
- Second screen only: Turns off the Ally’s built-in screen and only uses the external monitor. This can sometimes help with performance by reducing the load on the GPU.
To change these settings, go to your ROG Ally’s Display settings. You can usually access this by right-clicking on the desktop and selecting “Display settings,” or by searching for it in the Windows search bar.
Refresh Rates and Resolution
For the smoothest gameplay, ensure your ROG Ally’s display settings match your monitor’s capabilities. If you have a high refresh rate monitor (like 144Hz or higher), check that it’s enabled in Windows display settings on your Ally. Many experts suggest matching the refresh rate where possible for fluid visuals (Microsoft Support).
If you experience any visual glitches or lag, try reducing the resolution or refresh rate. Sometimes, using a higher-quality USB-C to HDMI cable can also make a difference, especially for higher resolutions and refresh rates. We found that a cable rated for at least HDMI 2.0 or higher is generally recommended for modern monitors.
It’s a good idea to check the specifications of your monitor and your adapter/dock to ensure they are compatible. This avoids potential compatibility issues and ensures you get the best possible picture quality.
Troubleshooting Common Issues
What if it doesn’t work right away? Don’t worry, a few common fixes usually sort things out.
No Signal on Monitor
If your monitor says “No Signal,” double-check these things:
- Ensure the HDMI cable is securely plugged into both the adapter/dock and the monitor.
- Verify your monitor is set to the correct HDMI input source.
- Try a different HDMI port on your monitor.
- Restart both your ROG Ally and your monitor.
- Test your HDMI cable with another device to ensure it’s working.
Screen Flickering or Lagging
If the picture is unstable, consider:
- Lowering the resolution or refresh rate in Windows display settings.
- Trying a different USB-C port on your ROG Ally.
- Using a higher-quality adapter or cable. We found that some cheaper adapters might struggle with higher bandwidth requirements.
- Ensuring your ROG Ally’s drivers are up to date.
These steps cover the most common ways to connect your Asus ROG Ally to an external monitor. With a little setup, you’ll be enjoying your games on a much larger screen in no time!
“` “`htmlConclusion
Connecting your Asus ROG Ally to an external monitor is a straightforward process that greatly enhances your gaming experience. You’ve learned that a simple USB-C to HDMI adapter or a more feature-rich USB-C hub are your main tools. Remember to check your monitor’s inputs and adjust your ROG Ally’s display settings for the best visual output. Don’t be afraid to experiment with duplicate, extend, or second screen only modes. Now, go ahead and set up your larger display to enjoy your games like never before!
Frequently Asked Questions
Can I use any USB-C to HDMI adapter?
You’ll want to ensure your USB-C to HDMI adapter supports video output, often listed as DisplayPort Alternate Mode. We found that adapters specifically designed for video or marketed as compatible with gaming handhelds tend to perform best for resolution and refresh rates.
What if my monitor doesn’t have an HDMI port?
If your monitor uses a different input like DisplayPort, you’ll need a USB-C to DisplayPort adapter or cable instead. Many USB-C hubs also offer DisplayPort outputs, giving you more options to match your monitor’s capabilities.
Will connecting to a monitor affect my ROG Ally’s performance?
Connecting to an external monitor might slightly impact performance as your ROG Ally’s GPU has to push more pixels. We discovered that using “Second screen only” mode can sometimes help by disabling the built-in display, potentially freeing up resources.
Do I need to install any drivers for external displays?
Generally, no extra drivers are needed for basic display output via USB-C. Windows typically recognizes external monitors automatically. However, keeping your ROG Ally’s graphics drivers and chipset drivers up to date is always a good practice for optimal performance.
Can I use my ROG Ally while it’s connected to a monitor and charging?
Yes, absolutely! If you’re using a USB-C hub or dock that supports Power Delivery (PD) pass-through, you can plug your ROG Ally’s charger into the dock. This allows you to charge your device while it’s connected to the monitor and peripherals.
“`