How to Know If Your Holter Monitor Is On
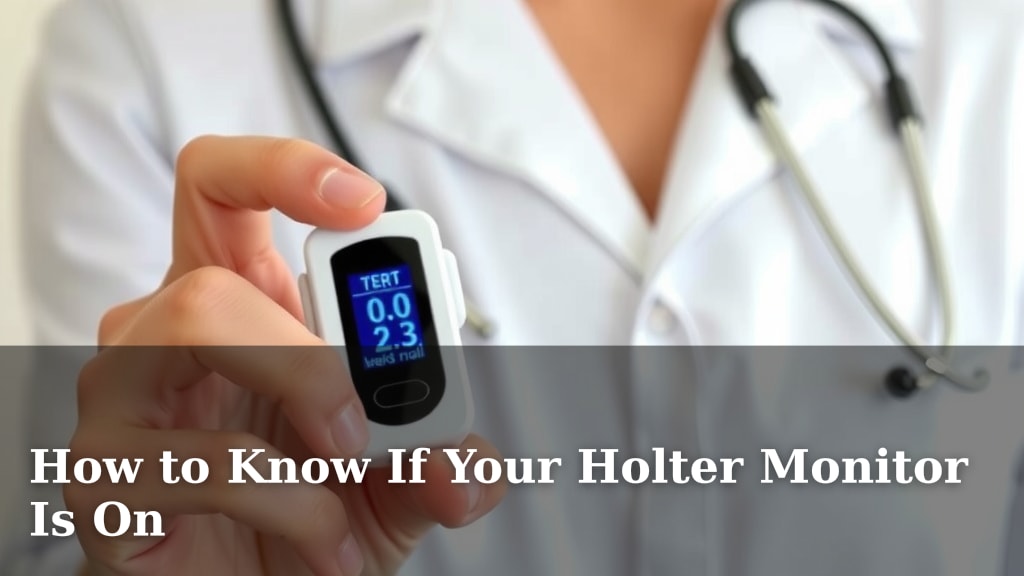
You can tell if your Holter monitor is on by checking for a steady green light on the device. Many models also emit a soft beep when active. If you don’t see or hear these signs, it’s worth double-checking the connections.
Understanding your Holter monitor’s status is important for accurate heart rhythm tracking. A properly functioning monitor ensures your doctor gets the most reliable data about your heart. Knowing how to confirm it’s on helps you feel more confident throughout your monitoring period.
- Check for a steady green light.
- Listen for a soft, regular beep.
- Ensure all wires are securely connected.
- If unsure, contact your healthcare provider.
Let’s walk through exactly how to make sure your Holter monitor is up and running, so you can get the most out of your test.
Confirming Your Holter Monitor is Active and Recording
It’s essential to know your Holter monitor is working correctly. You want to make sure it’s capturing all your heart’s activity. This test helps your doctor understand your heart rhythm over time. So, how can you be sure it’s on and doing its job? We’ll guide you through the signs to look for.
Visual Indicators: The Lights of Your Device
Most Holter monitors have a light that tells you they are on. This is often the easiest way to check. Think of it like the power light on your TV. If it’s on, the TV is ready to go.
The Steady Green Light
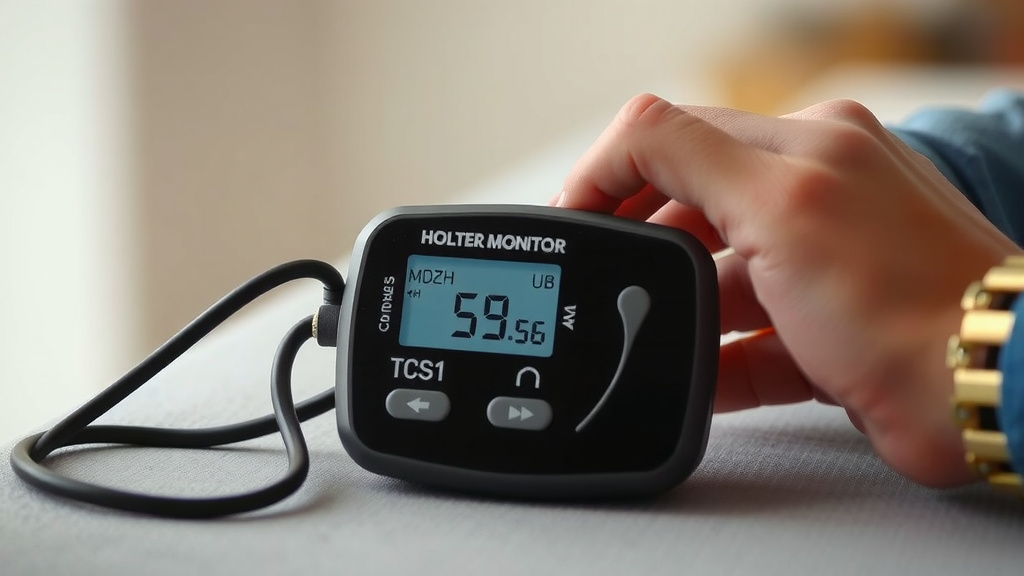
Many Holter monitors use a steady green light to signal they are active. This light typically stays on while the device is recording. It’s a consistent signal that everything is functioning as it should be. If you see this light, you can generally feel confident the monitor is working. We found that a blinking green light might mean something different on some models, so always check your specific device manual.
Other Light Colors and Patterns
While green is common, some monitors might use different colors. You might see a blue light or even a combination of lights. A blinking light could also indicate it’s recording, or it might signal an alert or error. It’s best to consult the instruction booklet that came with your specific monitor. This is your most reliable source for understanding what each light means. Many devices have a small pamphlet that is easy to miss, so take a moment to locate it.
Auditory Cues: Listening for Activity
Beyond just looking, sometimes you can listen to your Holter monitor. Some devices emit subtle sounds to confirm they are running. These sounds are usually very quiet and unobtrusive.
The Soft, Regular Beep
A soft, regular beep is another sign that your Holter monitor is on. This beep might occur when the device starts recording or at set intervals. It’s designed to be noticeable but not disruptive. If you hear this gentle sound periodically, it’s a good indication that the monitor is active. We found that these beeps are often infrequent, so you might not hear them constantly.
What if There’s No Sound?
Don’t panic if you don’t hear any beeps. Not all Holter monitors have an audible alert. Some are designed to be completely silent for your comfort. The absence of sound doesn’t automatically mean it’s not working. You should always rely on the visual cues first. If you’re still unsure, checking the connections is the next step.
Ensuring Proper Connection: The Foundation of Recording
Even if the lights and sounds are present, a loose connection can disrupt the monitoring process. The electrodes, which stick to your skin, need to be securely attached. They are what pick up your heart’s electrical signals.
Checking Electrode Placement and Adhesion
Take a gentle look at where the electrodes are placed on your chest. They should be sticking firmly to your skin. If an electrode is peeling or looks like it’s about to fall off, press it down gently. Make sure the area underneath is clean and dry for the best adhesion. Your doctor or nurse will have shown you how to do this, but a quick visual check never hurts. We found that sometimes skin oils or sweat can interfere with the adhesive.
Verifying Wire Connections
The wires from the electrodes connect to the main Holter monitor unit. Ensure these wires are plugged in securely. They usually have a small connector that clicks or snaps into place. A loose wire means the signal from that electrode can’t reach the monitor. Gently tug on each wire where it connects to the monitor to confirm it’s snug. This is a very common reason for data loss. Many people don’t realize a wire has become dislodged.
The Importance of Electrode and Wire Condition
It’s also worth noting the condition of the wires and electrodes. If you see any visible damage, like fraying wires or torn electrodes, this could be a problem. While rare, damaged equipment might not function correctly. If you suspect any damage, you’ll want to get that addressed.
Troubleshooting Common Issues
Sometimes, even with good connections, a monitor might seem inactive. If you’ve checked the lights and sounds and are still uncertain, try these simple steps:
- Gently re-press each electrode to ensure it’s firmly attached.
- Check all wire connections to the monitor unit, making sure they are seated properly.
- Ensure the monitor unit itself is powered on, if it has a separate power button. Some units are always on when plugged in.
- Review the manufacturer’s quick start guide for specific troubleshooting tips.
When to Seek Professional Assistance
Your comfort and the accuracy of your test are top priorities. If you’ve gone through the checks and are still unsure about your Holter monitor’s status, it’s perfectly okay to ask for help. Medical professionals are there to support you.
Contacting Your Healthcare Provider
The best course of action if you have doubts is to contact your doctor’s office or the clinic where you received the monitor. They can guide you through specific troubleshooting steps for your model. They might also be able to schedule a quick appointment to check the equipment for you. It’s better to confirm than to worry or have an incomplete test. We found that most clinics are very accommodating with these types of questions.
Understanding the Monitor’s Battery
Holter monitors are battery-powered. If the battery is low or depleted, the device will stop working. Some monitors have an indicator for battery life, while others might simply stop functioning without warning. If your monitor appears dead (no lights, no sounds), a depleted battery is a likely cause. Your clinic should have provided a monitor with a fresh battery, but it’s a possibility if the unit seems completely unresponsive. For reference, many devices are designed to last 24-48 hours on a single charge (CDC).
The Importance of a Complete Recording
A complete and accurate recording is vital for your doctor. It allows them to see a full picture of your heart’s rhythm during your normal activities. If the monitor stops working at any point, valuable information could be missed. This might mean needing to repeat the test, which nobody wants to do! So, taking a few moments to ensure it’s on is time well spent.
Checklist for Peace of Mind
To quickly confirm your Holter monitor is active, run through this simple checklist:
- Visual Check: Do you see a steady green light (or the indicator light specified for your model)?
- Auditory Check: Do you hear a soft, regular beep (if your model is designed to beep)?
- Connections: Are all wires securely connected to the monitor unit?
- Electrodes: Are all electrodes firmly attached to your skin?
- Device Status: Does the main unit appear to be functioning (not showing error messages or appearing completely dead)?
- Manual Review: Have you quickly glanced at your device’s instructions for specific indicators?
Conclusion
You’ve learned how to tell if your Holter monitor is actively tracking your heart. Remember to look for that steady green light and listen for any soft beeps your device might make. Double-checking the electrode and wire connections is also key for accurate results. Your doctor relies on this data, so a few moments spent confirming everything is working ensures you get the most from your test. If you ever feel unsure, don’t hesitate to reach out to your healthcare provider for reassurance. They are there to help you through this process.
Frequently Asked Questions
What should I do if my Holter monitor has no lights or sounds?
If your Holter monitor shows no lights and makes no sound, first check that the main unit is properly connected if it has a power source or charging cable. If it’s supposed to be on battery power, this could indicate a dead battery or a device malfunction. It’s best to contact your healthcare provider immediately for guidance or a replacement.
Can I press the event button on my Holter monitor if I don’t see a light or hear a beep?
Yes, you can still press the event button if you experience symptoms, even if you don’t see a light or hear a beep. The event button is designed to mark a specific time for your doctor. However, you should still attempt to confirm the monitor is recording through other means and contact your provider if you suspect it’s not working.
How long does a Holter monitor battery typically last?
Most Holter monitors are designed to run for 24 to 48 hours on a single battery charge. Your clinic should provide you with a unit that has sufficient battery life for your prescribed monitoring period. If you notice the monitor stopping prematurely, a depleted battery is a common reason.
Is it normal for the Holter monitor light to blink sometimes?
A blinking light can mean different things depending on the model. On some Holter monitors, a blinking light indicates it is actively recording, similar to a steady light. On others, it might signal an alert or an error. Always refer to the specific instruction manual for your device to understand what the blinking light signifies.
What if an electrode falls off my Holter monitor?
If an electrode falls off, try to reattach it gently, ensuring the skin area is clean and dry. If it doesn’t stick well or you suspect the wire is damaged, contact your healthcare provider. They may need to replace the electrode or advise you on the next steps to ensure your recording remains complete.