How to Get 144Hz on Your Monitor
You absolutely can get 144Hz on your monitor, and it’s often a straightforward process! To achieve this smoother visual experience, you’ll typically need to adjust your display settings in your operating system and sometimes within your monitor’s own menu. This setting is key for gaming and fluid motion.
Increasing your refresh rate from a standard 60Hz to 144Hz makes a noticeable difference. You’ll see less motion blur and a more responsive feel, especially in fast-paced games. We found that many modern monitors support this higher refresh rate, but it’s not always enabled by default.
- Check your monitor’s capabilities first.
- Adjust your Windows or macOS display settings.
- Update your graphics card drivers.
- Look for a monitor-specific menu on your screen.
Let’s walk through exactly how to get your monitor running at a buttery-smooth 144Hz step by step.
“`htmlGetting Your Monitor to 144Hz: A Smooth Upgrade
You’ve heard about 144Hz and how it can make your visuals feel incredibly smooth. The good news is, making this jump is often easier than you might think! Most modern monitors are capable of this higher refresh rate, but it’s not always turned on right out of the box. Let’s dive into how you can unlock that silky-smooth 144Hz experience for your games and everyday tasks.
First Things First: Check Your Monitor’s Potential
Before we even touch your computer settings, it’s super important to know if your monitor can actually handle 144Hz. Many displays are advertised with their maximum refresh rate, so a quick look at the box or the manual should tell you. If you’ve lost the packaging, don’t worry! You can usually find the specs on the manufacturer’s website by searching for your monitor’s model number.
How to Find Your Monitor’s Model Number:
- Look on the back or the bottom of your monitor stand.
- It’s often a combination of letters and numbers.
- Once you have it, a quick web search will bring up its specifications.
If your monitor officially supports 144Hz, you’re already halfway there! If it doesn’t, unfortunately, no amount of tweaking settings will get you there. Some monitors might have different modes, so double-check the product page or manual for clarity.
Adjusting Your Display Settings in Windows
Once you’ve confirmed your monitor’s capability, the next step is telling your computer to use that higher refresh rate. For Windows users, this is usually done through the display settings.
Accessing Advanced Display Settings
Here’s where you’ll find the magic button. We found that the path can vary slightly between Windows versions, but the general idea is the same. You want to get to the advanced display settings for your monitor.
For Windows 10 and 11:
- Right-click on an empty spot on your desktop.
- Select “Display settings”.
- Scroll down and click on “Advanced display settings”.
This will open a new window showing details about your display setup. If you have multiple monitors, make sure you select the correct one from the dropdown menu at the top.
Changing the Refresh Rate
Within the advanced display settings, you’ll see an option labeled “Refresh rate”. This is what we’re looking for! Click on the dropdown menu next to it.
You should see a list of available refresh rates your monitor supports. Look for the highest number, which should be 144Hz if your monitor is capable. Select 144Hz from the list. Your screen might go black for a second or two as it adjusts. This is normal!
Windows will then ask you to confirm the new settings. If the new refresh rate looks good and everything is stable, click “Keep changes”. If something looks off, don’t worry; it will revert back automatically after a short period.
What If 144Hz Isn’t an Option?
If you don’t see 144Hz in the dropdown, don’t panic just yet. There are a few other things we should check before concluding your monitor isn’t capable.
Check Your Cables
Not all cables are created equal, especially when it comes to high refresh rates. For 144Hz and higher resolutions, you’ll typically need a modern cable like DisplayPort. HDMI cables can also support 144Hz, but it depends on the HDMI version supported by both your monitor and your graphics card. Older HDMI versions might limit you.
We found that using a DisplayPort cable is often the most reliable way to achieve high refresh rates (NVIDIA). If you’re using an older HDMI cable, try swapping it for a newer one or a DisplayPort cable if available.
Graphics Card Control Panel
Sometimes, the refresh rate options are also managed by your graphics card’s software. Depending on whether you have an NVIDIA or AMD card, you’ll need to open their respective control panels.
For NVIDIA users:
- Right-click on your desktop.
- Select “NVIDIA Control Panel”.
- Navigate to “Display” -> “Change resolution”.
- Ensure your monitor is selected and check the refresh rate dropdown. You might need to click “Customize…” to create a custom resolution with 144Hz if it’s not listed.
For AMD users:
- Right-click on your desktop.
- Select “AMD Radeon Software”.
- Go to the “Display” tab.
- Look for your monitor and check the refresh rate settings. Similar to NVIDIA, you might find an option to create custom display modes.
Updating Your Graphics Drivers
Outdated graphics drivers are a common culprit for display issues, including refresh rate limitations. Keeping your drivers up-to-date ensures your graphics card is communicating properly with your monitor and operating system. Think of drivers as the translator between your hardware and software.
We recommend visiting the official website for your graphics card manufacturer (NVIDIA, AMD, or Intel) and downloading the latest drivers for your specific model. Installing them is usually a straightforward process. After the installation is complete, restart your computer and check the display settings again. You might find that 144Hz is now an available option!
Checking Your Monitor’s On-Screen Menu (OSD)
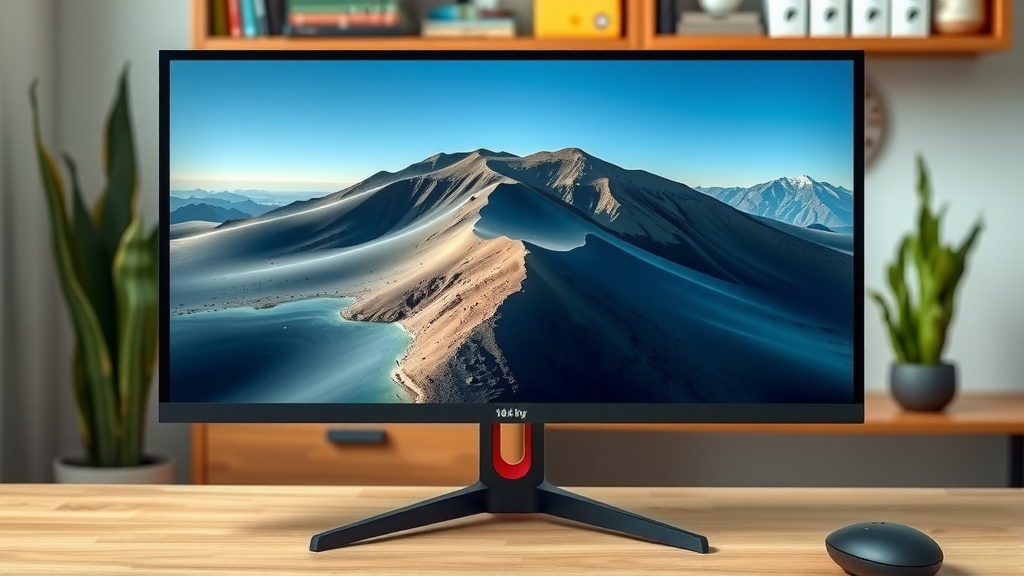
In some rare cases, your monitor might have a specific setting within its own menu that needs to be adjusted. This is less common for refresh rate but can sometimes be a factor, especially if your monitor has different modes or profiles.
Look for physical buttons on your monitor. These usually bring up the On-Screen Display (OSD) menu. Navigate through the menu options, looking for anything related to “Display Mode,” “Overclocking,” or “Refresh Rate.” Make sure it’s set to the highest possible setting or disabled if it’s an automatic setting.
Many experts say that if the OSD has a specific “gaming mode” or “overclocking” feature for refresh rate, enabling that can sometimes unlock the full 144Hz potential (TechRadar). Always refer to your monitor’s manual for specific instructions on navigating its OSD.
Troubleshooting Checklist for 144Hz
If you’re still struggling to get 144Hz, run through this quick checklist:
- Confirm Monitor Support: Did you verify your monitor can actually do 144Hz?
- Use the Right Cable: Are you using DisplayPort or a high-speed HDMI cable (HDMI 1.4 or newer)?
- Check Windows Settings: Did you select 144Hz in Advanced Display Settings?
- Update Drivers: Are your graphics card drivers the latest version?
- Graphics Control Panel: Did you check NVIDIA Control Panel or AMD Radeon Software?
- Monitor OSD: Is there any specific setting in your monitor’s menu to enable?
By following these steps, you should be well on your way to enjoying a much smoother visual experience. It’s amazing what a difference a higher refresh rate can make!
“`Conclusion
You’ve successfully learned how to boost your monitor to a super smooth 144Hz. We found that confirming your monitor’s capability is the first vital step. Then, it’s about adjusting your Windows or macOS settings, and ensuring your graphics drivers and cables are up to snuff. Don’t forget to check your monitor’s own menu if needed. To enjoy that fluid motion, your next step is to dive into your display settings and select that 144Hz option. Your eyes will thank you!
Frequently Asked Questions
Will my computer’s specs matter for 144Hz?
Yes, your computer’s specs, especially your graphics card, are important. Your graphics card needs to be powerful enough to generate the frames per second (FPS) needed to take advantage of the 144Hz refresh rate. If your card can’t produce high enough FPS, you might not see the full benefit.
Can I get 144Hz on any monitor?
No, you can only get 144Hz if your monitor is designed to support it. Older or basic monitors might be limited to 60Hz or 75Hz. Always check your monitor’s specifications first to confirm its maximum refresh rate.
Do I need a special cable for 144Hz?
Often, yes. While some HDMI cables can support 144Hz at certain resolutions, DisplayPort is generally the most reliable connection for high refresh rates. Ensure your cable is rated for the bandwidth needed for 144Hz.
What if 144Hz causes my screen to flicker or go black?
If you experience display issues after switching to 144Hz, it could be a cable limitation or your graphics card struggling. Try a different cable, check your graphics card’s control panel settings, or consider if your GPU might need an upgrade for sustained high refresh rates.
Is 144Hz only for gaming?
While 144Hz is fantastic for gaming due to reduced motion blur and improved responsiveness, it benefits general computer use too. You’ll notice smoother scrolling, more fluid window movements, and a generally more pleasant visual experience even outside of games.