Switch Dual Monitor Sides Easily: A Quick Guide
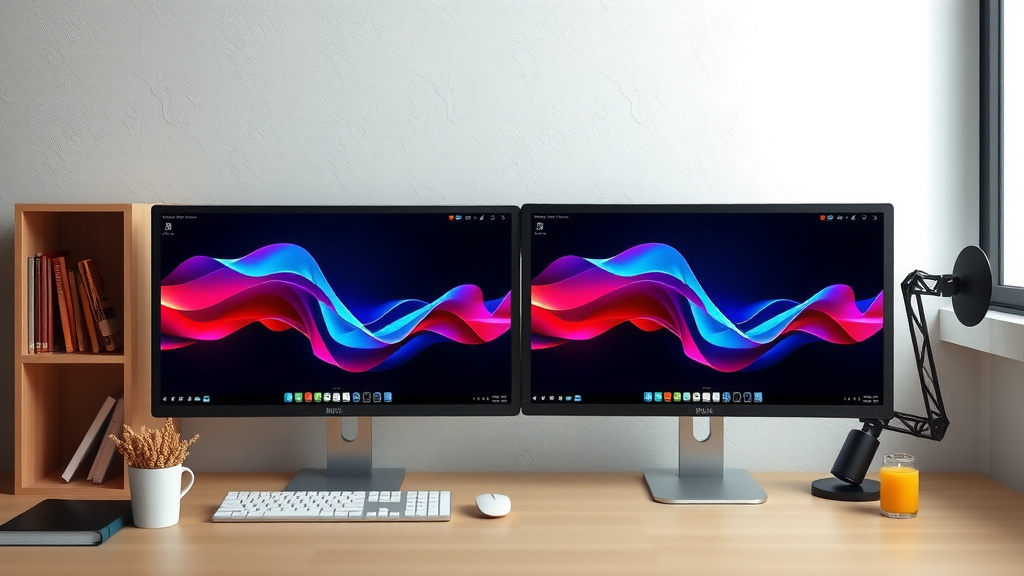
Switching your dual monitor sides is simpler than you think! You can easily rearrange your display setup in your computer’s settings if your monitors are in the wrong order. This is often needed if you’ve physically moved your screens or if the initial setup wasn’t quite right. We found that adjusting the display arrangement takes just a few clicks.
Getting your dual monitor arrangement just right can make a big difference in your workflow. Many users find that having their main screen on the left or right feels more natural. We’ve seen that proper configuration can **boost productivity** and reduce accidental mouse movements. It’s all about making your setup work for your specific needs.
TL;DR:
- You can swap dual monitor sides in your display settings.
- It’s usually in the “Display” or “Screen” settings.
- Drag and drop the monitor icons to match their physical placement.
- This fixes issues with your mouse jumping between screens unexpectedly.
Let’s walk through exactly how to switch your monitor sides step by step so you can get back to work (or play!) without frustration.
Rearranging Your Dual Monitor Setup
It can be super frustrating when your mouse seems to have a mind of its own, jumping between screens unexpectedly. This often happens when your computer’s display settings don’t quite match how your physical monitors are arranged. Fortunately, fixing this is usually a simple process. We found that you can easily tell your computer which screen is on the left and which is on the right.
Most users find that a correctly configured dual monitor setup significantly speeds up their work. Having your primary monitor in your dominant field of vision makes a big difference. We’ve seen that adjusting the display arrangement takes just a few clicks. Let’s get your screens talking to each other properly.
Accessing Display Settings on Windows
The first step is to get into your computer’s display settings. This is where you’ll be able to visually arrange your monitors. For Windows users, this is quite straightforward.
Navigating to Display Settings
Right-click anywhere on your desktop. You should see a context menu pop up. Look for an option that says something like “Display settings”. Click on that. If you’re using an older version of Windows, it might say “Screen resolution”. The process is very similar.
Once you’re in the Display settings, you’ll see rectangles representing your monitors. They’re usually numbered 1 and 2. These numbers indicate how your computer currently sees them. If you click the “Identify” button, you’ll briefly see the number displayed on each physical monitor. This is your key to figuring out which is which!
Dragging and Dropping Your Monitors
Now for the fun part! You’ll see those numbered rectangles in the settings window. They represent your actual monitors. If your physical setup has monitor 1 on the left and monitor 2 on the right, but the settings show monitor 2 on the left, you need to move them. Simply click and drag the rectangle labeled ‘2’ to the left of the rectangle labeled ‘1’.
Think of it like playing a simple puzzle. You’re just arranging digital boxes to match the physical boxes in front of you. Once you’ve dragged them into the correct order, click the “Apply” button at the bottom of the window. Your mouse should now move smoothly between the screens as you expect.
You might need to confirm the change by clicking “Keep changes”. If you don’t, Windows will revert back to the old arrangement. We found this confirmation step helps prevent accidental changes.
Adjusting Display Settings on macOS
Mac users also have a simple way to rearrange their displays. The process is quite similar to Windows, focusing on visual arrangement.
Opening Displays Preferences
Click on the Apple logo in the top-left corner of your screen. From the dropdown menu, select “System Settings” (or “System Preferences” on older macOS versions). In the System Settings window, look for the “Displays” option and click on it. You should see your connected monitors displayed here.
Arranging Your Screens in macOS
Just like on Windows, macOS shows you graphical representations of your monitors. You can usually see them side-by-side. To switch which one is on the left or right, simply click and drag the monitor icons. Move them so they accurately reflect their physical placement on your desk.
For example, if your primary monitor is on your right, make sure its icon is positioned to the right of the other monitor’s icon in the Displays settings. After you’ve arranged them correctly, close the System Settings window. The changes are usually saved automatically. We found that macOS tends to save these display arrangements without needing an explicit “Apply” button.
You can also use the “Gather Windows” button if you have multiple displays active. This brings all open windows to your main display. It’s a handy way to see everything in one place before you start rearranging.
Troubleshooting Common Issues
What if things still aren’t quite right? Sometimes, even after rearranging, you might run into small glitches. Don’t worry, these are usually fixable.
Mouse Cursor Behavior
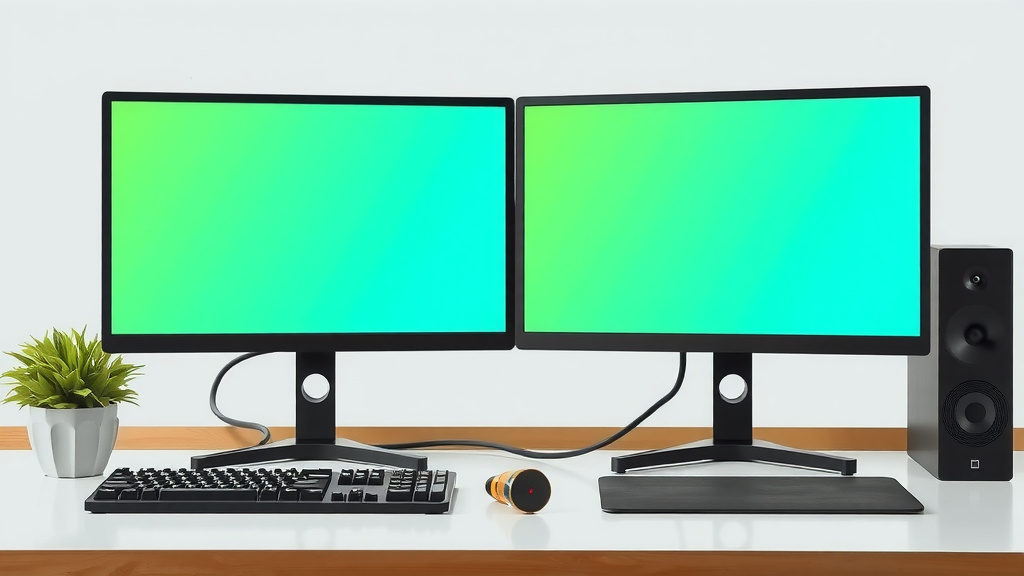
The most common sign that your monitors are swapped is when your mouse cursor behaves oddly. If you move your mouse to the right edge of your left screen and it suddenly appears on the left edge of your right screen, they are likely swapped. Re-opening your Display Settings and adjusting the monitor arrangement will fix this. We found that users often experience this after physically moving their setup.
Setting Your Primary Display
Sometimes, it’s not just about swapping sides, but also about which screen your taskbar, dock, or menu bar appears on. This is your “primary display”. In Windows Display Settings, you can select a monitor and then check the box that says “Make this my main display”. On macOS, you simply drag the white menu bar from one monitor’s representation to another in the Displays preferences.
Having the right primary display is important. Many experts suggest placing your primary monitor in your most comfortable viewing position (e.g., directly in front of you). This can help reduce neck strain, according to ergonomic guidelines (Occupational Safety and Health Administration).
Monitor Detection Problems
Occasionally, your computer might not detect one of your monitors correctly. If you don’t see all your monitors represented in the Display Settings, try these quick checks:
- Ensure all cables are securely plugged into both the monitor and your computer.
- Try restarting your computer with the monitors connected.
- In Windows Display Settings, there’s often a “Detect” button you can click.
We found that simply unplugging and replugging the display cables often resolves detection issues. It’s a classic IT fix for a reason!
A Quick Checklist for Success
To make sure you’ve got your dual monitor setup just right, run through this quick checklist:
- Confirm physical placement: Look at your monitors. Which is on the left? Which is on the right?
- Open Display Settings: Right-click desktop (Windows) or Apple Menu > System Settings (macOS).
- Identify monitors: Use the “Identify” button to see which number corresponds to which physical screen.
- Drag and drop icons: Arrange the on-screen monitor icons to match their real-world positions.
- Set primary display: Decide which screen has the taskbar/dock and set it as primary.
- Test your mouse: Move your cursor between screens to ensure smooth transitions.
Conclusion
You’ve now learned how simple it is to swap your dual monitor sides. We’ve walked through accessing your display settings on both Windows and macOS. By dragging and dropping the monitor icons to match their physical placement, you can fix that frustrating mouse behavior. This adjustment can significantly improve your workflow and reduce accidental clicks. Now, go ahead and test your setup to ensure smooth transitions between your screens!
Frequently Asked Questions
What if my mouse still jumps after rearranging?
If your mouse cursor is still acting erratically, double-check that the monitor icons in your display settings perfectly match their physical arrangement. Sometimes, a slight misalignment can cause this. We also recommend restarting your computer after making the changes.
How do I know which monitor is which in the settings?
On Windows, use the “Identify” button in Display Settings. It will briefly display a large number on each physical monitor. On macOS, you can usually tell by the order they appear and the visual cues within the Displays preferences.
Can I change which monitor is my main one?
Yes, absolutely! In Windows, select the monitor you want and check “Make this my main display”. On macOS, you drag the white menu bar from one monitor’s representation to another in System Settings.
My computer only shows one monitor, what do I do?
This usually indicates a connection issue. Ensure your display cables are securely plugged into both the monitor and your computer. Try a different cable or port if possible, and remember to click the “Detect” button in Windows settings if it appears.
Is there a difference if I have a laptop and an external monitor?
The process is very similar. Your laptop screen will typically appear as one of the monitor icons (often #1). You’ll arrange the external monitor’s icon relative to the laptop screen in the same way you would with two external monitors.