Set Your Primary Monitor: A Simple Dual Screen Guide
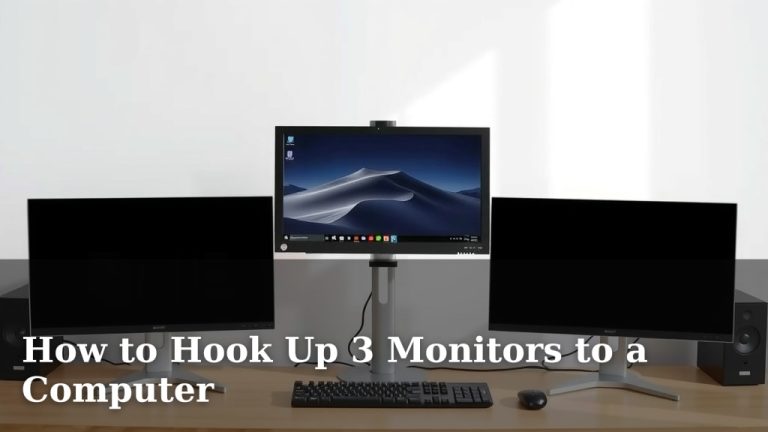
You can absolutely make one of your monitors the primary display. It’s quite simple to designate your main screen where your taskbar and icons will appear. This is essential for organizing your dual monitor setup and ensuring your workflow is smooth.
This primary monitor setting controls where new applications open by default. It also dictates which screen your notifications and system tray icons show up on. Getting this right helps your dual screens work efficiently together, making your computer feel more powerful.
- Set your primary monitor in display settings.
- This is where your taskbar and icons will live.
- New apps will open on this screen by default.
- It helps organize your entire dual monitor setup.
Let’s walk through exactly how to set your primary monitor step by step.
Setting Up Your Primary Monitor Easily
You can absolutely make one of your monitors the primary display. It’s quite simple to designate your main screen where your taskbar and icons will appear. This is essential for organizing your dual monitor setup and ensuring your workflow is smooth.
This primary monitor setting controls where new applications open by default. It also dictates which screen your notifications and system tray icons show up on. Getting this right helps your dual screens work efficiently together, making your computer feel more powerful.
Let’s walk through exactly how to set your primary monitor step by step.
How to Designate Your Main Display in Windows
Making one screen your primary display is straightforward. You’ll do this through your Windows display settings. It’s like telling your computer which monitor is the “boss” for certain things.
Accessing Display Settings
First, you need to get to the right settings menu. The easiest way is to right-click on your desktop. You’ll see a context menu pop up. Look for an option that says something like “Display settings” or “Screen resolution.” Click on that to open the window.
If you don’t see that option, don’t worry. You can also find it through the Start Menu. Click the Start button, then go to Settings (the gear icon). From there, click on “System,” and then select “Display” from the left-hand menu. This will take you to the same place.
Identifying Your Monitors
Once you’re in the Display settings, you’ll see a visual representation of your monitors. They’ll likely be labeled with numbers, like 1 and 2. If you’re unsure which number corresponds to which physical screen, there’s a helpful tool. Click the “Identify” button. Small numbers will pop up on each of your screens. This is super useful for making sure you pick the correct one.
Setting the Primary Display
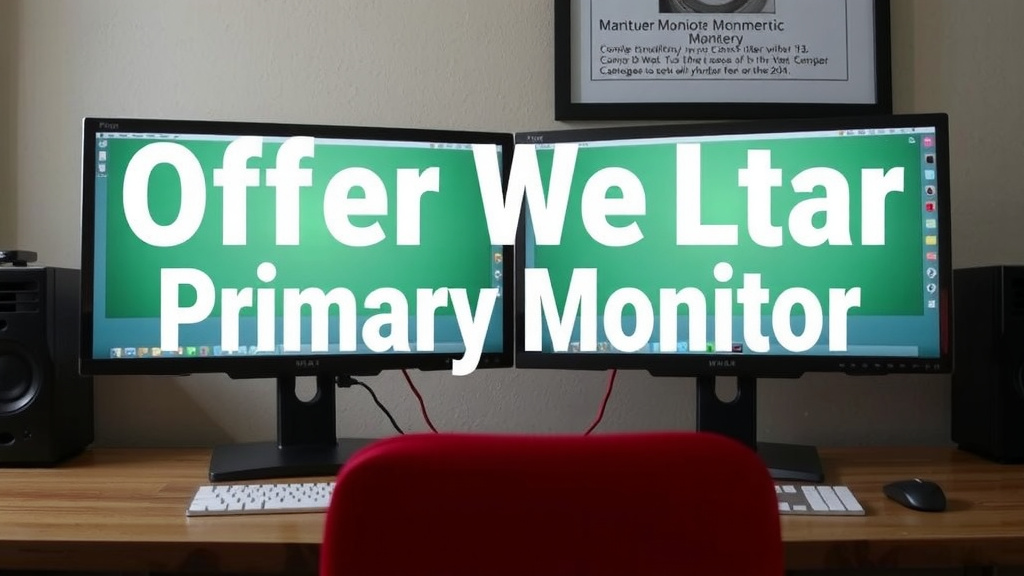
Now for the main event! Scroll down in the Display settings window. You’ll see your monitors laid out. Click on the monitor you want to be your primary display. Once it’s selected (it will usually have a blue border or highlight), look for a checkbox. This checkbox typically says “Make this my main display.”
Check that box. You might feel a slight thrill of accomplishment as you do! Your taskbar, icons, and notifications should instantly jump to that monitor. If they don’t, you might need to click “Apply” at the bottom of the window. Some older Windows versions might require this step.
Understanding What “Primary” Means
So, what does this “primary display” setting actually do? Think of it as your computer’s home base. The primary monitor is where your Start Menu, taskbar, and system tray icons reside by default. When you open a new application, it will typically launch on this main screen.
It also controls where your desktop icons are displayed. If you have multiple monitors, your desktop icons will only appear on the primary one. This helps keep things tidy and organized. You won’t have icons scattered across every screen, which can get messy fast. It’s a small but impactful change for managing your workspace.
Adjusting Your Display Arrangement
Sometimes, even after setting your primary display, things might feel a little off. This is usually related to how your monitors are physically arranged on your desk. Windows needs to know their relative positions to let you move your mouse cursor smoothly between them.
Rearranging Your Monitor Layout
In the same Display settings window, you’ll see those numbered rectangles representing your monitors. You can click and drag them to match their physical arrangement. If your second monitor is to the left of your primary one, drag its numbered box to the left of the primary monitor’s box. This is really important for intuitive mouse movement.
Imagine your mouse is a character in a video game. If you move left on your physical screen, your mouse should move left on the screen. If the digital arrangement doesn’t match the physical one, your mouse might jump unexpectedly or move in odd directions. Getting this right makes working across screens feel natural.
Understanding Display Scaling
As you get comfortable with your dual monitor setup, you might notice that text or icons look different sizes on each screen. This can happen if your monitors have different resolutions or sizes. Windows offers display scaling to help.
In the Display settings, you can select each monitor individually. You’ll see an option for “Scale and layout.” Here, you can adjust the size of text, apps, and other items. You can choose a percentage to make things larger or smaller. It’s recommended to set scaling for each monitor independently. This ensures that elements appear at a comfortable size on both screens. Many experts suggest using the recommended scaling percentage for each display (Microsoft Support).
Troubleshooting Common Issues
Even with simple steps, sometimes things don’t work perfectly the first time. Don’t get discouraged! Most dual monitor issues are easily fixed with a few adjustments.
Taskbar Not Appearing on Primary Display
Did you set your primary display, but your taskbar is still on the wrong screen? This is a common hiccup. First, double-check that you clicked “Make this my main display” and then “Apply” if prompted. If it’s still not right, try a quick restart of your computer. Often, a simple reboot can clear up display glitches. You can also right-click the taskbar and ensure “Show taskbar on all displays” is checked, and then uncheck it and recheck it.
Mouse Cursor Jumping Between Screens Incorrectly
As mentioned earlier, this usually means your monitor arrangement in settings doesn’t match your physical setup. Go back to the Display settings and carefully drag the numbered monitor boxes to mirror how they sit on your desk. Test your mouse movement by dragging it from one screen to the other. Make small adjustments until it feels right. This might take a few tries, but patience pays off for a smooth workflow.
One Monitor Not Being Detected
If Windows isn’t even showing one of your monitors, the problem might be with the connection. Ensure all cables (HDMI, DisplayPort, etc.) are securely plugged into both the monitor and your computer. Try using a different port on your graphics card or monitor if available. Sometimes, a faulty cable can cause detection issues. Trying a different cable can rule this out quickly.
Checklist for a Perfect Setup
Let’s recap the key steps to get your dual monitor setup just right:
- Right-click your desktop and select “Display settings.”
- Click “Identify” to know which number belongs to which screen.
- Select your desired primary monitor.
- Check the box that says “Make this my main display.”
- Arrange the monitor boxes in settings to match your desk.
- Adjust scaling for each monitor if needed for comfortable viewing.
Conclusion
You’ve learned how to designate your primary monitor, making your dual-screen setup work for you. This simple setting ensures your taskbar, icons, and new applications appear where you expect them. By correctly identifying and setting your main display, you create a more organized and efficient workspace. If your mouse cursor or arrangement feels off, a quick adjustment in display settings will fix it. Now that you’ve mastered setting your primary display, take a moment to enjoy your optimized workflow.
Your next step is to experiment with different application placements across your monitors to find the most comfortable arrangement for your daily tasks.
Frequently Asked Questions
Can I change my primary monitor after setting it up?
Yes, you can absolutely change your primary monitor anytime. Simply go back into your Windows Display settings, select the new monitor you want as primary, and check the box that says “Make this my main display.” It’s an easy change to make if your needs or preferences shift.
Will my desktop icons move to the primary monitor?
When you set a monitor as primary, your desktop icons will move to and only appear on that specific screen. This helps prevent clutter across all your displays and keeps your main workspace tidy. You won’t have icons scattered randomly anymore.
What if my taskbar is still showing on both monitors after setting a primary one?
If your taskbar appears on both screens, double-check your taskbar settings. Right-click your taskbar, select “Taskbar settings,” and ensure “Show taskbar on all displays” is turned off. You might also need to restart your computer for the change to take full effect.
Does setting a primary monitor affect game performance?
Generally, setting a primary monitor doesn’t directly impact game performance. Games usually run on the monitor where you launch them. Your primary display mainly affects the operating system’s interface like the taskbar and where new windows open.
Can I have different screen resolutions on my two monitors?
Yes, you can use monitors with different screen resolutions in a dual-monitor setup. Windows allows you to set individual resolutions and scaling for each display. This ensures that both screens are functional, though you might need to adjust scaling for optimal viewing.