How to Change Primary Display on Dual Monitors Easily
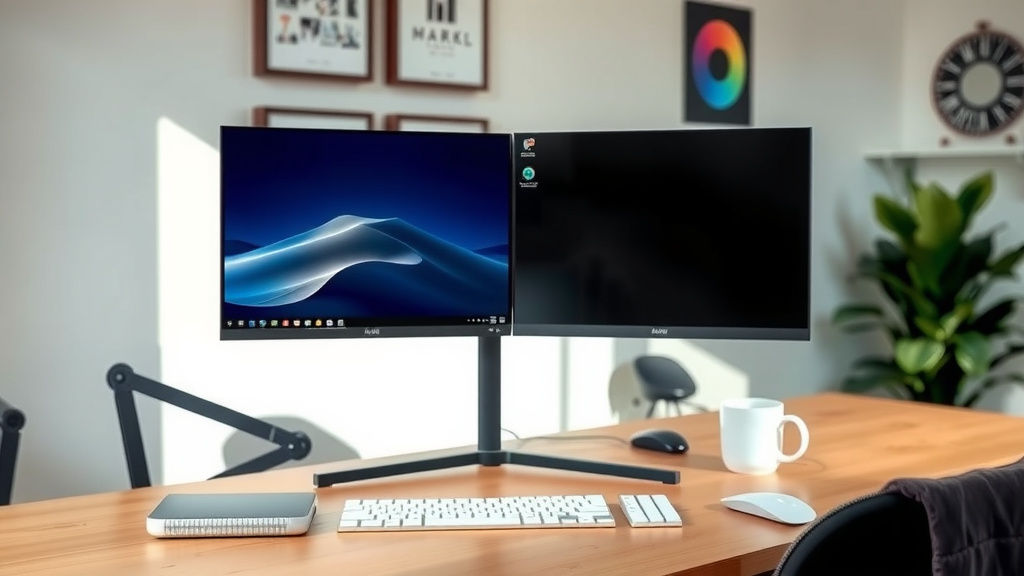
Changing your primary display on a dual monitor setup is a straightforward process that can make your digital workspace more efficient. You simply need to access your display settings and designate which monitor you want to be the main one. This ensures your taskbar, icons, and applications launch on your preferred screen, simplifying your daily computer use. It’s a quick adjustment that can significantly improve your workflow.
Having two monitors, or even more, offers a fantastic productivity boost. But sometimes, Windows or macOS might default to the wrong screen as the primary. This can be a minor annoyance when your favorite apps keep popping up on the secondary display. Fortunately, adjusting this setting is easy and takes only a few clicks. We’ve found that many users struggle with this simple setup, so we want to help.
- Access display settings through your operating system.
- Identify the monitor you want as primary.
- Select the “Make this my main display” option.
- Confirm the changes to apply them.
- This process works for both Windows and macOS.
Let’s walk through exactly how to change your primary display step by step, whether you’re using Windows or a Mac.
Setting Your Main Display on a Two-Monitor Setup
Choosing your primary display is all about personal preference. You want your main screen to be the one that feels most natural to you. This setting tells your computer where to place the taskbar, system tray icons, and where new applications should open by default. It’s a small but mighty adjustment that can really smooth out your daily computer use.
Understanding the Primary Display Concept
Think of your primary display as the “home base” for your computer’s interface. It’s where you’ll usually find your desktop icons and the start button. When you have multiple monitors, you’re essentially extending your desktop. Your operating system needs to know which one is the boss, so to speak. We found that people often overlook this setting, leading to minor frustrations when apps appear on the “wrong” screen.
Changing Your Primary Display in Windows
Windows makes this process quite simple. You don’t need any special software. Just a few clicks within your display settings will get the job done. Let’s walk through it.
Accessing Display Settings
The quickest way to get to display settings in Windows is by right-clicking on your desktop. Look for an option that says “Display settings”. Click that, and a new window will pop up showing you all your connected monitors. You’ll see them represented by numbered boxes. This is your first step to telling Windows which screen is which.
Identifying and Selecting Your Monitors
In the display settings window, you’ll see rectangles labeled 1, 2, and so on, corresponding to each of your monitors. If you’re unsure which number represents which physical screen, you can click the “Identify” button. This will briefly display a large number on each monitor. Once you know which monitor you want to be your primary, click on its corresponding numbered box. You’ll see a box with the text “Make this my main display” appear below the monitor identification numbers.
Making the Switch
With the desired monitor selected, simply check the box that says “Make this my main display”. You should see the taskbar and your desktop icons immediately jump to that screen. This confirms the change has been applied. If you don’t see the changes right away, don’t worry! Sometimes it can take a second or two. We found that confirming the selection usually does the trick.
What if the “Make this my main display” option is grayed out?
This usually happens if you’ve selected the currently designated primary display. To change it, you first need to select a different monitor and make *that* the primary. Then, you can select your original preferred monitor again and make it the primary. It’s a little like a dance, but it works!
Changing Your Primary Display on macOS
Mac users will find the process equally straightforward. Apple has designed its system preferences to be intuitive. You’ll be setting your main display in no time.
Opening System Settings
On a Mac, you’ll want to open “System Settings”. You can find this in your Dock, or by clicking the Apple menu in the top-left corner of your screen and selecting “System Settings.” From there, you’ll look for the “Displays” option. Click on that to open the display configuration panel.
Arranging and Identifying Displays
In the “Displays” settings, you’ll see a visual representation of your monitors. Much like in Windows, you can click the “Arrange…” button to see how they are positioned relative to each other. You can drag these representations to match the physical layout of your monitors. This is important for making sure your mouse cursor moves smoothly between screens. You can also click “Use as:” below each monitor representation. This dropdown menu is where you’ll select your primary display.
Designating the Main Screen
Within the “Displays” settings, you’ll see a white bar across the top of one of the monitor representations. This white bar indicates the primary display. To change it, simply drag that white bar to the monitor you want to set as your primary. This is the Mac’s way of saying “this is the main one.” We found this drag-and-drop method to be very user-friendly.
Display Arrangement and Alignment
It’s also worth noting that in the “Displays” settings, you can adjust how your monitors are arranged. Make sure the on-screen arrangement matches how your monitors are physically placed on your desk. If your left monitor is physically to the left of your right monitor, the representations should reflect that. This ensures that when you move your mouse from one screen to the other, it feels natural and doesn’t jump unexpectedly.
Quick Checklist for Setting Your Primary Display
Here’s a quick recap of the steps you’ll follow, no matter your operating system:
- Navigate to your system’s display settings.
- Identify all connected monitors within the settings.
- Select the monitor you wish to designate as primary.
- Locate and activate the “Make this my main display” or equivalent option.
- Verify that your taskbar and icons are now on your chosen screen.
- Arrange your displays to match their physical desktop setup.
Conclusion
You’ve now learned how to easily set your primary display on your dual monitor setup. Whether you’re using Windows or macOS, the process is surprisingly simple. Remember, your primary display is where your taskbar and icons live, and where new apps will open by default. Making this adjustment can really streamline your workflow and make your computer feel more intuitive. Don’t hesitate to experiment with your monitor arrangement to find what feels best for your unique workspace. Now, go ahead and make that change!
Frequently Asked Questions
What happens if I don’t set a primary display?
If you don’t explicitly set a primary display, your operating system will choose one automatically. This is usually the monitor that was connected first or detected as the main one during startup. You might find that applications open on a screen that isn’t your preferred one, which can be a minor annoyance.
Can I have different resolutions or refresh rates on my dual monitors?
Yes, you absolutely can! Most modern operating systems allow you to set different resolutions and refresh rates for each monitor in your dual setup. This is configured within the same display settings where you change the primary display.
Is it hard to arrange my monitors correctly in the settings?
Not at all. Both Windows and macOS provide a visual representation of your monitors in their display settings. You can simply drag and drop these representations to match the physical layout of your monitors on your desk, ensuring smooth mouse cursor movement between them.
Will changing the primary display affect my games?
Typically, games will launch in fullscreen on the monitor you’ve designated as primary. Some games offer settings to choose which display you want to use, so you may have options within the game itself. For windowed or borderless windowed modes, they often appear on the primary screen by default.
My primary display option is grayed out. What should I do?
This usually means the monitor you’ve currently selected is already set as the primary display. To change it, you need to select a different monitor first and make *that* one the primary. Then, you can go back and select your original preferred monitor and set it as primary.