How to Fix the Resolution on a Monitor
Fixing your monitor’s resolution is usually quite simple. You can adjust it directly through your computer’s display settings, typically found in the system preferences or display adapter properties. Getting the resolution right makes your screen look its sharpest.
Sometimes, your computer might not automatically detect the best resolution for your monitor. This can lead to a blurry or stretched image. We found that manually setting the correct resolution often solves this problem. It ensures you get the clearest picture possible for all your tasks.
TL;DR:
- Check your display settings.
- Manually select the recommended resolution.
- Ensure your graphics drivers are updated.
- Restart your computer if needed.
- Adjust scaling if text looks too small.
Let’s walk through exactly how to fix your monitor’s resolution step by step, so you can enjoy a crystal-clear display.
Adjusting Your Monitor’s Display Settings for Clarity
Getting your monitor’s resolution just right is key. It means your text is sharp and your images look their best. If things seem blurry or stretched, your computer might not be using the optimal settings. Thankfully, fixing this is usually straightforward.
Finding Your Display Settings: The Starting Point
Your operating system has a dedicated area for display adjustments. This is where you’ll control your monitor’s resolution. We found that locating these settings is often the first hurdle for many users. Don’t worry, it’s simpler than it sounds.
On Windows: Accessing Display Properties
Right-click anywhere on your desktop. You’ll see a context menu pop up. Look for an option like “Display settings” or “Screen resolution”. Clicking this will open the main display configuration window. It’s like the control panel for your screen’s appearance.
On macOS: Navigating System Preferences
For Mac users, head to the Apple menu in the top-left corner. Select “System Preferences”. Then, click on “Displays”. This will bring up the settings for your connected monitors. It’s a clean interface designed for ease of use.
Understanding Resolution: What It Means for You
Resolution refers to the number of pixels your screen can display. Think of pixels as tiny dots that make up the image. A higher resolution means more pixels. This translates to a sharper, more detailed picture. It’s like comparing a low-definition TV to a high-definition one. We found that selecting the native resolution is usually the best bet for clarity.
What is Native Resolution?
Your monitor has a specific number of pixels it can show perfectly. This is its native resolution. Using this setting ensures every pixel on your screen is used as intended. When you use a different resolution, the computer might have to stretch or shrink the image. This can cause blurriness. Many manufacturers recommend using the native setting for optimal viewing (PCMag).
Manually Setting the Correct Resolution
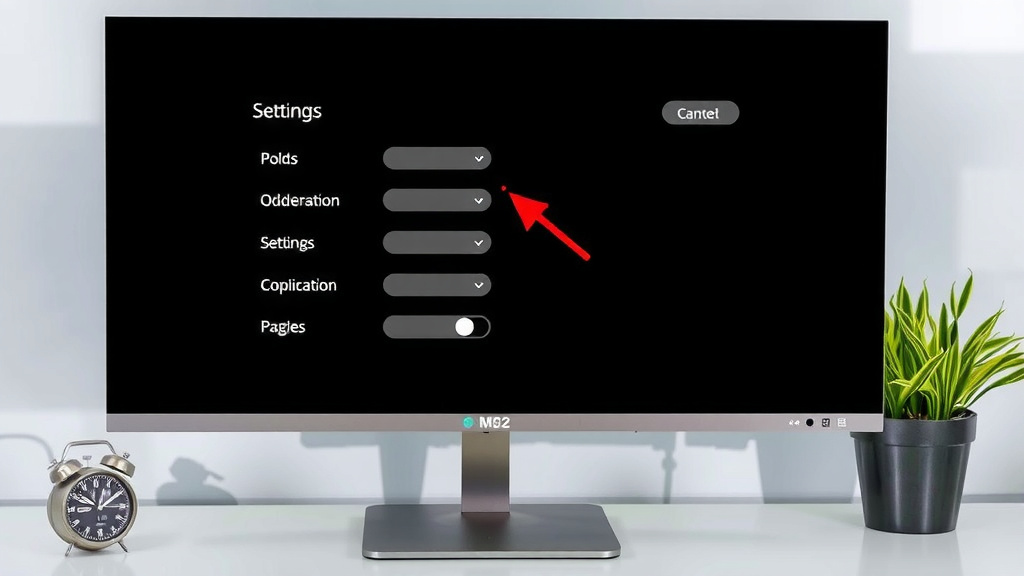
Once you’re in the display settings, you’ll see an option for resolution. It might be a dropdown menu. You’ll see a list of available resolutions. Look for the one that matches your monitor’s recommended setting. It’s often labeled as “Recommended”. This is usually your monitor’s native resolution.
Selecting the Recommended Resolution
Click the dropdown menu. Select the highest resolution listed, or the one marked as recommended. You’ll likely see a preview of the change. Your screen might go black for a moment. Then, it will reappear with the new resolution. Confirm the change if prompted. You usually have a few seconds to accept it before it reverts. We found this step is critical for fixing blurry screens.
What if the Recommended Resolution Isn’t Available?
This can sometimes happen. It often points to an issue with your graphics drivers. Drivers are software that help your computer communicate with your graphics card. If they are outdated or corrupted, they can limit your resolution options. We found that updating your graphics drivers is a common fix.
Troubleshooting Common Display Issues
Sometimes, even after setting the correct resolution, things might not look perfect. You might encounter other visual glitches. Let’s look at some common problems and how to solve them.
Updating Your Graphics Drivers: A Must-Do Step
Outdated graphics drivers are a frequent culprit. They can cause all sorts of display anomalies, including incorrect resolution detection. Keeping them updated is good practice for your computer’s health. Many experts say drivers are the bridge between hardware and software.
How to Update Drivers on Windows
Go back to your display settings. Look for a link or button related to “Advanced display settings”. This might lead you to your graphics card’s control panel (like NVIDIA Control Panel or AMD Radeon Software). From there, you can usually check for driver updates. Alternatively, you can visit the website of your graphics card manufacturer (NVIDIA, AMD, or Intel) and download the latest drivers directly. This often provides the most up-to-date version.
How to Update Drivers on macOS
On macOS, graphics drivers are typically updated automatically as part of the macOS operating system updates. Ensure your Mac is running the latest version of its operating system. You can check for updates by going to the Apple menu, then “System Preferences,” and clicking “Software Update.”
When Text Looks Too Small: Adjusting Scaling
Sometimes, after setting a high resolution, the text and icons on your screen can appear very small. This is especially common on high-resolution displays. You can fix this using display scaling. Scaling allows you to enlarge the text and apps. It makes everything easier to read without changing the resolution itself.
Adjusting Scaling in Windows
In Windows, go to “Display settings.” You should see a section labeled “Scale and layout.” There will be a dropdown menu for changing the size of text, apps, and other items. We found that choosing a percentage like 125% or 150% often works well for many users. After making a change, you might need to sign out and back in for it to take full effect.
Adjusting Scaling in macOS
On a Mac, within the “Displays” settings, you might see options like “Scaled” or “Show all resolutions.” Clicking “Scaled” allows you to choose between options that adjust the size of text and icons. These are often described in terms of what they look like (e.g., “Larger Text” or “More Space”). Selecting one of these options will adjust the appearance without drastically changing the underlying resolution.
The Importance of a Restart
Don’t underestimate the power of a simple restart. After making significant display changes, like updating drivers or changing resolution settings, a reboot can help. It ensures all the new settings are properly applied across your system. We found that a fresh start often resolves lingering issues.
Checklist for a Clearer Display
- Right-click desktop for display settings (Windows).
- Apple menu > System Preferences > Displays (macOS).
- Select the “Recommended” resolution.
- Update your graphics drivers.
- Adjust scaling if text is too small.
- Restart your computer.
Conclusion
You’ve now learned the essential steps to fix your monitor’s resolution. By accessing your display settings and selecting the recommended resolution, you can achieve a much clearer picture. Remember, keeping your graphics drivers updated is key, as they ensure your computer communicates correctly with your monitor. If text still looks a bit off, adjusting the display scaling provides a simple solution. Follow these steps, and you’ll enjoy a crisper, more comfortable viewing experience on your screen. For any lingering issues, don’t forget that a quick computer restart can often work wonders.
Frequently Asked Questions
Why is my monitor resolution blurry after connecting it?
This often happens when your computer doesn’t automatically detect the best resolution. It might be defaulting to a lower setting than your monitor supports. We found that manually selecting the native or recommended resolution in your display settings usually solves this blurriness immediately.
Can I use a resolution that isn’t listed as “Recommended”?
While you can select resolutions not marked as recommended, it’s generally not advised for optimal clarity. Using a non-native resolution can lead to stretching or compression of the image, resulting in a less sharp display. The recommended setting ensures your monitor’s pixels are used as intended.
How do I know which resolution is best for my monitor?
Your monitor has a native resolution, which is the highest and sharpest setting it can display. This is usually labeled as “Recommended” in your display settings. Checking your monitor’s manual or the manufacturer’s website can also confirm its optimal resolution.
My resolution looks fine, but text is too small. What should I do?
This is a common issue with high-resolution displays. You don’t need to change the resolution itself. Instead, you can use display scaling. This feature lets you enlarge text, apps, and other items on your screen without affecting the overall sharpness.
What if I can’t find the “Display Settings” or “System Preferences”?
The exact location can vary slightly between Windows and macOS versions. On Windows, you can usually right-click your desktop and select “Display settings.” On macOS, go to the Apple menu and choose “System Preferences,” then “Displays.” If you’re still stuck, a quick search within your operating system’s help menu should guide you.