How to Get Your Laptop Screen on a Monitor
Yes, you can easily get your laptop screen on a monitor using an HDMI cable. Most modern laptops and monitors have HDMI ports. This is the simplest and most common method. It’s a quick way to get a bigger display for your work or entertainment.
Connecting your laptop to an external monitor can boost your productivity. It gives you more screen real estate for multitasking. You can even extend your desktop or mirror your laptop screen. Many people find this setup much more comfortable than a small laptop screen.
- Use an HDMI cable for the easiest connection.
- Check your laptop and monitor ports match.
- You might need an adapter if ports don’t match.
- Select the correct input source on your monitor.
Let’s walk through the simple steps to connect your laptop to an external monitor, making your screen bigger in no time!
Connecting Your Laptop to a Bigger Screen
You’ve got a laptop, and you’ve got a monitor. Great! Now, you want your laptop’s view to appear on that bigger monitor. It’s a fantastic idea for more comfortable work and immersive entertainment. We’ve found that using an external monitor can really transform your digital space. Let’s get that done for you.
Understanding the Connection Methods
The easiest way is usually with a cable. Think of it like plugging in a big TV. Most modern laptops and monitors share common ports. Your goal is to find a cable that fits both devices. We’ll look at the most common ways to make this happen.
The Power of HDMI: Your Go-To Cable
If you have an HDMI port on both your laptop and monitor, you’re in luck! This is the most common and straightforward method. HDMI carries both video and audio signals. This means you get a clear picture and sound all through one cable. Research shows HDMI is the standard for most consumer electronics today (Consumer Electronics Association).
What is HDMI?
HDMI stands for High-Definition Multimedia Interface. It’s designed to transmit high-definition video and audio. You’ll see a distinct trapezoid shape on the connector. Most laptops made in the last decade have at least one HDMI port. Monitors almost always feature them.
How to Use an HDMI Cable
Grab your HDMI cable. On your laptop, locate the HDMI port. It’s usually on the side or back. Now, find the HDMI port on your monitor. It’s typically on the back panel. Gently plug one end into your laptop and the other into your monitor. Make sure they’re snug. You don’t need to force them; they should slide in easily. We found that ensuring a secure connection prevents signal dropouts.
When HDMI Isn’t an Option: Other Connectors
Sometimes, your devices might not have matching HDMI ports. Don’t worry, there are usually other ways. You might need a simple adapter or a different type of cable. We’ve seen many setups that require a little creative connecting.
DisplayPort: Another Great Video Connector
DisplayPort is similar to HDMI. It also carries high-quality video and audio. You’ll often find it on business laptops and higher-end monitors. The connector is a bit different, usually with one angled corner. If both your devices have DisplayPort, this is an excellent option.
USB-C: The Versatile Connector
USB-C is becoming very popular. Many newer laptops use it for charging, data transfer, and video output. If your laptop has a USB-C port that supports video (often marked with a lightning bolt or “DP” icon), you might be able to connect to a monitor. Some monitors have USB-C inputs. Others might need a USB-C to HDMI or USB-C to DisplayPort adapter.
VGA and DVI: Older Connections
You might encounter older laptops or monitors with VGA (a blue, trapezoid-shaped connector with pins) or DVI (a larger white connector with many pins). These are analog or digital connections. While they work, they generally offer lower video quality than HDMI or DisplayPort. If these are your only options, they’ll still get your screen onto the monitor.
Adapters and Dongles: Your Connection Heroes
Don’t let mismatched ports get you down. Adapters are small devices that bridge the gap between different connector types. For example, you can get a USB-C to HDMI adapter. Or a DisplayPort to DVI adapter. Many tech stores sell these. We found that checking the specifications of your laptop and monitor is key to choosing the right adapter.
Setting Up Your Monitor: The Final Steps
Once you’re physically connected, there are a couple of quick software steps. Your laptop needs to know to send the signal to the monitor. And your monitor needs to know which signal to receive.
Selecting the Right Input Source on Your Monitor
Your monitor is like a TV; it can receive signals from multiple sources. You need to tell it which port you’ve plugged your laptop into. Look for a “Source” or “Input” button on your monitor’s control panel. Press it and cycle through the options until you see your laptop’s display. Common options include HDMI 1, HDMI 2, DisplayPort, USB-C, etc. We found that this step is often overlooked but is essential.
Configuring Display Settings on Your Laptop
Now, your laptop needs to send the right kind of signal. You can usually do this with a keyboard shortcut or through your operating system’s settings.
Using Keyboard Shortcuts (Windows)
On most Windows laptops, you can press the Windows key + P simultaneously. This brings up a quick menu. You’ll see options like:
- Duplicate: Shows the same image on both screens.
- Extend: Makes the monitor an extension of your laptop screen.
- Second screen only: Shows only on the external monitor, turning off your laptop screen.
Using Keyboard Shortcuts (macOS)
For Mac users, this is often handled automatically. If not, you can go to System Settings (or System Preferences) > Displays. You’ll see your laptop screen and your external monitor. You can arrange them by dragging the displays. You can also choose to mirror them or use them as separate displays.
Adjusting Resolution and Scaling
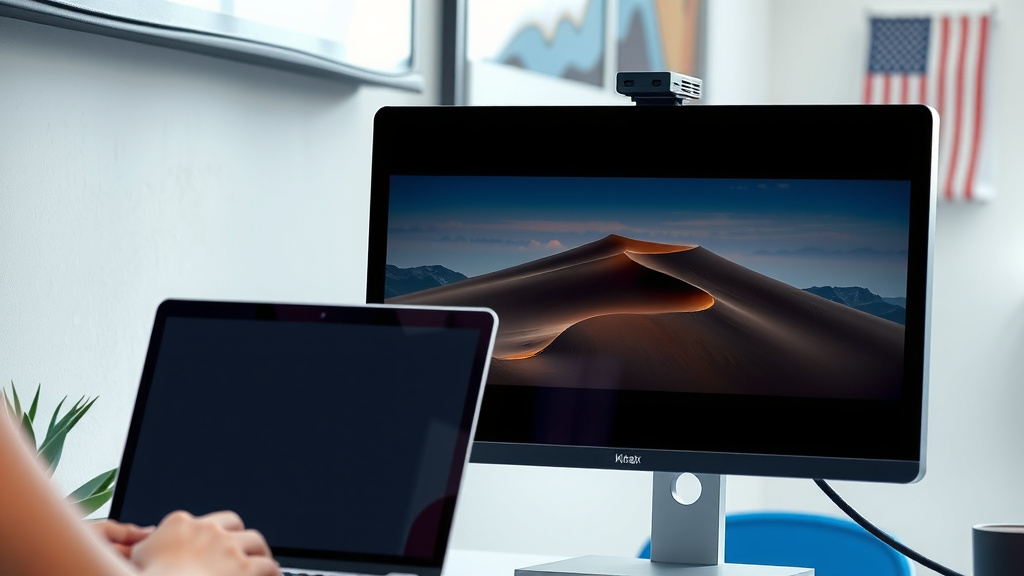
After connecting, the display might look a bit off. You can adjust the resolution and scaling in your display settings. This ensures text and images look sharp and appropriately sized on your monitor. Most operating systems will suggest a “Recommended” resolution for your monitor. We advise starting with that.
Quick Checklist for Connection Success
Need a quick run-through? Here’s what to check:
- Verify your cable type (HDMI, DisplayPort, USB-C, etc.).
- Check matching ports on your laptop and monitor.
- Use an adapter if ports don’t match.
- Plug the cable in firmly on both ends.
- Select the correct input source on your monitor.
- Configure display settings on your laptop (Duplicate, Extend, etc.).
Conclusion
Connecting your laptop screen to a monitor is a straightforward process that can truly enhance your workflow and viewing experience. You’ve learned that HDMI is often your easiest route, but other connectors like DisplayPort and USB-C are excellent options too. Don’t forget that adapters are your friends if ports don’t match perfectly. By following the simple steps of plugging in your cable and selecting the right input and display settings, you’ve successfully expanded your digital workspace. Now, go enjoy that bigger screen!
Frequently Asked Questions
Can I use my laptop screen and monitor at the same time?
Yes, you absolutely can! When you connect your laptop to an external monitor, you typically have three main options: duplicate your laptop screen, extend your desktop across both screens, or use only the external monitor. The “Extend” option is perfect for multitasking.
What’s the best cable to use for connecting my laptop to a monitor?
For most modern devices, HDMI is the best and easiest cable to use because it carries both video and audio. If your devices have DisplayPort or USB-C ports that support video output, those are also excellent, high-quality options.
My laptop and monitor don’t have the same ports. What can I do?
Don’t worry! If your ports don’t match, you can use an adapter or dongle. For example, you can find USB-C to HDMI adapters or DisplayPort to DVI adapters. These small devices bridge the connection gap between different types of ports.
Do I need to install any special software to use an external monitor?
Generally, no special software is required. Your laptop’s operating system (Windows or macOS) has built-in display settings. Once you physically connect the cable and select the correct input on your monitor, you can configure how the displays work together through your system’s display settings.
How do I make sure the picture looks right on my monitor?
After connecting, you might need to adjust your display settings. Your laptop’s display settings allow you to choose the resolution and scaling for your external monitor. We found that selecting the “Recommended” resolution usually provides the clearest picture and best fit for your monitor.