How to Extend Your Mac to Two Monitors
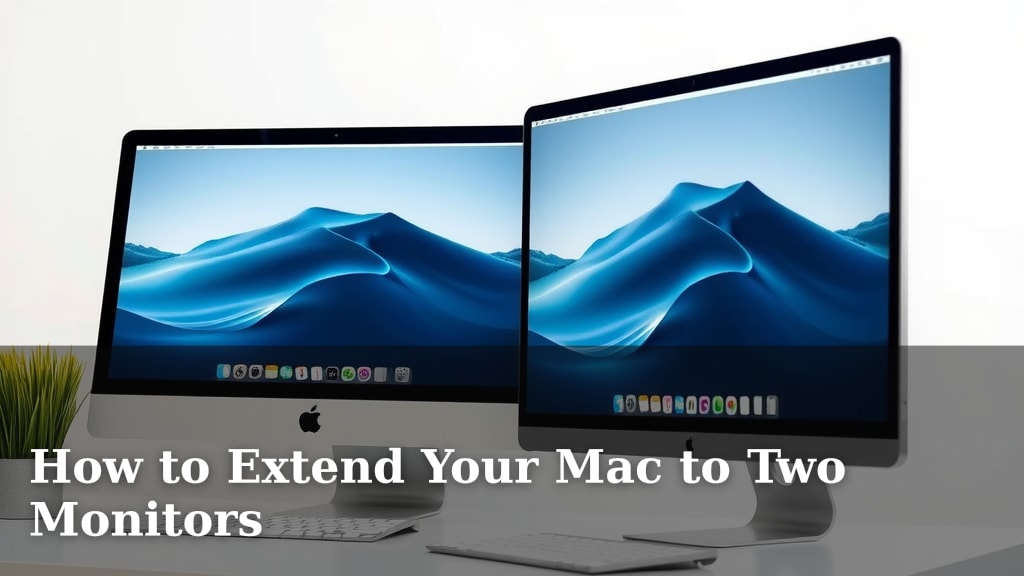
Yes, you absolutely can extend your Mac to two monitors, and it’s a fantastic way to boost your productivity. By connecting an external display, you gain more screen real estate for multitasking. This setup is a game-changer for many Mac users.
Many Macs support multiple displays right out of the box. You’ll want to make sure your Mac has the correct ports, like HDMI or USB-C/Thunderbolt. The process is generally straightforward and helps you work smarter, not harder.
- Connect your second monitor using an appropriate cable.
- Check your Mac’s display settings to configure the new screen.
- You can choose to mirror your current display or extend your desktop.
- Adjust resolution and arrangement for optimal workflow.
Let’s walk through exactly how to set up your Mac with two monitors, step by step.
Adding a Second Monitor to Your Mac Setup
You’re ready to expand your digital workspace! Extending your Mac to a second monitor can feel like a superpower. Imagine having your email open on one screen while you craft a document on another. It’s a boost for efficiency. Many Mac users find this setup transforms their daily workflow. Let’s get your second display up and running smoothly.
Checking Your Mac’s Hardware Compatibility
Before you buy any new gear, it’s smart to check what your Mac can handle. Not all Macs are created equal when it comes to external displays. Your specific Mac model will determine how many external monitors you can connect and at what resolution.
Understanding Your Mac’s Port Selection
The first step is to identify the ports on your Mac. Most modern Macs use USB-C or Thunderbolt ports. These are the sleek, oval-shaped connectors. Older Macs might have HDMI ports, or even Mini DisplayPort.
You’ll need to know what ports your Mac has to choose the right adapter or cable. A quick look at the side or back of your MacBook or iMac will tell you. You can also check Apple’s website for your specific model’s specifications.
How Many Monitors Can Your Mac Support?
This is where model matters. For example, newer MacBook Air and MacBook Pro models with Apple Silicon (M1, M2, M3 chips) typically support one external display directly. However, there are ways to connect more, which we’ll touch on later.
MacBook Pro models with M1 Pro, M1 Max, M2 Pro, M2 Max, M3 Pro, or M3 Max chips, and Mac Studio models, can often support multiple external displays. Desktop Macs like the iMac and Mac Mini usually offer good support for two or more monitors. Researching your exact Mac model is key here.
Connecting Your External Display
Once you know your Mac’s ports and what your Mac supports, it’s time to make the physical connection. This part is usually quite straightforward.
Choosing the Right Cable and Adapter
If your monitor has an HDMI port and your Mac has one, an HDMI cable is all you need. Easy peasy!
If your Mac uses USB-C/Thunderbolt, you’ll likely need a USB-C to HDMI cable, a USB-C to DisplayPort cable, or a Thunderbolt cable, depending on your monitor’s input. Sometimes, you might need a hub or adapter if your Mac only has USB-C ports and your monitor uses something else, like DVI or VGA (though these are less common now).
Always double-check the connection types required by both your Mac and your monitor.
The Physical Connection Steps
Here’s how it generally works:
- Plug one end of your chosen cable into the corresponding port on your external monitor.
- Plug the other end of the cable into the correct port on your Mac.
- Turn on your external monitor.
- Power on your Mac if it wasn’t already on.
In many cases, your Mac will automatically detect the new display. You might see your desktop appear on the second screen almost immediately. If not, don’t worry! We’ll guide you through the settings next.
Configuring Your Displays in macOS Settings
Your Mac’s Display settings are where you tell macOS how you want to use your monitors. This is where the magic happens to extend your desktop.
Accessing Display Settings
It’s super simple to find these settings. Click the Apple menu in the top-left corner of your screen.
Then, select System Settings (or System Preferences on older macOS versions).
In the sidebar, click on Displays. You should see your built-in display and your newly connected external monitor listed here.
Choosing Between Mirroring and Extending
This is the core decision. Within the Displays settings, you’ll see an option to arrange your displays. By default, macOS often sets up new monitors to extend your desktop. This means each screen shows different content, giving you more space.
If you want both screens to show the exact same thing (like for presentations), you can choose the “Mirror Displays” option. This is useful, but for productivity, extending is usually the goal.
Arranging Your Monitors
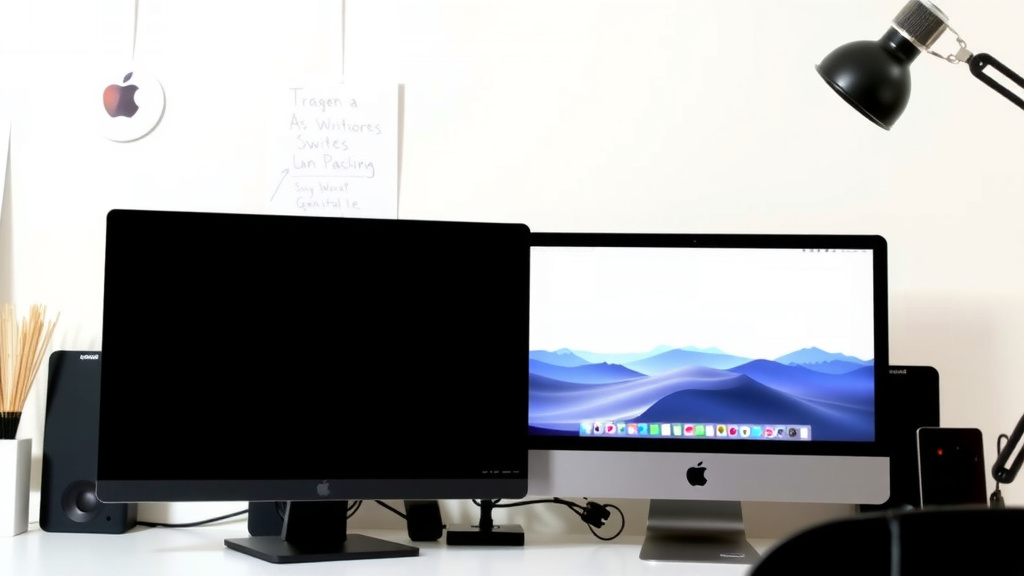
When your displays are set to extend, you’ll see a visual representation of your monitors in the Display settings. You can simply drag and drop these representations to match how your monitors are physically arranged on your desk.
For example, if your second monitor is to the right of your main screen, drag its icon to the right of your Mac’s built-in display icon. This ensures your mouse cursor moves logically between screens. Moving your mouse to the right edge of your main screen should make it appear on the second screen.
Adjusting Resolution and Refresh Rate
Sometimes, the resolution might not look quite right on your new monitor. You can adjust this within the same Displays settings window. Click on your external monitor in the settings.
You’ll see options for resolution. macOS usually picks a “Default for display” setting that looks best. If you want to choose a different resolution, you can select “Scaled” and pick from the available options. Just be aware that some resolutions might make text and icons look larger or smaller.
Similarly, you can often adjust the refresh rate for smoother motion, though the default is usually optimal. We found that sticking to the recommended settings often provides the best visual experience (Apple Support).
Troubleshooting Common Issues
While setup is usually smooth, you might run into a hiccup or two. Don’t panic! Most issues have simple fixes.
No Signal on the Second Monitor
If your second monitor shows “No Signal,” try these steps:
- Check the cables: Ensure they are firmly plugged into both the Mac and the monitor.
- Try a different port: If your Mac or monitor has multiple ports, test them out.
- Restart your Mac: A simple restart can often resolve detection issues.
- Test the monitor separately: Connect the monitor to another device to ensure it works.
Display is Blurry or Incorrectly Sized
This usually points to a resolution or scaling issue. Go back to the Displays settings. Ensure the resolution is set correctly for your monitor. If using scaled options, try selecting “Default for display” to see if that improves clarity.
Maximizing Your Dual-Monitor Productivity Checklist
You’ve got your second monitor connected! Now, how do you make the most of it?
- Arrange your display icons to match your physical setup.
- Set your primary display (the one with the menu bar).
- Assign your most-used applications to specific screens.
- Use keyboard shortcuts for window management (like moving windows between displays).
- Keep your desktop clutter-free on both screens.
Conclusion
You’ve successfully learned how to extend your Mac to a second monitor! This setup offers a significant boost to your productivity. By understanding your Mac’s ports and following simple connection steps, you’ve expanded your workspace. Configuring your displays in System Settings ensures a smooth workflow. Now, you can multitask with ease and work more efficiently. Your next step is to start enjoying your new dual-monitor setup and discover new ways to be productive!
Frequently Asked Questions
Can I connect two monitors to any Mac?
Most modern Macs can connect to at least one external monitor. However, the number of monitors supported can vary by model, especially with Apple Silicon chips. Newer MacBook Air and Pro models with M1, M2, or M3 chips typically support one external display natively, while Pro/Max chip versions and Mac Studio support more.
What kind of cable do I need for my second monitor?
The cable you need depends on your Mac’s ports and your monitor’s inputs. Modern Macs primarily use USB-C or Thunderbolt, so you’ll likely need a USB-C to HDMI or USB-C to DisplayPort cable. Older Macs might use HDMI directly. Always check your specific devices for compatibility.
Why isn’t my second monitor showing anything?
If you’re experiencing “No Signal,” first check that your cables are securely plugged into both your Mac and the monitor. Try restarting your Mac, as this often resolves detection issues. You can also test your monitor with a different device to ensure it’s working correctly.
How do I make my mouse move smoothly between screens?
To ensure your mouse moves logically between your two screens, you need to arrange them correctly in your Mac’s Display settings. Drag the visual representations of your monitors in the settings to match their physical placement on your desk. This tells your Mac how the screens relate to each other.
Can I use a USB hub to connect two monitors?
Yes, a USB hub or docking station can be a great solution, especially if your Mac has limited ports or only USB-C. Look for hubs that specifically state support for multiple external displays and check the resolutions and refresh rates they support to ensure compatibility with your monitors.