
How to Fit Your Screen to Your Monitor
Fitting your screen to your monitor correctly is easier than you might think. You can adjust your display settings to ensure sharp text and vibrant images. This makes your viewing experience much more comfortable and accurate.
Getting this right means your computer will output the best possible picture. It’s not just about making things look pretty. Proper calibration helps reduce eye strain and ensures colors appear as intended. Many users overlook this simple but important step.
- Adjust your monitor’s resolution.
- Fine-tune brightness and contrast.
- Calibrate colors for accuracy.
- Ensure text is clear and readable.
Let’s walk through exactly how to get your screen looking its best, step by step.
“`htmlGetting Your Display Settings Just Right
Ensuring your screen perfectly matches your monitor is essential for a comfortable and productive experience. You want sharp text and vibrant colors without squinting or straining your eyes. Thankfully, adjusting your display settings is a straightforward process that anyone can do.
This guide will walk you through the key steps. We’ll cover resolution, brightness, contrast, and color calibration. By the end, you’ll have your monitor looking its absolute best. Let’s dive in and make your screen look as good as it possibly can!
Understanding Your Monitor’s Native Resolution
The first and perhaps most important setting to check is your monitor’s resolution. This refers to the number of pixels displayed on your screen, both horizontally and vertically. Think of pixels as tiny dots that make up the image you see.
What is Native Resolution?
Every monitor has a “native” resolution. This is the specific pixel count that the screen was designed for. When your computer outputs this exact resolution, the image will appear the sharpest and clearest. It’s like using the right size puzzle piece — it fits perfectly.
Using a resolution lower than the native setting can make everything look blurry or pixelated. Imagine stretching a small image to fit a large screen; it loses its detail. Conversely, trying to use a resolution higher than native often doesn’t work or results in a distorted picture. It’s almost always best to use your monitor’s recommended resolution.
How to Find and Set Your Native Resolution
Finding and setting the correct resolution is usually done through your operating system’s display settings. The exact steps vary slightly depending on whether you use Windows or macOS.
On Windows:
Right-click on your desktop and select “Display settings.” Look for a dropdown menu labeled “Display resolution.” You’ll see a list of available resolutions. The one marked “(Recommended)” is usually your monitor’s native resolution. Select it and click “Keep changes” if prompted.
On macOS:
Click the Apple menu in the top-left corner and choose “System Settings” (or “System Preferences” on older versions). Select “Displays” from the sidebar. You’ll see options for resolution. Choose “Default for display” or select a scaled option that looks sharpest. Many Mac users prefer scaled options that offer more screen real estate while maintaining clarity.
If your monitor isn’t detected correctly, you might need to update your graphics card drivers. This is a common fix when the recommended resolution isn’t appearing. You can usually find these updates on the website of your graphics card manufacturer (like NVIDIA, AMD, or Intel).
Adjusting Brightness and Contrast for Comfort
Once your resolution is set, the next step is to fine-tune the brightness and contrast. These two settings control how light and dark elements appear on your screen. Getting them right can significantly reduce eye strain.
Brightness: Not Too Dim, Not Too Bright
Brightness controls the overall luminance of the screen. If it’s too high, your eyes can feel tired and strained, especially in a dimly lit room. If it’s too low, you might struggle to see details. Many experts suggest setting your brightness to a level that matches the ambient light in your room (Cleveland Clinic).
Most monitors have physical buttons or on-screen menus to adjust brightness. You can also often adjust it through your operating system’s display settings, similar to resolution.
Contrast: The Difference Between Light and Dark
Contrast refers to the difference between the brightest white and the darkest black your monitor can display. A good contrast ratio makes images pop and text easier to read. If contrast is too low, images look washed out. If it’s too high, you might lose detail in very bright or very dark areas of an image.
When adjusting contrast, look at images with both bright and dark areas. You want to see clear detail in both extremes. Be careful not to set it too high, as this can sometimes make text appear “halos” or bleed into its background.
Finding the Sweet Spot
A good starting point is to set your monitor’s brightness to about 30-50% and then adjust contrast to where images look clear and detailed. Take breaks and look away from the screen periodically. If your eyes feel tired after a while, it’s a sign that your settings might need further tweaking.
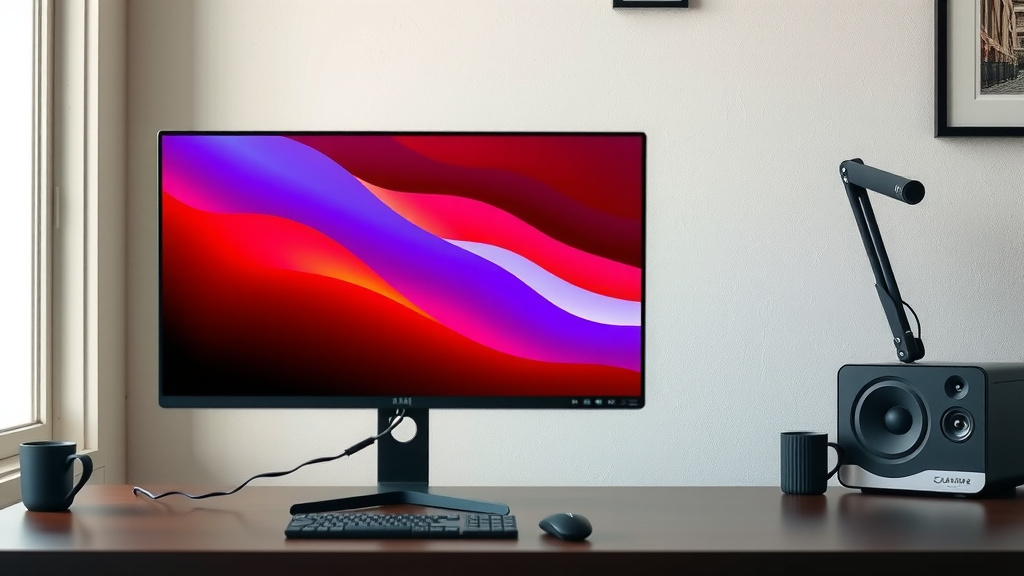
Calibrating Colors for True-to-Life Accuracy
Color calibration ensures that the colors you see on your screen are accurate. This is especially important for creative professionals like photographers or graphic designers. However, it’s beneficial for everyone to have colors appear as they were intended.
Understanding Color Gamuts
Monitors display colors using different color spaces, such as sRGB, Adobe RGB, or DCI-P3. Each space defines a different range of colors it can reproduce. Most general users will be fine with settings optimized for sRGB, which is widely used on the web and by many devices.
If your monitor has presets like “sRGB mode,” try enabling that first. It often provides a good balance for general use.
Using Built-in OS Tools
Both Windows and macOS have built-in tools to help you calibrate your colors manually.
Windows Color Calibration:
Search for “Color Calibration” in the Windows search bar. This tool will guide you through adjusting gamma, brightness, contrast, and color balance using on-screen examples. Follow the prompts carefully.
macOS Display Calibrator Assistant:
In System Settings, go to Displays, then click the “Calibrate…” button (you might need to hold the Option key to see it on some macOS versions). This assistant helps you set white point and gamma for more accurate color display.
These tools offer a good approximation for most users. For professional-level accuracy, dedicated calibration hardware (like a colorimeter) is recommended, but for everyday use, the built-in tools are more than sufficient.
Ensuring Text is Crisp and Readable
Sharp text is vital for reading documents, browsing the web, or coding. If text looks fuzzy or hard to read, it can lead to frustration and fatigue. We’ve already covered resolution, which is the biggest factor, but there are a couple of other things to check.
ClearType Text Tuner (Windows)
Windows has a feature called ClearType that specifically improves text readability on LCD screens. You can access it by searching for “ClearType” in Windows Search.
This tuner lets you select text samples that look best to you. It adjusts how the text is rendered at a sub-pixel level to make it appear smoother and clearer. It’s a quick adjustment that makes a big difference for many people.
Font Smoothing (macOS)
macOS also offers font smoothing options. While generally set automatically, you can sometimes find settings related to font smoothing in Accessibility options. This ensures text remains sharp even at smaller sizes.
After going through these steps, take a moment to review everything. Read a paragraph of text, look at a colorful image, and check out a website you frequent. Does everything look and feel better? You’ve likely made a great improvement to your viewing experience!
Quick Checklist for Perfect Screen Settings:
- Set your monitor to its native resolution (the one marked “Recommended”).
- Adjust brightness so it’s comfortable for your room lighting.
- Fine-tune contrast for clear details in bright and dark areas.
- Use your OS’s built-in tools to calibrate colors if needed.
- Enable text smoothing (ClearType on Windows) for crisp fonts.
- Take breaks and re-evaluate your settings if you experience eye strain.
Conclusion
You’ve now learned how to make your screen look its absolute best. By setting the native resolution, you ensure your monitor displays the sharpest possible image. Fine-tuning brightness and contrast reduces eye strain and enhances viewing comfort. Calibrating colors and enabling text smoothing brings accuracy and readability to your content.
Taking these simple steps transforms your daily computer use. Your eyes will thank you for the clearer text and more vibrant images. Don’t forget to periodically check these settings, especially if you move your monitor or change your workspace lighting. Your perfect viewing experience is just a few clicks away!
Frequently Asked Questions
My monitor’s native resolution isn’t showing up. What should I do?
This often happens if your graphics card drivers are outdated. Visit the website of your graphics card manufacturer (like NVIDIA, AMD, or Intel) to download and install the latest drivers. After updating, restart your computer and check the display settings again.
How do I know if my brightness and contrast settings are correct?
Your brightness should match your room’s ambient light; not so bright it causes glare, and not so dim you strain to see. For contrast, look at images with both very light and very dark areas. You should be able to see detail in both without losing clarity or experiencing halo effects on text.
Is color calibration really necessary for everyday use?
While crucial for professionals, color calibration still benefits everyday users. It helps ensure that colors look more true-to-life, which makes photos and videos more enjoyable. Using your operating system’s built-in tools is a good starting point for most people.
My text still looks a bit fuzzy. What else can I try?
Beyond setting the correct resolution, ensure you’re using your operating system’s text smoothing feature. On Windows, this is called ClearType. On macOS, it’s often referred to as font smoothing. These tools adjust how text is rendered on screen for better clarity.
Can adjusting these settings improve my computer’s performance?
While these adjustments primarily impact visual quality and comfort, they don’t directly boost performance. However, a properly configured display can make your computer feel more responsive and enjoyable to use, indirectly enhancing your overall experience.

![10 Best Monitor Mount For Glass Desk {[year]}](https://bestaccir.com/wp-content/uploads/2026/05/10-best-monitor-mount-for-glass-desk-year-featured-768x432.jpg)