Connect an Extra Monitor to Your Laptop: A Simple Guide
Yes, you can easily add an external monitor to your laptop. This lets you expand your screen space for more productivity or a better entertainment experience. It’s a straightforward process that most laptops support right out of the box.
Connecting a second screen is a fantastic way to boost your workflow. Many people find it helps them multitask better. Whether you need more room for spreadsheets or want to enjoy a movie on a bigger display, adding a monitor is a smart upgrade for your setup. It’s simpler than you might think!
- Connect your laptop to a monitor using an HDMI cable.
- You can also use DisplayPort or USB-C cables.
- Adjust display settings in Windows or macOS to extend or duplicate your screen.
- Ensure your laptop has the correct ports for your monitor.
Below, we’ll walk you through exactly how to connect that second monitor and get it working with your laptop in just a few simple steps.
Connecting an Extra Monitor to Your Laptop: A Simple Guide
Adding a second screen to your laptop is a fantastic way to boost your productivity and enjoy a more immersive experience. You’ll gain more workspace for multitasking or simply have a larger canvas for your entertainment. We’ll guide you through the entire process, making it easy and stress-free.
Understanding Your Laptop’s Ports
Before you buy any cables or monitors, it’s essential to know what ports your laptop has available. Think of these ports as the doorways for your video signal to travel through. Different ports offer different capabilities, like resolution and refresh rates.
Common Video Output Ports You’ll Find
Most modern laptops come equipped with a few standard ports that make connecting to an external display straightforward. Here are the ones you’re most likely to encounter:
- HDMI: This is the most common port on laptops and monitors today. It’s a digital connection that carries both video and audio. It’s incredibly versatile and offers good quality for most users.
- DisplayPort (DP): Often found on business laptops and gaming laptops, DisplayPort is another digital connection. It’s known for supporting higher resolutions and refresh rates than HDMI. This makes it a favorite for gamers and professionals needing sharp, smooth visuals.
- USB-C (with DisplayPort Alternate Mode): This is a newer, versatile port. When your USB-C port supports “DisplayPort Alternate Mode” (or “Alt Mode”), it can output video. It’s a smaller, oval-shaped connector that’s becoming increasingly common. Many newer monitors and docking stations use USB-C.
- VGA: This is an older, analog port. You might still find it on some older laptops or projectors. While it works, the video quality isn’t as good as digital connections like HDMI or DisplayPort. It can also lead to fuzzier images.
How to Identify Your Ports
Take a quick look at the sides of your laptop. You’ll see various ports. They usually have small icons next to them. For example, HDMI often has a small rectangle with a line through it. USB-C is the small oval shape. If you’re unsure, consult your laptop’s manual or search online for your specific laptop model’s specifications.
Choosing the Right Cable for Your Setup
Once you know your ports, selecting the correct cable is your next step. The cable needs to match the ports on both your laptop and your monitor. It’s like needing the right key for a specific lock.
Matching Cables to Ports
Here’s a simple breakdown:
- HDMI to HDMI: Use a standard HDMI cable if both your laptop and monitor have HDMI ports. This is the easiest and most common connection.
- DisplayPort to DisplayPort: If both devices have DisplayPort, use a DisplayPort cable. This is ideal for high-resolution and high-refresh-rate setups.
- USB-C to USB-C: If your laptop and monitor both support video over USB-C, a USB-C cable is your best bet. This can also provide power to your laptop if both devices support it, simplifying your setup.
- USB-C to DisplayPort/HDMI: If your laptop has a video-enabled USB-C port but your monitor has HDMI or DisplayPort, you’ll need an adapter or a specific USB-C to HDMI/DisplayPort cable.
- HDMI to DisplayPort (Adapter/Cable): Generally, you can’t connect an HDMI output to a DisplayPort input directly without an active adapter. This is less common.
- VGA to VGA: If you’re stuck with older equipment, a VGA cable will work, but expect lower quality.
Tip: Always check the specifications of your monitor and laptop. This ensures you get a cable that supports the resolution and refresh rate you desire.
Connecting Your Monitor: The Physical Steps
Now for the exciting part – plugging everything in! This process is usually very quick. You’ll be seeing double (or more!) screens in no time.
Step-by-Step Connection
- Power Down (Optional but Recommended): While many connections can be made while devices are on, it’s safest to turn off both your laptop and your monitor before plugging in cables. This prevents any potential electrical surges.
- Connect the Cable: Plug one end of your chosen video cable into the correct port on your laptop. Then, plug the other end into the corresponding port on your external monitor. Make sure the connections are snug and secure.
- Power Up Your Devices: Turn on your external monitor first. Then, boot up your laptop.
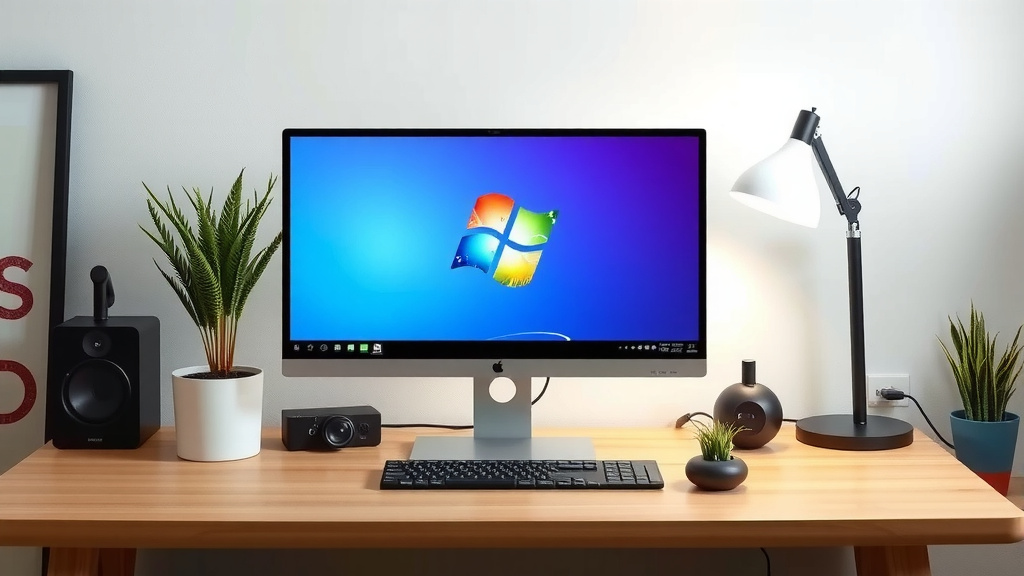
- Select the Input Source (If Necessary): Your monitor might automatically detect the signal. If not, you’ll need to use the monitor’s buttons to navigate its on-screen menu. Look for an “Input” or “Source” option and select the port you used (e.g., HDMI 1, DisplayPort, USB-C).
Configuring Your Display Settings
Once physically connected, your laptop needs to know how you want to use the second screen. You have a few options for how your displays will work together. Think of it as telling your computer how to share its desktop space.
Understanding Display Modes
Your operating system will offer different ways to manage your multiple displays:
- Duplicate: This mode shows the exact same image on both your laptop screen and the external monitor. It’s great for presentations or when you want to share what you’re doing with others.
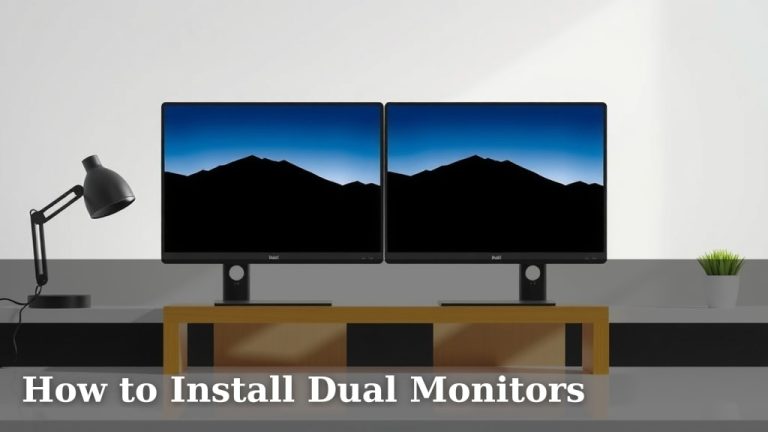
- Extend: This is the most popular option for productivity. It makes your external monitor an extension of your laptop’s desktop. You can drag windows and applications from one screen to the other, giving you much more usable space.
- Show only on 1 / Show only on 2: These modes will disable one of the displays, using only the laptop screen or only the external monitor.
Adjusting Settings in Windows
If you’re using Windows, configuring your display is simple:
- Right-click on your desktop and select “Display settings.”
- Scroll down to the “Multiple displays” section.
- From the dropdown menu, choose how you want to use your monitors: “Duplicate these displays,” “Extend these displays,” or “Show only on 1/2.”
- You can also drag and drop the monitor icons (representing your screens) to match their physical arrangement on your desk. This helps with mouse movement between screens.
- Click “Keep changes” if prompted.
Adjusting Settings in macOS
Mac users will find the process equally straightforward:
- Click the Apple menu in the top-left corner and select “System Settings” (or “System Preferences” on older macOS versions).
- Click on “Displays.”
- Your Mac should automatically detect the external monitor. You’ll see icons for each display.
- Click “Use As” for the external display and choose “Extended Display” or “Mirror Display.”
- If you choose “Extended Display,” you can drag the menu bar from one screen to another to set which screen is your primary display.
- You can also arrange the displays by dragging their icons to match your physical setup.
Troubleshooting Common Issues
Sometimes, things don’t work perfectly on the first try. Don’t worry, most issues are easily fixed!
What If the Monitor Isn’t Detected?
If your laptop doesn’t recognize the second monitor, try these steps:
- Check the Cable Connection: Ensure the cable is securely plugged into both the laptop and the monitor. Try unplugging and re-plugging them.
- Verify the Input Source: Make sure the monitor is set to the correct input source (HDMI, DisplayPort, etc.) using its menu buttons.
- Restart Your Laptop: A simple reboot can often resolve detection issues.
- Try a Different Cable or Port: If possible, test with a different cable or a different port on your laptop or monitor to rule out a faulty connection.
- Update Graphics Drivers: Outdated graphics drivers can cause problems. Visit your laptop manufacturer’s website or the website of your graphics card maker (NVIDIA, AMD, Intel) to download and install the latest drivers. Many guides suggest this is a frequent culprit (TechRadar).
Display Quality Concerns
If the image looks blurry, too dim, or the colors are off:
- Adjust Resolution: Go into your display settings and ensure the resolution is set to the monitor’s native (recommended) resolution.
- Check Refresh Rate: In display settings, verify that the refresh rate is set appropriately for your monitor. Higher refresh rates (like 120Hz or 144Hz) offer smoother motion but require compatible ports and cables.
- Monitor Brightness and Contrast: Use the physical buttons on your monitor to adjust its brightness, contrast, and color settings.
Quick Checklist for Success
Here’s a quick rundown to make sure you’re all set:
- Confirm laptop video output ports.
- Verify monitor input ports.
- Select the correct matching cable.
- Physically connect laptop and monitor.
- Set the correct input source on the monitor.
- Configure display settings in your OS.
Conclusion
You’ve now learned how easy it is to connect an external monitor to your laptop. By understanding your laptop’s ports, choosing the right cable, and configuring your display settings, you can significantly boost your productivity. This simple upgrade transforms your workspace. Go ahead and expand your screen real estate today!
Frequently Asked Questions
Can I connect more than one external monitor to my laptop?
Yes, you can often connect multiple external monitors. Your laptop’s capabilities and the ports available will determine how many you can support. Check your laptop’s specifications or look for docking stations that support several displays.
Will my laptop’s battery drain faster with an external monitor?
Yes, running an external monitor will use more power, so your laptop’s battery will drain faster than usual. The impact depends on the monitor’s brightness and how much you’re using the external display. You can mitigate this by plugging your laptop into its charger.
What’s the difference between mirroring and extending my display?
Mirroring (or duplicating) shows the exact same content on both screens. Extending your display creates a larger, continuous desktop across both monitors, allowing you to drag windows and work on different tasks simultaneously.
Do I need a special type of HDMI cable for higher resolutions like 4K?
Yes, for resolutions like 4K or higher refresh rates, you’ll need an HDMI cable that supports the necessary bandwidth. Look for cables labeled “High-Speed” or “Premium High-Speed” for 4K content, or even “Ultra High-Speed” for 8K or advanced gaming features. For resolutions like 4K or higher refresh rates, you’ll need an HDMI cable that supports the necessary bandwidth.
What if my laptop only has USB-C ports?
If your laptop only has USB-C ports, you’ll need to ensure they support video output (often called “DisplayPort Alternate Mode” or “Alt Mode”). You can then use a USB-C to USB-C cable if your monitor has that input, or a USB-C to HDMI/DisplayPort adapter or cable for monitors with those ports.