Dual Monitor Side Swap: Easy Setup Guide
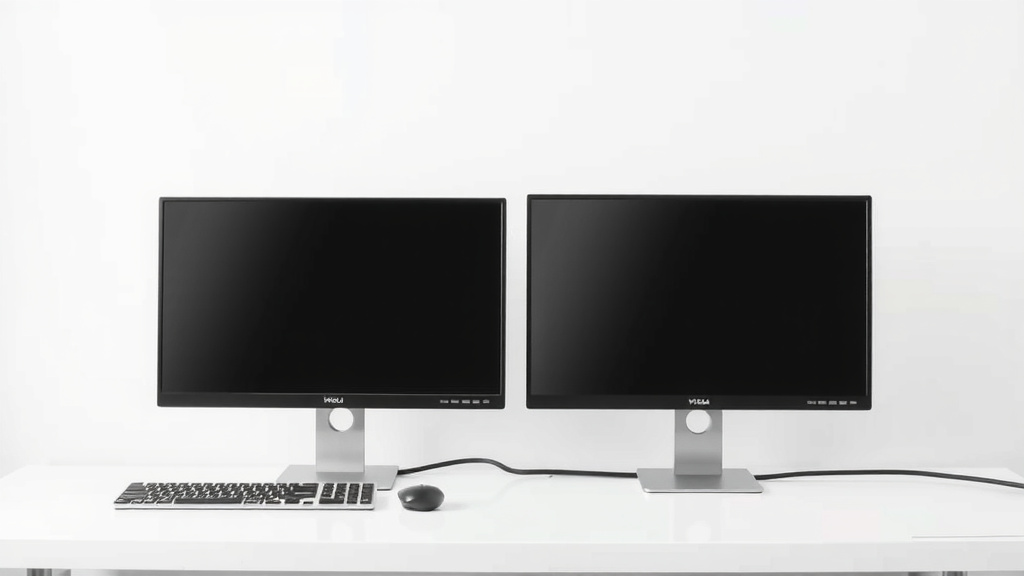
Switching your dual monitor sides is quite simple. You can easily rearrange them in your computer’s display settings. This ensures your mouse moves naturally between your screens. Often, it’s a quick fix for a confusing setup.
Many users find themselves needing to swap their monitor order. This happens when you physically move your setup or add a new screen. Getting the display arrangement right makes multitasking much smoother. It’s about making your workflow feel intuitive and efficient.
- Rearrange monitor order in display settings.
- Match the on-screen layout to your physical setup.
- Ensure mouse movement feels natural between screens.
- Quickly fix confusion from moving monitors.
Let’s walk through exactly how to swap those monitor sides step by step, making your setup work for you.
Rearranging Your Dual Monitor Setup
You’ve probably got your dual monitors set up, but the mouse movement feels a bit… off. Maybe you moved your screens, or perhaps you just got a new one and now it’s in the wrong spot. Don’t worry, it’s a common hiccup. Getting your monitor arrangement just right is key to a smooth workflow. It means your mouse glides naturally from one screen to the other, like a whisper on the wind. This simple adjustment can make a big difference in how you multitask.
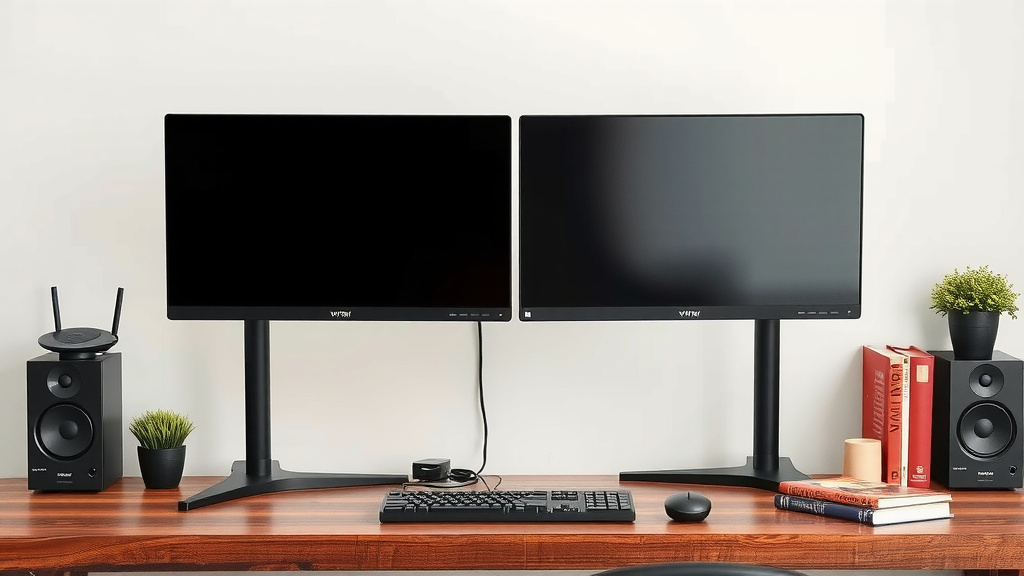
The goal here is to make your computer mirror your physical desk layout. If your main monitor is on the left and your second screen is on the right, your computer should know that. When this is set up correctly, you won’t have to fight with your cursor. It will simply go where you expect it to. We’re going to walk through how to fix this for both Windows and macOS.
Adjusting Monitor Order in Windows
Windows makes it pretty straightforward to tell your computer how your monitors are arranged. This is usually done through the Display settings. You can physically drag and drop the monitor icons to match how they sit on your desk.
Step-by-Step Guide for Windows
First things first, you need to get into the display settings. It’s easier than it sounds.
Accessing Display Settings
Right-click on an empty spot on your desktop. You should see a menu pop up. Look for an option that says “Display settings”. Click on that. If you’re using Windows 10 or 11, this is usually the quickest way.
Identifying Your Monitors
Once you’re in the Display settings, you’ll see little boxes representing your monitors. They’ll usually be numbered 1 and 2. To be absolutely sure which is which, you can click the “Identify” button. Your main screen will show a large number on it, helping you match the screen to the box. This is super helpful when you have more than two screens!
Rearranging the Monitor Layout
Now for the fun part. You’ll see those numbered boxes representing your displays. They’re like puzzle pieces. You can click and drag these boxes around. If your second monitor is physically to the right of your main monitor, drag its box to the right of the main monitor’s box. If it’s to the left, drag it left. You’re essentially telling Windows, “This is where it is”. Most experts recommend aligning the tops or bottoms of the boxes for smoother mouse movement (Microsoft Support).
Applying the Changes
After you’ve dragged the boxes to match your setup, scroll down a bit. You should see a button that says “Apply”. Click that. Your computer might flicker for a second as it adjusts. Now, try moving your mouse. Does it glide naturally between screens? If so, you’re golden! If not, go back and try rearranging the boxes again. Sometimes it takes a couple of tries to get it perfectly aligned.
Switching Monitor Sides on macOS
Mac users have a very similar process. The settings are housed within System Settings (or System Preferences on older versions). The visual representation of your monitors makes it easy to see what you’re doing.
How to Rearrange Displays in macOS
Let’s get your Mac set up with the correct monitor order.
Opening Display Settings on Mac
Click on the Apple menu in the top-left corner of your screen. From the dropdown, select “System Settings” (or “System Preferences”). Then, find and click on “Displays”. You’ll see your connected monitors represented here.
Arranging Your Displays
You should see thumbnails of your displays. They’ll likely be numbered. Just like in Windows, you can click and drag these thumbnails. Position them to reflect their actual placement on your desk. If your second monitor is on the right, drag its thumbnail to the right of the primary display’s thumbnail. If it’s on the left, drag it to the left.
One handy tip we found is to make sure the main display is in the position you want. You can change which display is the main one by dragging the white menu bar from one thumbnail to another. The display with the menu bar is your primary display.
Confirming the Setup
Once you’ve arranged the thumbnails, your mouse movement should update immediately. Test it out by moving your cursor across the edge where the two screens meet. Does it switch screens smoothly? If it feels awkward or gets stuck, try adjusting the arrangement slightly. You might need to align the edges of the thumbnails more precisely. Many guides suggest keeping the tops of the displays aligned for a consistent experience (Apple Support).
Troubleshooting Common Dual Monitor Issues
Sometimes, even after rearranging, things might not feel quite right. Here are a few common things to check.
Mouse Movement Isn’t Smooth
This is the most frequent complaint. If your mouse jumps around erratically or feels like it’s hitting an invisible wall, it’s almost always an arrangement mismatch. Double-check that the on-screen layout precisely matches your physical setup. Even a slight pixel difference in alignment can cause problems. Try dragging the monitor icons so their edges are perfectly flush.
Wrong Monitor Shows the Taskbar/Menu Bar
By default, your taskbar (Windows) or menu bar (macOS) will appear on your primary display. If it’s showing up on the wrong screen, you’ll need to set the correct monitor as your primary display. In Windows, go to Display settings, select the monitor you want as primary, and check the box that says “Make this my main display”. On macOS, drag the white menu bar from one display thumbnail to another in the Display settings.
Resolutions and Scaling Differences
If your monitors have different sizes or resolutions, you might notice that moving the mouse between them isn’t perfectly smooth, even if the arrangement is correct. This is because Windows and macOS try to make things look consistent. You can adjust the “Scale and layout” settings for each monitor. Look for options like “Change the size of text, apps, and other items” in Windows or “Resolution” and “Brightness & Display” in macOS. Setting similar scaling levels can help. We found that setting both displays to 100% scaling, if possible, often yields the best results for mouse movement.
Check Your Graphics Card Settings
For more advanced users, sometimes the graphics card control panel (like NVIDIA Control Panel or AMD Radeon Settings) can override Windows or macOS settings. If you’ve tried everything and are still having trouble, open your graphics card’s software and check its display arrangement settings there. Ensure it matches the settings in your operating system.
Quick Checklist for Dual Monitor Setup
Here’s a quick rundown to make sure your dual monitor setup is working perfectly:
- Match Screen Positions: Drag monitor icons to mirror your desk.
- Identify Displays: Use the “Identify” button to know which is which.
- Set Primary Display: Ensure your main screen has the taskbar/menu bar.
- Align Edges: Make sure monitor boxes are flush for smooth mouse travel.
- Test Mouse Movement: Glide your cursor between screens. Does it feel natural?
- Adjust Scaling: If resolutions differ, tweak scaling for consistency.
Conclusion
You’ve now learned how to easily switch your dual monitor sides. It’s all about making your computer mirror your physical desk setup. Getting this arrangement right means your mouse will move naturally between screens. This simple fix boosts your productivity and makes multitasking feel effortless. Don’t let a confusing setup slow you down. Take a moment to adjust your display settings today, and enjoy a smoother workflow.
Frequently Asked Questions
How do I know which monitor is which in the settings?
When you open your display settings, you can usually click an “Identify” button. This will show a large number on each physical screen, corresponding to the numbered box in your settings. This helps you match the digital representation to your actual monitors.
My mouse moves too fast or slow between screens. What can I do?
This is often a scaling issue. If your monitors have different resolutions or sizes, check the “Scale and layout” settings for each. Try setting them to similar scaling percentages, like 100%, to create a more consistent feel for mouse movement across both displays.
What if the taskbar or menu bar is on the wrong screen?
You need to set your preferred monitor as the primary display. In Windows, select the monitor in display settings and check “Make this my main display.” On macOS, drag the white menu bar icon from one display thumbnail to another in the Display settings.
Can I rearrange monitors if I only have one external display and my laptop screen?
Absolutely. The process is the same. Your laptop screen will be one of the numbered displays. You can drag its box or thumbnail to be positioned next to, above, or below your external monitor’s box to match how you’ve physically arranged them.
Is it possible for my graphics card software to interfere with monitor arrangement?
Yes, it’s possible. Graphics card control panels (like NVIDIA or AMD software) sometimes have their own display arrangement settings. If your operating system settings aren’t working, check your graphics card’s software to ensure its arrangement matches your physical setup.