How to Get Your Mac to Recognize Two Monitors
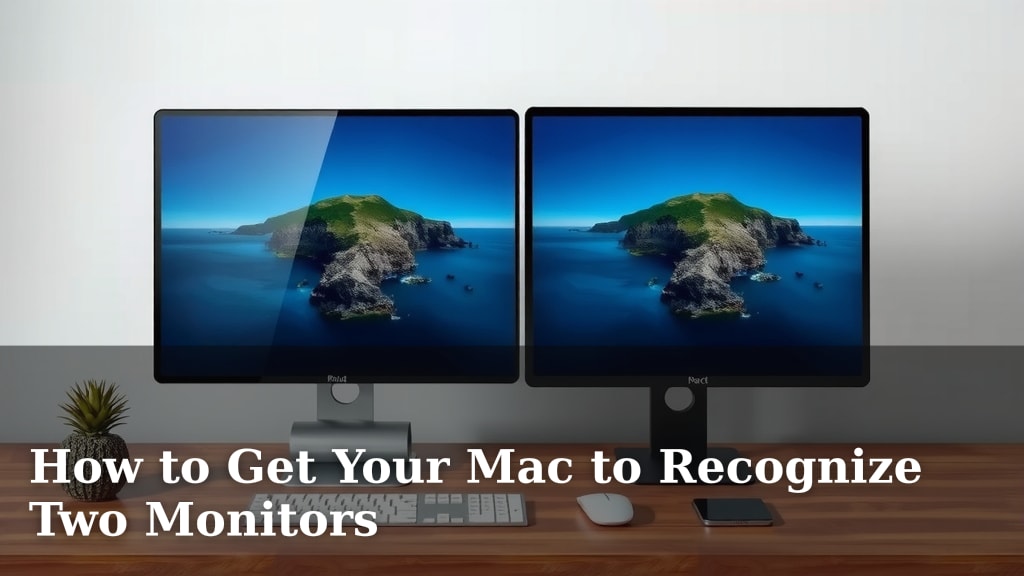
Yes, you can get your Mac to recognize two monitors! Most modern Macs support multiple displays through their available ports. You’ll often just need the right cables or adapters to connect your monitors. This can dramatically boost your productivity.
Adding a second screen to your Mac setup is a popular move. It gives you more space to work and keeps essential windows visible. We found that a common snag is ensuring your Mac has the correct ports for your monitors. Sometimes, a simple adapter solves everything.
TL;DR:
- Check your Mac’s ports (USB-C, HDMI, Thunderbolt).
- Ensure your monitors have compatible inputs.
- You might need a specific cable or adapter.
- Connect monitors and adjust settings in System Preferences.
Let’s walk through exactly how to get your Mac happily displaying on two screens. We’ll cover the easiest ways to connect them and what to do if things seem a bit fuzzy.
Getting Your Mac to Drive Two Displays
You absolutely can have your Mac show content on two monitors at once. It’s a fantastic way to make your workspace feel much bigger and more efficient. We found that most modern Macs are built to handle this. You usually just need the right connections to make it happen.
Understanding Your Mac’s Display Ports
The first step is to figure out what ports your Mac has. This will tell you what kind of monitors you can connect and what adapters or cables you might need. Think of these ports as the doorways for video signals.
Common Mac Ports for Displays
You’ll likely see a few different types of ports on your Mac. These are the most common ones for connecting external monitors:
- USB-C / Thunderbolt 3 & 4: These look like small ovals. They are super versatile and can handle video, data, and power. Many newer Macs use these exclusively.
- HDMI: This is the standard port you see on TVs and many monitors. It’s a rectangular port with slightly angled corners.
- DisplayPort (less common on Macs directly): Sometimes you’ll see this, but it’s more often found on monitors. You might need an adapter to go from USB-C or Thunderbolt to DisplayPort.
What Your Monitors Offer
Next, check the back or side of your monitors. They will have input ports too. You need to find ports that match what your Mac offers, or that can be adapted easily. Most monitors will have HDMI, and many also have DisplayPort. Some might even have USB-C inputs.
Choosing the Right Cables and Adapters
This is where things can get a little tricky, but don’t worry, it’s usually straightforward. The goal is to bridge the gap between your Mac’s ports and your monitor’s ports.
Direct Connections (The Easiest Way)
If your Mac has an HDMI port and your monitor has an HDMI port, you’re golden! Just grab an HDMI cable. Plug one end into your Mac and the other into your monitor. Same goes if both devices have USB-C ports that support display output. A simple USB-C to USB-C cable should work.
When Adapters Become Your Best Friend
More often than not, you’ll need an adapter. This is very common if your Mac has USB-C/Thunderbolt ports and your monitors have HDMI or DisplayPort.
We found that popular choices include:
- USB-C to HDMI adapter/cable: This lets you plug an HDMI cable into your Mac’s USB-C port.
- USB-C to DisplayPort adapter/cable: Similar to the HDMI version, but for DisplayPort.
- Thunderbolt to HDMI/DisplayPort adapter: If you have an older Mac with Thunderbolt 1 or 2, you’ll need specific adapters.
Make sure the adapter or cable you buy specifically mentions support for 4K resolution or whatever resolution your monitor uses, if that’s important to you. Some basic adapters might limit the quality.
Consider a Dock or Hub
If your Mac has very few ports (common on thinner MacBooks), a docking station or a USB-C hub can be a fantastic solution. These devices plug into one port on your Mac but give you multiple other ports, often including several display outputs (HDMI, DisplayPort), USB-A ports, and Ethernet. It’s like giving your Mac superpowers.
Connecting Your Monitors and Setting Them Up
Once you have your cables and adapters ready, it’s time to connect everything and tell your Mac what to do.
The Physical Connection
Turn off your monitors, but leave your Mac on. Connect the first monitor to your Mac using your chosen cable or adapter. Then, connect the second monitor. Once both are plugged in, turn your monitors on.
Your Mac should detect the monitors automatically. You might see your desktop appear on both screens, or one might just mirror the other for now. Don’t worry if it’s not perfect yet; that’s what the next step is for.
Arranging Your Displays in System Settings
Now, let’s tell your Mac how you want these two screens to work together. This is controlled in your Mac’s System Settings (or System Preferences on older macOS versions).
- Click the Apple menu in the top-left corner.
- Select System Settings (or System Preferences).
- Find and click on Displays.
In the Displays settings, you’ll see icons representing your built-in display and the external monitors. You can drag these icons around to match how your monitors are physically arranged on your desk. This is important so your mouse cursor moves naturally between screens.
Mirroring vs. Extended Desktop
You have two main options for how your monitors work:
- Extended Desktop: This is the most common and productive setup. Each monitor shows a different part of your desktop, giving you more space to spread out your windows.
- Mirror Displays: This shows the exact same content on both screens. It’s useful for presentations or if you want to easily see what’s on one screen from another angle.
You can usually toggle between these options in the Displays settings. Often, there’s a checkbox or a dropdown menu to choose your preferred display mode. We found that extending the desktop is usually the way to go for daily work.
Adjusting Resolution and Arrangement
Within the Displays settings, you can also adjust the resolution for each monitor. Make sure it’s set to the optimal or “Default for display” setting. You can also change the refresh rate if needed. Remember to drag the display icons to match your physical setup for smooth cursor movement.
Troubleshooting Common Connection Issues
Sometimes, things don’t work perfectly on the first try. Don’t get discouraged! Most problems are fixable.
Check Your Connections Again
It sounds simple, but often a cable isn’t plugged in all the way. Unplug everything and plug it back in firmly. Try a different USB-C port on your Mac if you have multiple.
Restart Your Mac and Monitors
A simple restart can fix many temporary glitches. Turn off your monitors, then restart your Mac. Once your Mac is back up, turn your monitors on again.
Update Your macOS
Apple regularly releases software updates that can improve compatibility with external hardware. Go to Apple menu > System Settings > General > Software Update to check for any available updates. Many experts recommend keeping your system updated (Apple Support).
Test Your Cables and Adapters
Sometimes, a cable or adapter might be faulty. If you have another one, try swapping it out to see if that resolves the issue. This is especially true for third-party adapters, which can vary in quality.
Is Your Mac Powerful Enough?
Most modern Macs can handle at least two external displays. However, older or lower-end models might have limitations. Research your specific Mac model to see its maximum external display support. You can usually find this information on Apple’s support website.
Here’s a quick checklist to get you started:
- Confirm your Mac’s available ports.
- Verify your monitor’s input options.
- Purchase the correct cables or adapters.
- Connect all devices while your Mac is on.
- Arrange displays in System Settings.
- Test moving your mouse between screens.
Conclusion
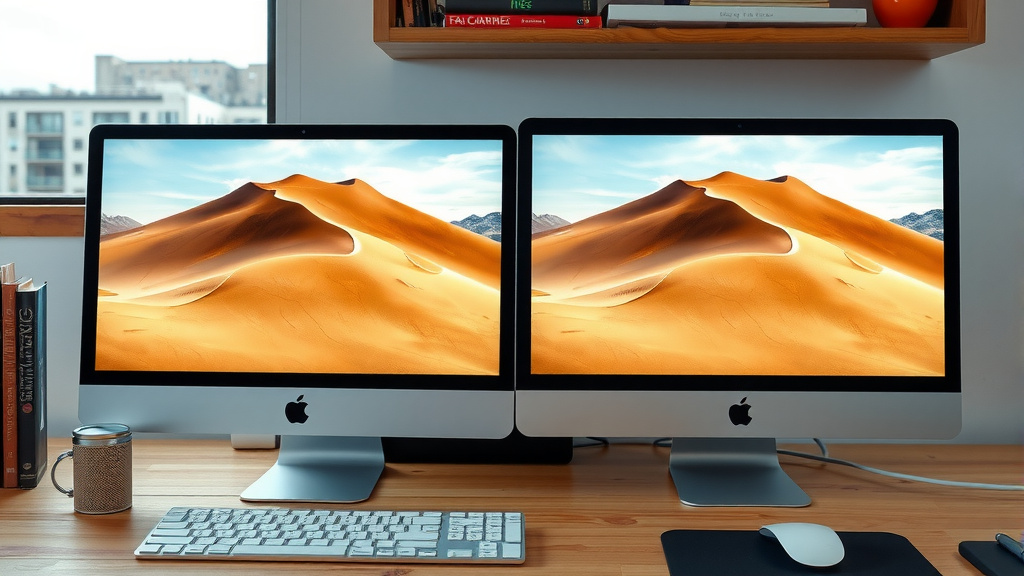
You’ve got this! Getting your Mac to run two monitors is totally achievable. We’ve walked through identifying your Mac’s ports and your monitors’ inputs. You learned about picking the right cables or adapters, and even how a dock can help. Setting up your displays in System Settings is the final step. Your enhanced workspace is just a few connections away. Now, go ahead and connect those monitors to boost your productivity!
Frequently Asked Questions
Can my older Mac support two external monitors?
It depends on your specific Mac model. Older Macs might have fewer port options or hardware limitations. We recommend checking Apple’s support website for your exact model’s specifications regarding external display support. You might need specific adapters for older Thunderbolt ports.
What’s the difference between a USB-C to HDMI adapter and a USB-C to DisplayPort adapter?
The main difference is the type of video signal they convert. A USB-C to HDMI adapter converts the signal from your Mac’s USB-C port to an HDMI signal that your monitor can accept. A USB-C to DisplayPort adapter does the same but outputs a DisplayPort signal. Your choice depends on what input ports your monitors have.
Will a simple USB-C cable work for a second monitor?
Sometimes, yes! If both your Mac and your monitor have USB-C ports that support video output (often labeled with a Thunderbolt icon or a display icon), a single USB-C to USB-C cable can work for a direct connection. Always check the specifications for both your Mac and your monitor to confirm this capability.
My mouse cursor gets stuck when moving between screens, what’s wrong?
This usually means your display arrangement in System Settings doesn’t match how your monitors are physically positioned on your desk. Go to System Settings > Displays, and drag the monitor icons to mirror their real-world layout. This ensures your cursor moves naturally between them.
Can I connect two different brands or resolutions of monitors?
Yes, you generally can! Your Mac will typically adjust to different resolutions. We found that it’s best to set each monitor to its “Default for display” resolution in System Settings for optimal clarity. Your Mac can handle a mix, giving you flexibility.