How to Extend Your Laptop Screen to a Monitor
Yes, you absolutely can extend your laptop screen to a monitor, and it’s a fantastic way to boost your productivity. Simply connect your laptop to the external display using the right cable and adjust your display settings. This setup allows you to view more content at once and create a much more comfortable workspace.
Many people find their laptop screen too small for daily tasks. Extending to a larger monitor makes multitasking a breeze. It’s like giving yourself a bigger digital desk. We found that this simple upgrade can dramatically improve how you work and play.
- Connect your laptop to the monitor with a cable (HDMI, DisplayPort, etc.).
- Press the Windows key + P to choose your display mode (Duplicate, Extend, Second screen only).
- Adjust screen resolution and arrangement in your display settings.
- Enjoy your expanded workspace!
Let’s walk through exactly how to connect your laptop to a monitor step by step.
“`htmlGetting More Screen Space: Connect Your Laptop to a Monitor
So, you’re tired of squinting at your laptop screen? We get it! Expanding your view to an external monitor is a total game-changer. It’s like trading in a postage stamp for a billboard. You can finally see more of your work, spreadsheets, or even your favorite streaming show all at once. This simple setup can dramatically boost your productivity and make your computer time more comfortable. Let’s figure out how to make this happen for you.
Understanding Your Connection Options
The first step to extending your screen is knowing how your devices talk to each other. Laptops and monitors use different ports for video signals. The most common ones you’ll encounter are HDMI and DisplayPort. USB-C is also becoming very popular and can often handle video output, sometimes even multiple monitors through a single port.
HDMI: The Most Common Connector
HDMI (High-Definition Multimedia Interface) is likely the cable you already use for your TV or gaming console. It’s incredibly common on both laptops and monitors. If both your devices have an HDMI port, this is usually the easiest and most straightforward option. You’ll get good quality video and audio over a single cable. We found that most modern laptops and nearly all monitors support HDMI.
DisplayPort: For Higher Resolutions and Refresh Rates
DisplayPort is another excellent option, often favored by PC gamers and professionals who need top-tier performance. It can support higher resolutions and refresh rates than HDMI, meaning smoother motion and sharper images. Some laptops and many higher-end monitors come equipped with DisplayPort. If you’re looking for the absolute best visual experience, especially for fast-paced content, research if your devices have this option.
USB-C: The Versatile All-Rounder
You might have a USB-C port on your laptop. This little oval connector is a powerhouse. It can handle data transfer, charging, and, importantly for us, video output. Some USB-C ports are designed to work with DisplayPort signals (often called “DisplayPort Alternate Mode”). This means a single USB-C cable could connect your laptop to your monitor, handle the video, and even charge your laptop simultaneously! Not all USB-C ports support video, so it’s worth checking your laptop’s specifications if you’re unsure.
Older Connections: VGA and DVI
You might still see older ports like VGA (a blue, 15-pin connector) or DVI (a white, flat connector). These are less common on new devices but can still be found on older laptops or monitors. While they work, they generally offer lower image quality compared to HDMI or DisplayPort. If these are your only options, they’ll still get the job done for basic tasks.
Making the Physical Connection
Once you know which ports you have, the physical connection is simple. You’ll need the appropriate cable for the ports you’ve chosen.
Step 1: Gather Your Cable. Make sure you have the right cable. If your laptop has HDMI and your monitor has HDMI, grab an HDMI cable. If one has DisplayPort, use a DisplayPort cable. Adapters are available if your ports don’t match directly, but a direct connection is always best for performance.
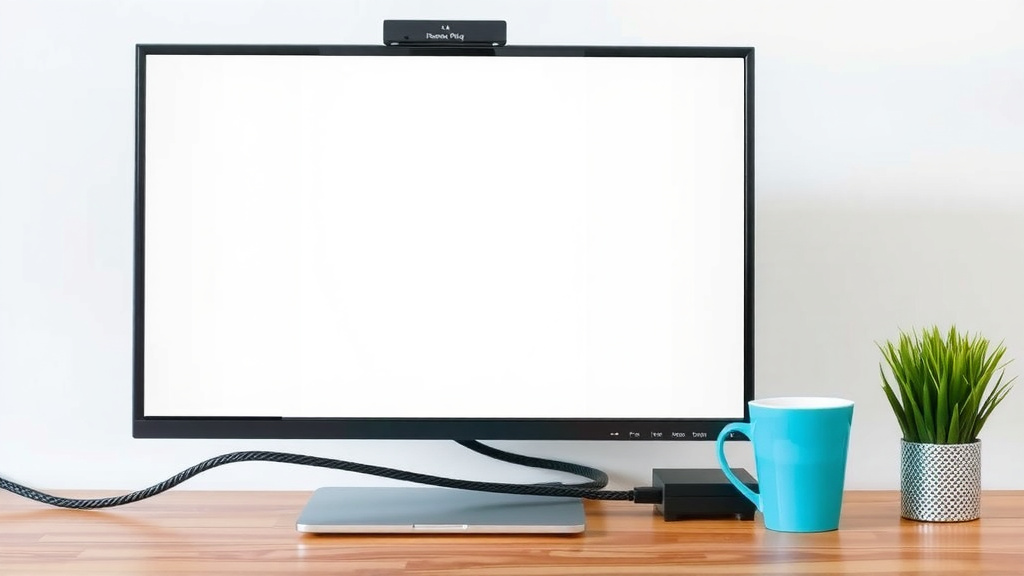
Step 2: Connect to Your Monitor. Plug one end of the cable into the correct port on your laptop. Then, plug the other end into the corresponding port on your external monitor.
Step 3: Power Up. Turn on your external monitor. Make sure it’s set to the correct input source (e.g., HDMI 1, DisplayPort, etc.). You can usually cycle through inputs using buttons on the monitor itself.
Step 4: Turn on Your Laptop. Boot up your laptop. If it’s already on, it might detect the new monitor automatically. If not, don’t worry; we’ll tell your laptop what to do next.
Configuring Your Display Settings
Now that everything is physically connected, you need to tell your laptop how to use the new screen. This is where you get to choose how your workspace will look and feel.
Windows: The Keyboard Shortcut Power-Up
Windows makes this incredibly easy with a keyboard shortcut. Press the Windows key + P simultaneously. A menu will pop up on the side of your screen, offering these options:
- PC screen only: This turns off the external monitor, using only your laptop screen.
- Duplicate: This mirrors what’s on your laptop screen onto the external monitor. Both screens show the exact same thing. It’s good for presentations but not for multitasking.
- Extend: This is what you’re likely looking for! It treats the external monitor as an extension of your laptop screen. You can drag windows from one screen to the other. This is the ultimate multitasking mode.
- Second screen only: This turns off your laptop screen and uses only the external monitor.
For extending your screen, simply select Extend. Your laptop will then treat the new monitor as a second desktop space.
Adjusting Screen Arrangement and Resolution
After selecting “Extend,” your laptop might automatically arrange the screens. But sometimes, it needs a little nudge.
To access display settings in Windows:
- Right-click on an empty spot on your desktop.
- Select Display settings.
Here, you can:
- Rearrange your displays: You’ll see numbered boxes representing your screens. Click and drag them to match their physical placement on your desk. This is important so your mouse cursor moves naturally between screens. For instance, if your monitor is to the right of your laptop, drag its box to the right.
- Set the main display: Decide which screen will have your taskbar and Start menu. You can check the box that says “Make this my main display” for either screen.
- Adjust resolution: For the best clarity, set the resolution to the recommended setting for each monitor. Usually, Windows picks the best one automatically. If text looks fuzzy or images seem stretched, try adjusting this. Many experts suggest using the native resolution of your monitor for optimal sharpness (National Institute of Standards and Technology).
- Scale text and apps: If things look too small on the new monitor, you can increase the scaling percentage here. This makes text and icons larger.
macOS: System Settings for Your New View
If you’re using a Mac, the process is just as straightforward.
- Connect your laptop to the monitor with the appropriate cable.
- Your Mac should detect the external display automatically.
- Go to System Settings (or System Preferences on older macOS versions).
- Click on Displays.
In the Displays settings, you’ll see your laptop screen and your external monitor listed.
- Arrangement: Click on “Arrangement” (you might need to click “Use as Separate Displays” first). You can then drag the displays to match their physical layout on your desk, just like in Windows. The screen with the white menu bar is your primary display. You can drag the white bar to your preferred monitor.
- Resolution: You can set the resolution for each display here. “Default for display” is usually best, but you can choose “Scaled” to select other resolutions.
- Mirror Displays: You’ll also find an option to mirror your displays if you want them to show the same thing.
Quick Checklist for Success
To make sure you’re all set up and running smoothly, here’s a quick checklist:
- Check your ports: Identify HDMI, DisplayPort, or USB-C on both devices.
- Grab the right cable: Ensure you have the correct cable for a direct connection.
- Plug it in and power up: Connect the cable and turn on your monitor.
- Use the shortcut: Press Windows key + P (or check macOS Display Settings).
- Select “Extend”: Choose this option for a true dual-monitor setup.
- Arrange your screens: Make sure your mouse moves naturally between displays.
That’s it! You’ve successfully extended your laptop screen to a monitor. Enjoy that extra digital real estate. It really does make a difference!
“`Conclusion
You’ve successfully learned how to extend your laptop screen to an external monitor! This upgrade is a fantastic way to boost your productivity and create a more comfortable workspace. By understanding your port options, making the right physical connection, and configuring your display settings, you’ve given yourself a much larger digital desk. Now you can tackle tasks with more space and enjoy a better viewing experience. Your next step is to enjoy this expanded view and see how it transforms your daily computer use!
Frequently Asked Questions
Can I connect my laptop to two external monitors?
Yes, you can often connect your laptop to two external monitors, provided your laptop has enough video output ports (like multiple HDMI, DisplayPort, or USB-C ports) or you use a docking station. You’ll then configure them in your display settings just like a single external monitor.
My monitor isn’t showing up after connecting it, what should I do?
First, double-check that your monitor is powered on and set to the correct input source (HDMI, DisplayPort, etc.). Then, try restarting your laptop. If it still doesn’t appear, try a different cable or port to rule out hardware issues.
Will extending my screen drain my laptop’s battery faster?
Yes, running an external monitor will use more power than just your laptop screen alone. You’ll likely notice your battery drains a bit faster, especially if you’re not plugged into a power outlet. It’s best to keep your laptop plugged in for extended use with an external display.
What’s the difference between duplicating and extending my screen?
Duplicating shows the exact same content on both your laptop screen and the external monitor, which is great for presentations. Extending creates a larger, combined workspace, allowing you to drag windows between the two screens for true multitasking.
Do I need special software to connect my laptop to a monitor?
No, you do not need any special software. Modern operating systems like Windows and macOS have built-in display settings that allow you to easily extend or duplicate your screen using the physical connections and keyboard shortcuts or system preferences.