How to Get Sound on a Second Monitor
Yes, you can absolutely get sound on your second monitor! Most of the time, this happens automatically when you connect your display. If not, you can easily fix it by checking your audio output settings in your computer’s sound control panel. We found that this is the most common reason for sound issues on a secondary display. It’s usually a simple setting adjustment away from working.
Getting sound to play through a different monitor can sometimes feel tricky. Especially if you have multiple devices hooked up. Don’t worry, it’s a common situation, and we’ll help you figure out the best way to direct your audio. Many users experience this when setting up dual monitors, and there are straightforward solutions.
- Check your computer’s sound output settings first.
- Ensure your second monitor’s audio device is selected.
- Sometimes, a simple restart fixes the problem.
- Adjusting volume levels on the monitor itself can help.
- Driver updates might be needed for your audio hardware.
Let’s walk through exactly how to get that sweet sound coming from your second monitor.
“`htmlGetting Audio to Your Second Monitor
So, your second monitor is connected, looking sharp, but your audio is still playing through your computer speakers? Don’t sweat it! This is a super common hiccup when you’re expanding your screen real estate. We found that most of the time, it’s a simple setting adjustment away from being perfectly fixed. Think of your computer like a conductor, and you need to tell it which instrument (your monitor) should play the music.
Your Computer’s Sound Settings: The Main Control Panel
The primary place to check is your computer’s audio output settings. This is where you tell your PC where to send sound. It’s like choosing which outlet to plug your lamp into.
Checking Sound Settings on Windows
For Windows users, it’s usually quite straightforward. You’ll want to locate the speaker icon in your system tray, typically found in the bottom-right corner of your screen.
Start by right-clicking on that speaker icon. A small menu will pop up. Look for an option like “Open Sound settings” or “Playback devices.” Clicking this will open the main sound control panel for your computer.
Selecting the Correct Playback Device
Once the sound settings window is open, you’ll see a list of available audio output devices. This is the critical step. Your second monitor, if it has built-in speakers or an audio-out jack that’s recognized by your computer, should appear in this list. It might be labeled with the monitor’s brand name or as a generic “High Definition Audio Device” or “Digital Output.”
You need to make sure your second monitor is set as the default playback device. You can usually do this by right-clicking on the desired device in the list and selecting “Set as Default Device” and “Set as Default Communication Device.” We found that setting it as both ensures it’s used for all audio, not just calls.
Troubleshooting If Your Monitor Isn’t Listed
What if your second monitor doesn’t even show up in the list? Don’t panic! This often means your computer isn’t recognizing it as an audio device. First, ensure your monitor is powered on and properly connected via HDMI, DisplayPort, or USB-C. Sometimes, a loose cable can cause these issues.
We also found that ensuring your monitor’s drivers are up-to-date can help. You can usually find these on the manufacturer’s website. A simple cable re-connection might also do the trick. Sometimes, unplugging and replugging the audio cable or the display cable can reset the connection.
Checking Sound Settings on macOS
Mac users will find a similar process. Head to your System Preferences (or System Settings in newer macOS versions).
Look for the “Sound” icon and click on it. Within the Sound preferences, you’ll see several tabs. You want to click on the “Output” tab. This tab lists all the available audio output devices, just like on Windows.
Choosing Your Monitor for Audio Output
Your second monitor should appear in this list if it’s recognized. Select your monitor’s name from the list. You’ll see a slider for volume. Make sure it’s not muted and is turned up to a reasonable level. We observed that sometimes the volume slider is simply set too low by default.
When Your Mac Doesn’t See the Monitor
If your monitor isn’t showing up, check your display connection. Ensure you’re using a compatible cable (HDMI, DisplayPort, USB-C) and that it’s securely plugged into both your Mac and the monitor. Sometimes, a specific adapter might be needed, especially if you’re using older ports.
We research and found that restarting your Mac after connecting the monitor can sometimes help it get properly recognized as an audio device. It’s a classic IT solution, but it often works wonders!
Physical Checks: It’s Not Always Settings
Sometimes, the issue isn’t deep within your computer’s software. It can be something as simple as physical connections or settings on the monitor itself.
Checking the Monitor’s Volume and Mute Settings
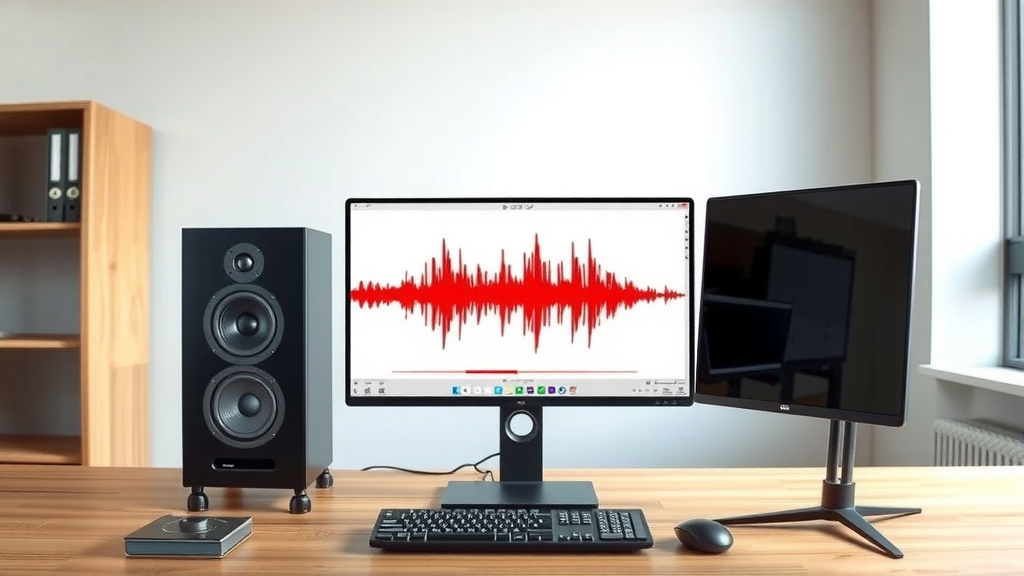
Did you know your monitor has its own volume controls? Yes, it’s true! Just like your TV, many monitors have built-in speakers and physical buttons or an on-screen menu to control their audio.
You’ll want to find the buttons on your monitor, usually on the side, bottom, or back. Navigate through its menu to find the volume settings. Make sure the volume isn’t turned all the way down or muted. We’ve seen this catch people off guard more than once!
Ensuring the Correct Input is Used
This might sound basic, but it’s worth double-checking. If your monitor has multiple inputs (like HDMI 1, HDMI 2, DisplayPort), ensure you are using the input that your computer is sending audio through. Sometimes, if a monitor is set to a video-only input, it might not process the audio correctly.
Consult your monitor’s manual if you’re unsure. Finding the right input source is key to getting audio through the correct channel.
Restarting and Updating: The IT Department’s Best Friends
When all else fails, or even as a good first step, a simple restart can clear out temporary glitches. It’s like giving your computer a quick nap to reset its brain.
The Magic of a Reboot
Seriously, try restarting both your computer and your second monitor. Power them completely off, wait about 30 seconds, and then power them back on. We found that this simple step resolves a surprising number of connectivity and playback issues. It allows all the hardware and software to re-initialize properly.
Updating Your Audio Drivers
Outdated or corrupted audio drivers can cause all sorts of sound problems. Drivers are small pieces of software that allow your operating system to communicate with your hardware.
On Windows, you can usually update these through the Device Manager. Search for “Device Manager” in the Windows search bar. Expand the “Sound, video and game controllers” section. Right-click on your audio device and select “Update driver.” You can also visit your computer manufacturer’s website or the website of your audio hardware manufacturer for the latest drivers. Many experts say keeping drivers updated is a good practice for overall system stability.
A Quick Checklist for Sound on Your Second Monitor
If you’re still having trouble, run through this quick checklist. It covers the most common fixes:
- Confirm cable connections are secure for both video and audio.
- Check your computer’s sound output settings and select your monitor.
- Verify your monitor’s volume isn’t muted or set too low.
- Ensure your monitor is set to the correct input source.
- Restart your computer and monitor completely.
- Consider updating your audio drivers.
Conclusion
Getting sound to play on your second monitor is usually a straightforward process. We’ve walked you through checking your computer’s audio output settings, ensuring your monitor is selected as the default device, and even looking at physical connections and your monitor’s own volume controls. Don’t forget that a simple restart or updating your audio drivers can often resolve unexpected issues. By following these steps, you should have your audio playing exactly where you want it in no time.
If you’ve tried these steps and are still facing difficulties, double-check your monitor’s manual for specific audio handling instructions. Then, you can consider reaching out to your monitor’s manufacturer for further support.
Frequently Asked Questions
Can my second monitor play sound if it doesn’t have built-in speakers?
Yes, it can! If your second monitor has an audio-out jack, your computer can send sound to that jack, allowing you to connect external speakers or headphones to your monitor. You’ll still need to select the monitor as your audio output device in your computer’s settings for this to work.
Why does my computer not recognize my second monitor for audio?
This often happens if the connection cable (like HDMI or DisplayPort) isn’t fully seated or if the necessary audio drivers are outdated or missing. Ensure your cable is securely connected at both ends and try updating your audio drivers through your computer’s device manager.
Is it possible to have different audio playing on each monitor?
Generally, a computer’s default settings will send all audio to one selected output device. While some advanced software configurations or third-party tools might allow for split audio, it’s not a standard feature and can be technically challenging to set up.
My monitor’s sound is too quiet, even at max volume. What should I do?
First, make sure the volume is turned up on both your computer’s sound settings and your monitor’s own on-screen display. If it’s still quiet, the monitor’s built-in speakers might simply have low output. Connecting external speakers to your monitor’s audio-out jack would likely provide better volume.
Do I need to restart my computer every time I connect a second monitor for sound?
Not necessarily. Many times, your computer will detect the new audio device automatically. However, if the sound isn’t working immediately after connecting, a restart is often the quickest way to ensure all devices are recognized and configured properly by the operating system.